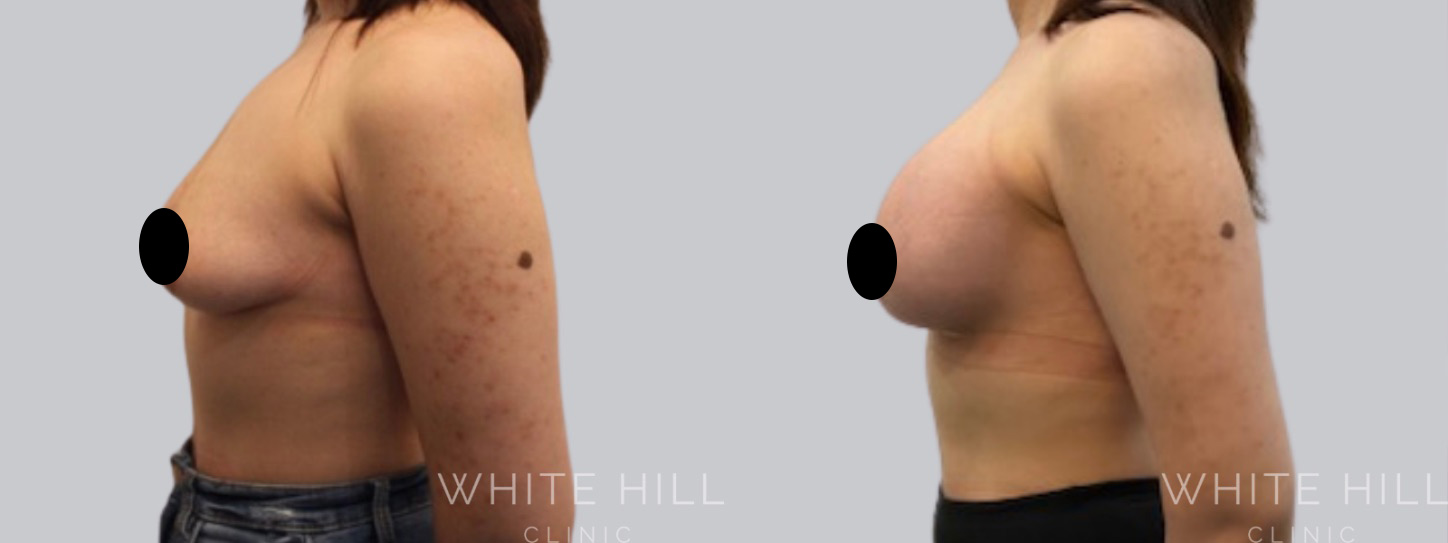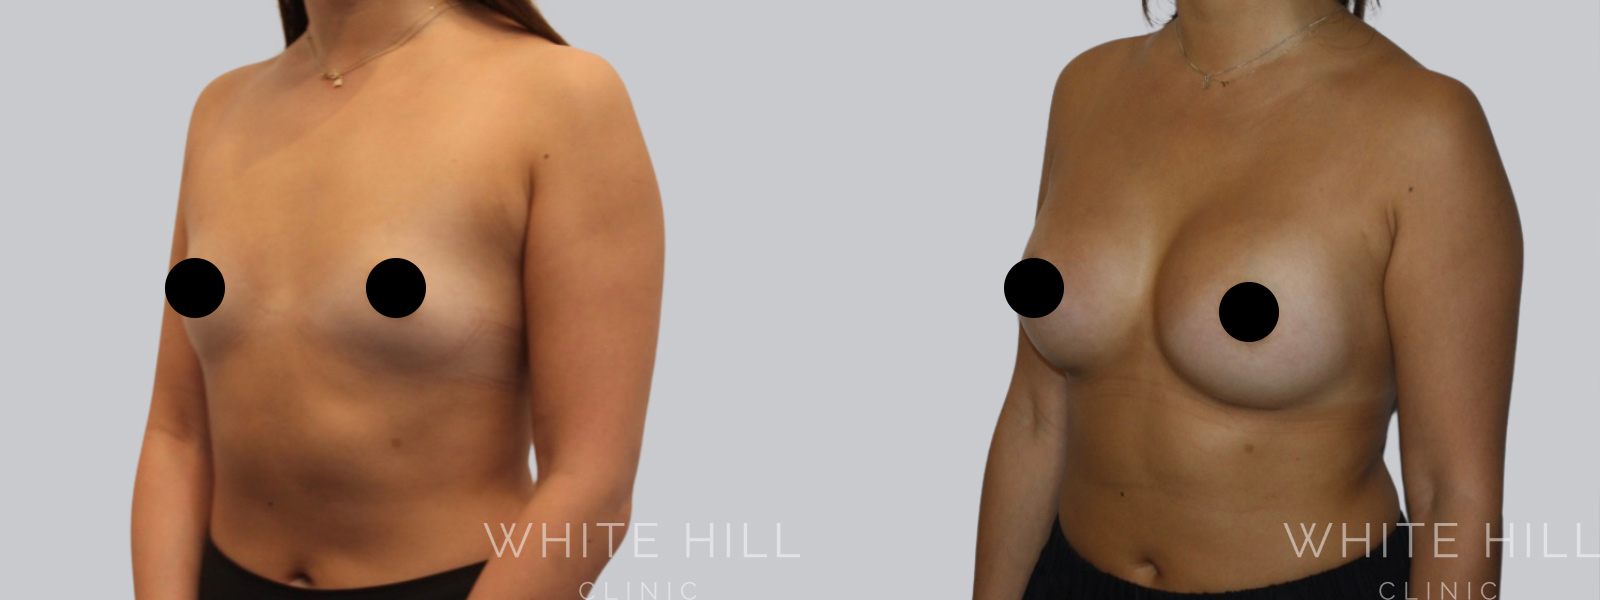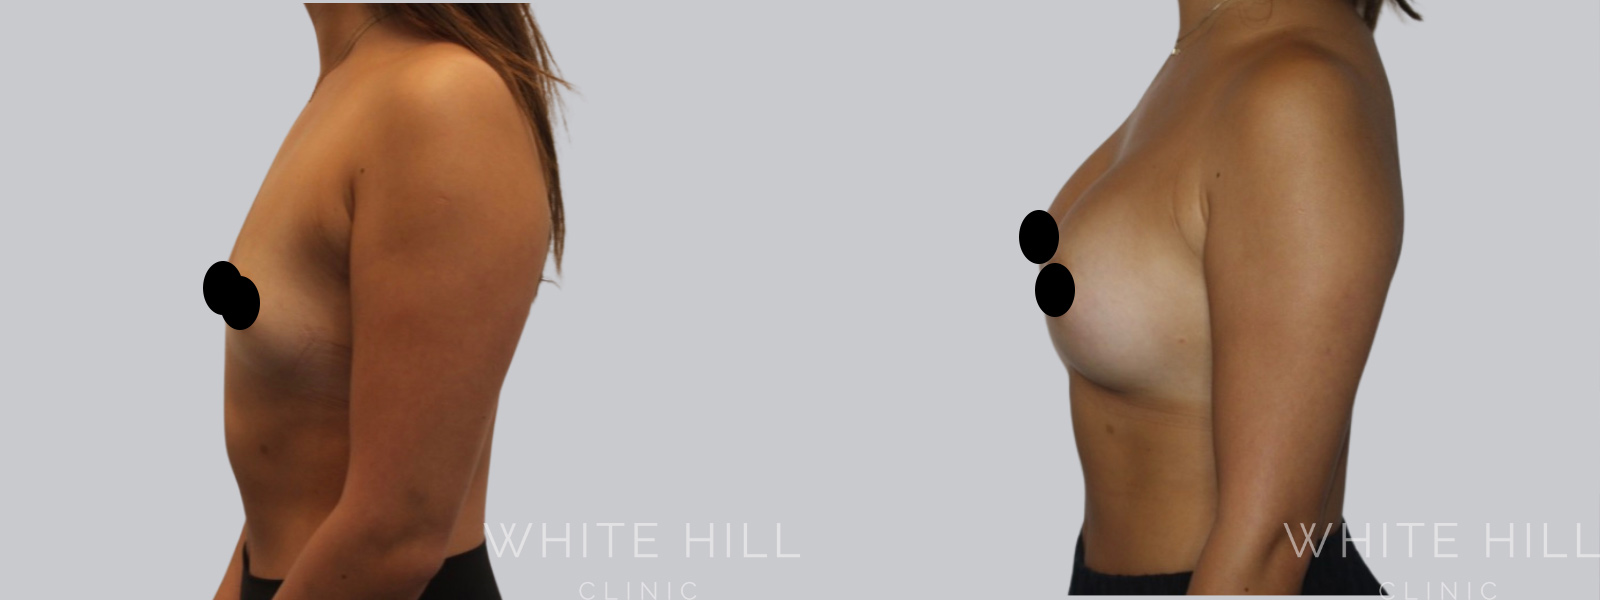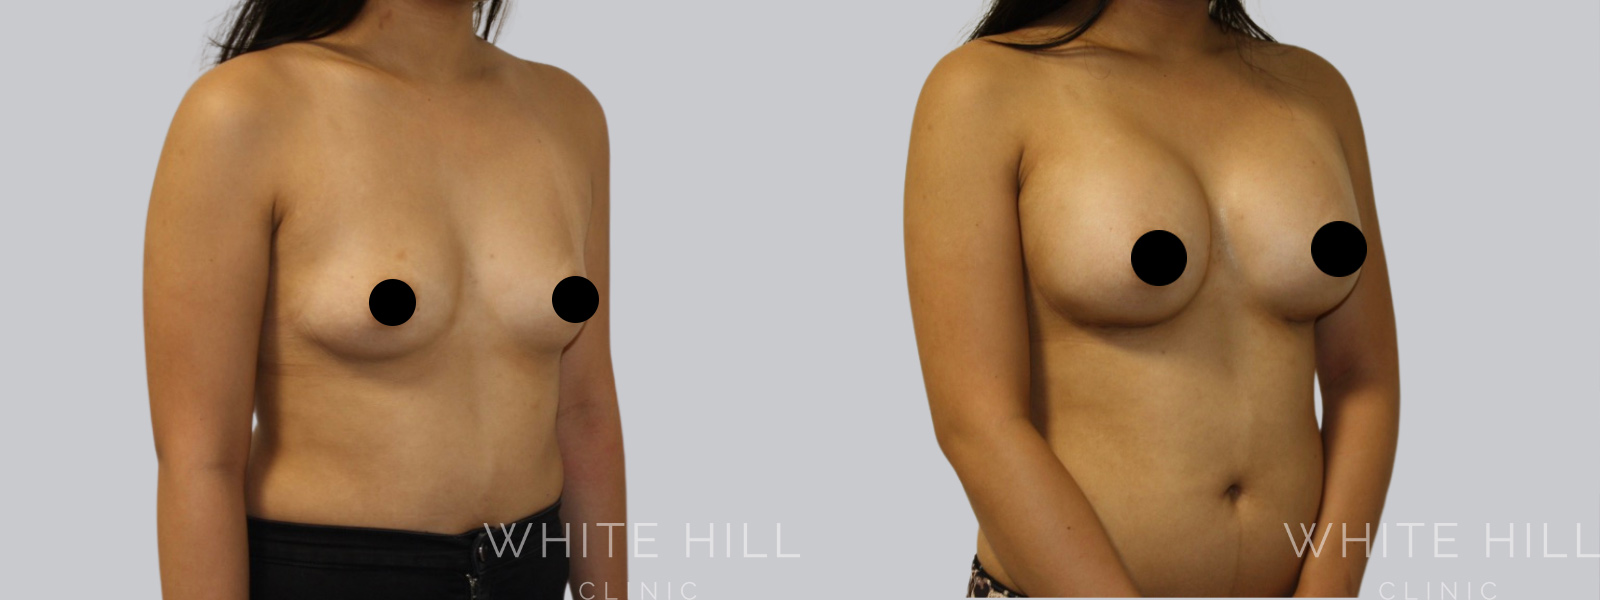
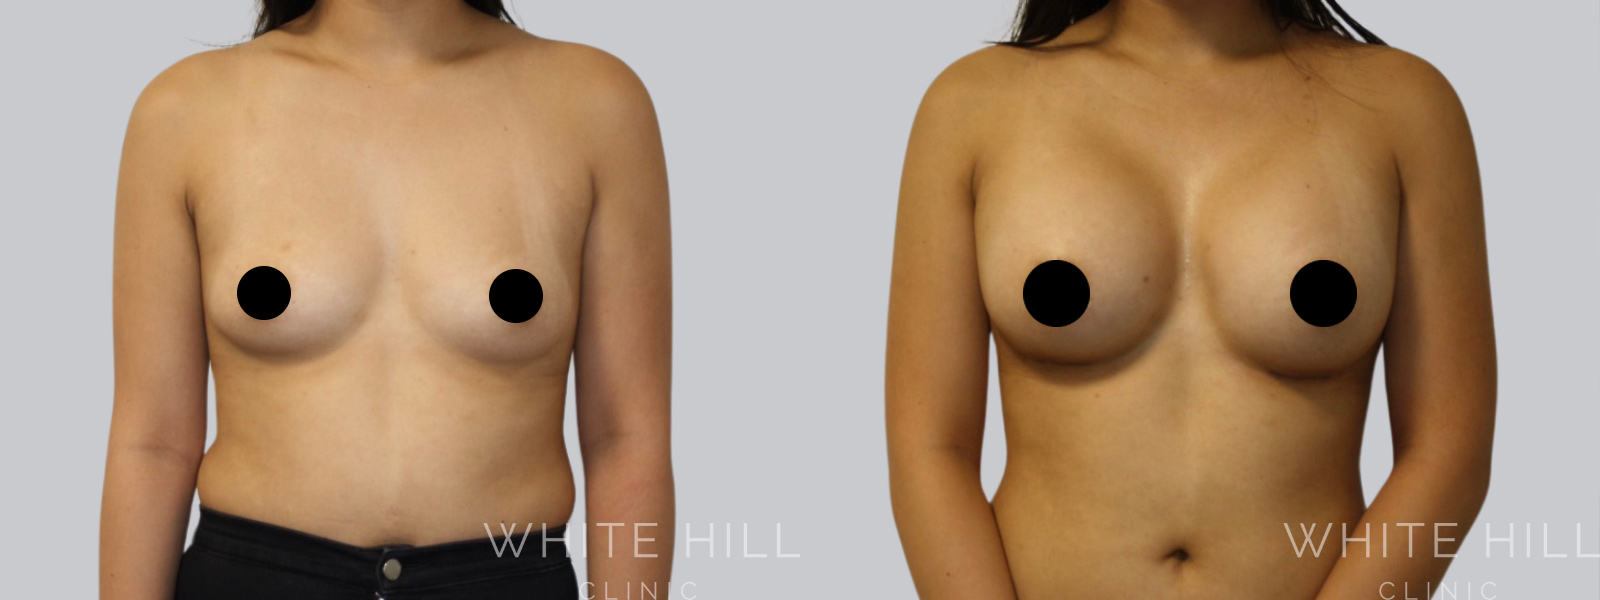
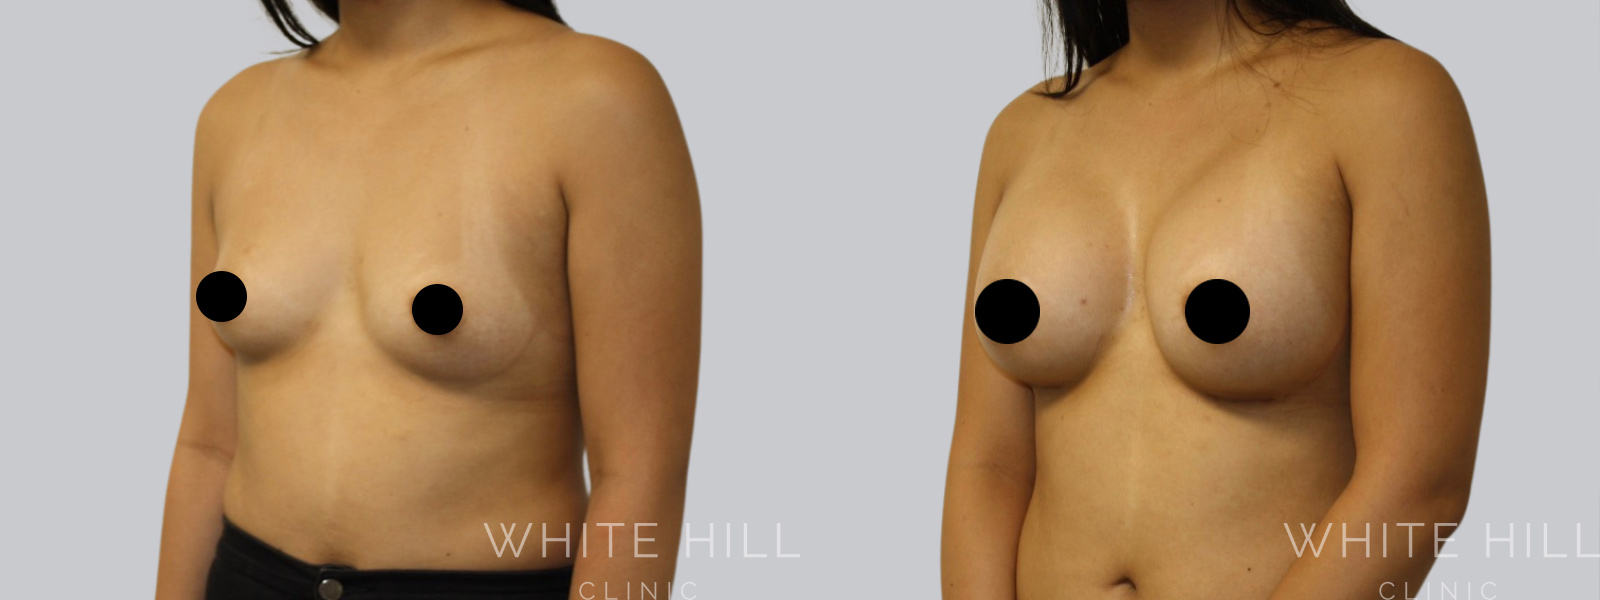
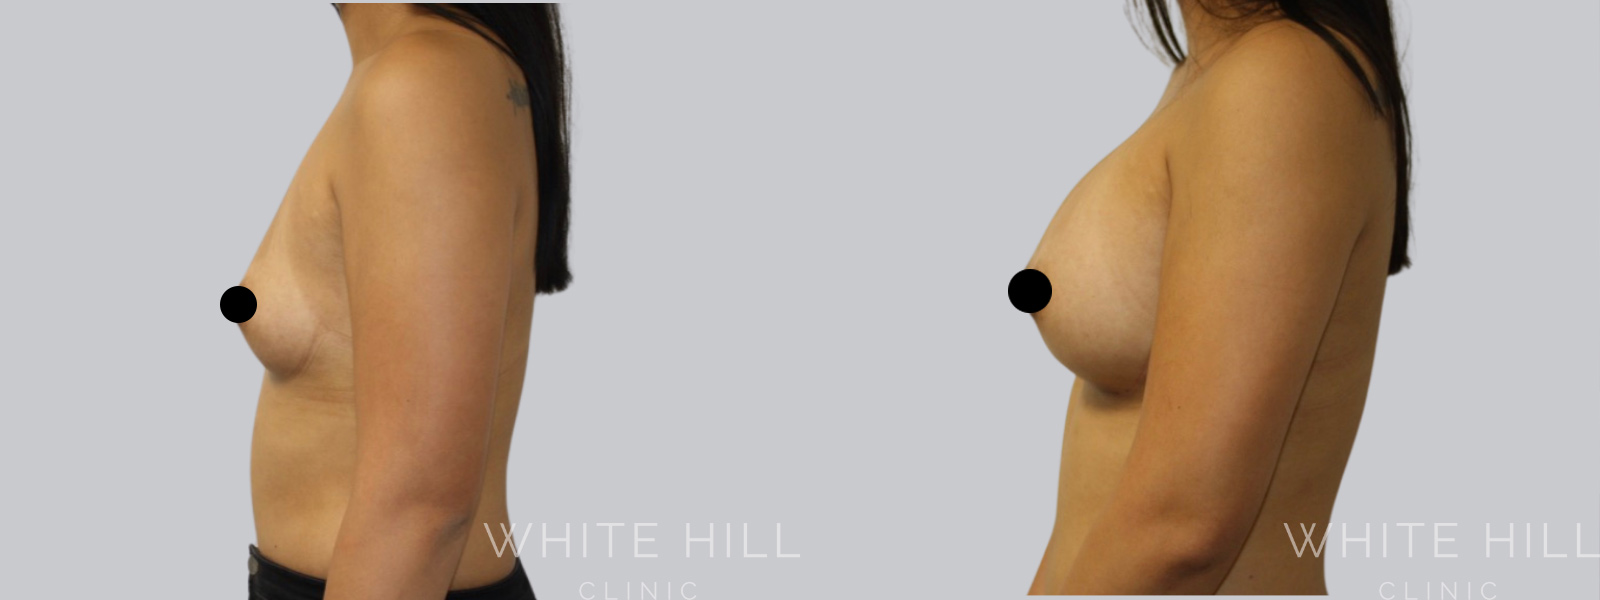
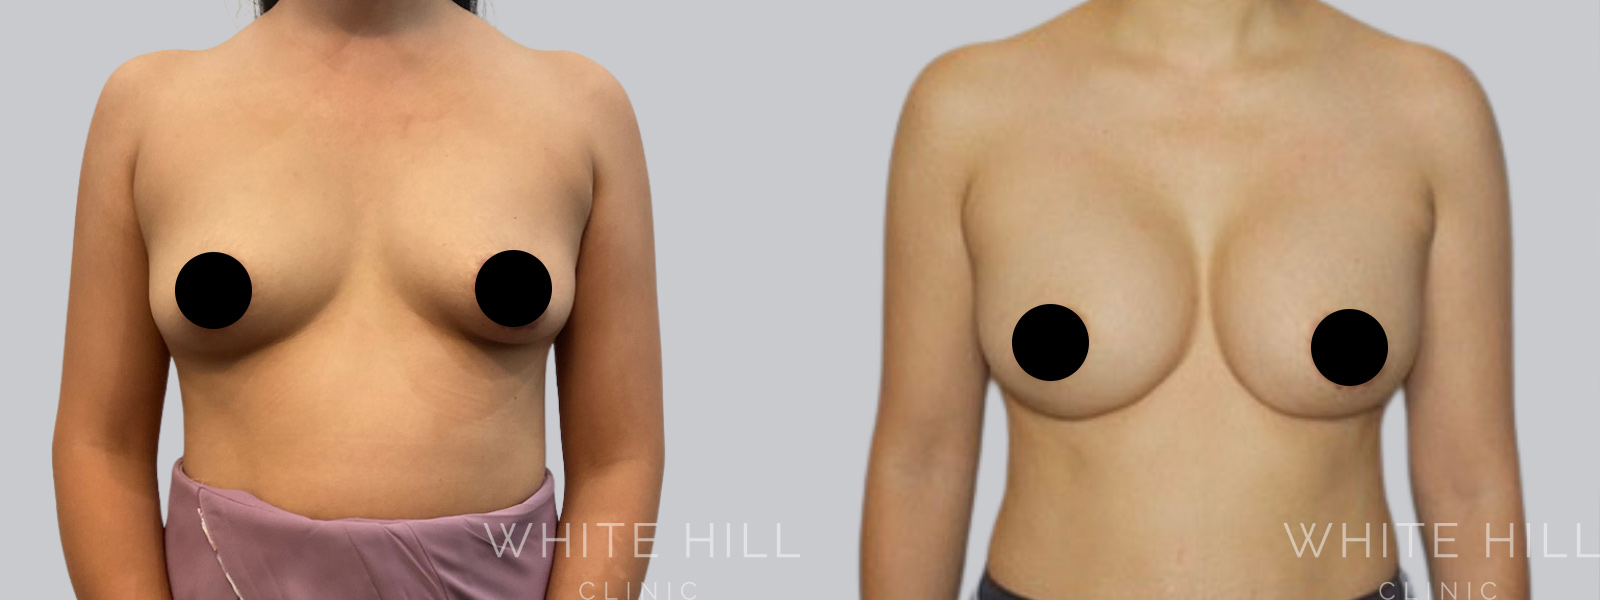
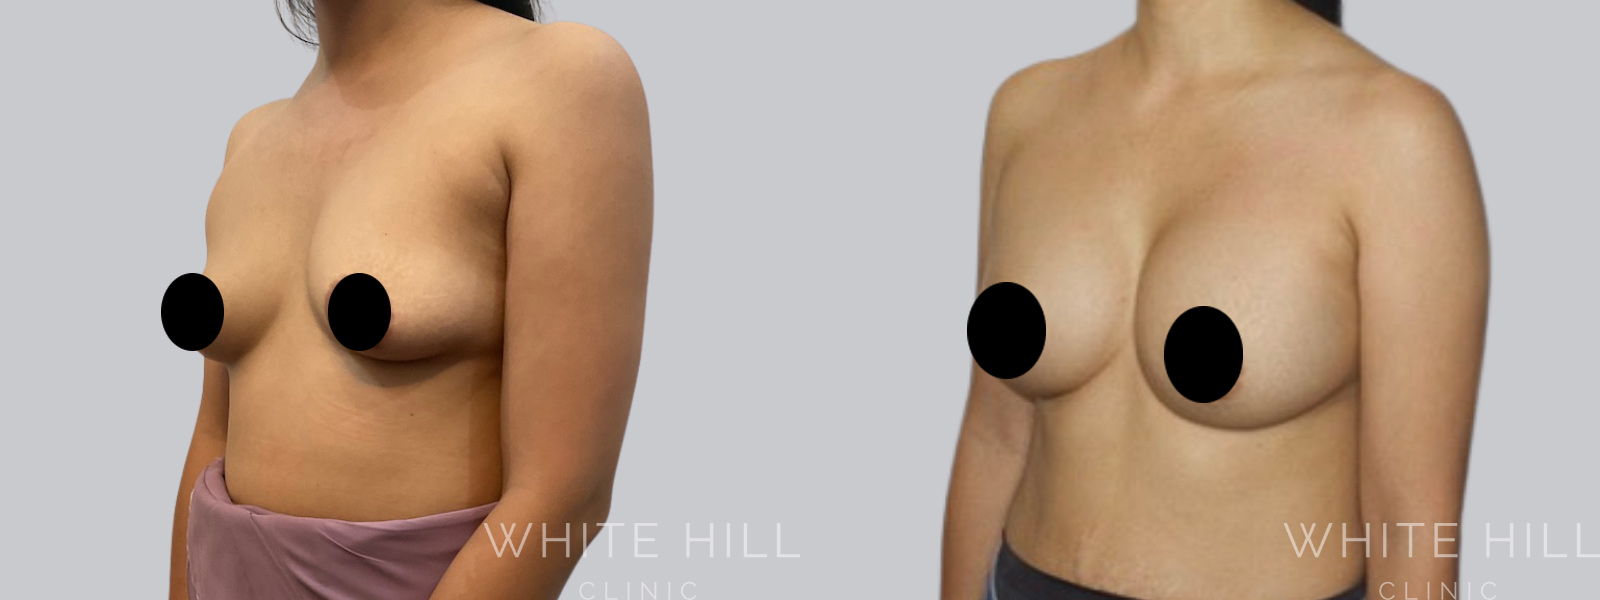
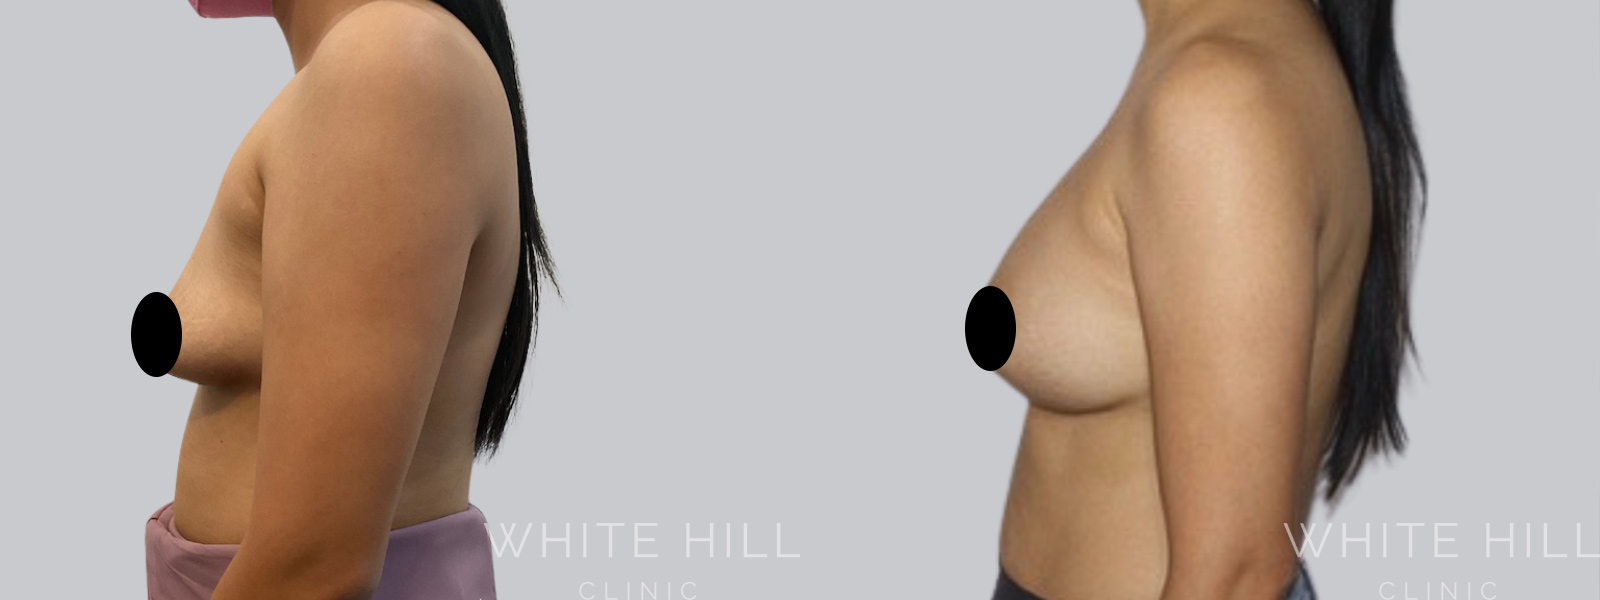
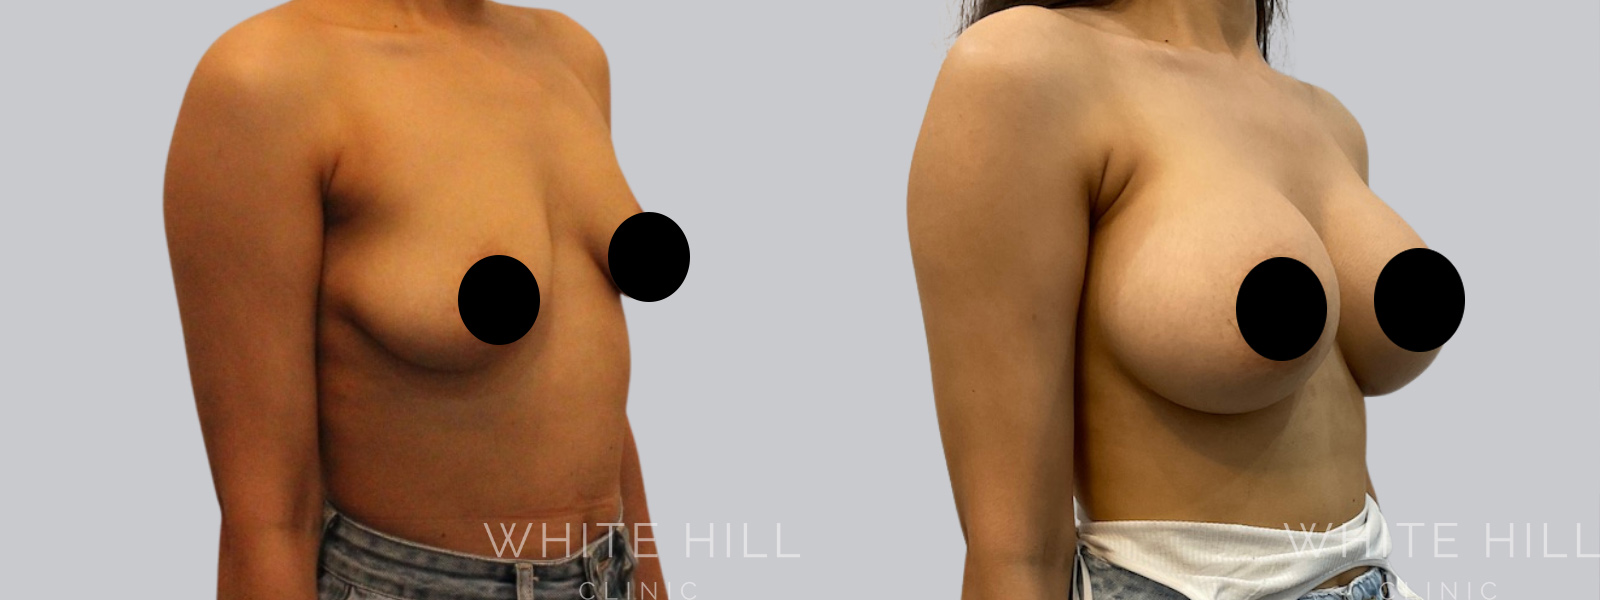
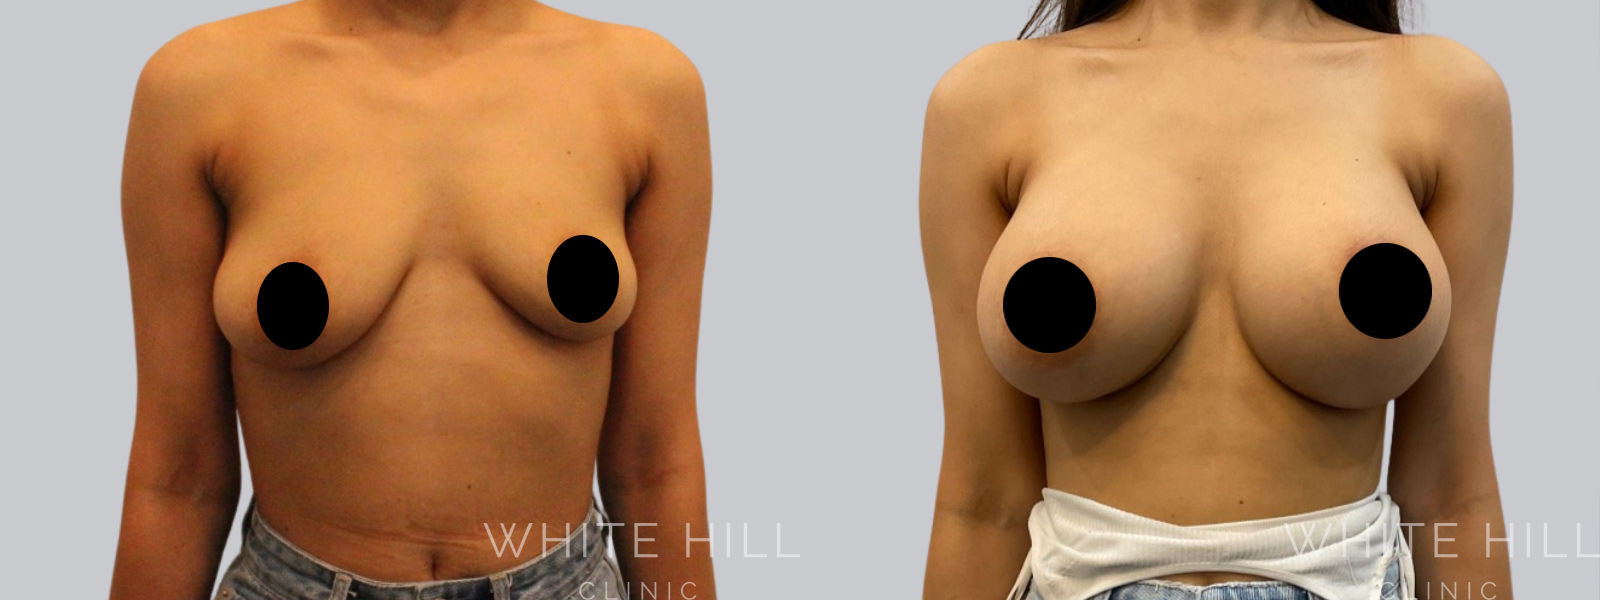
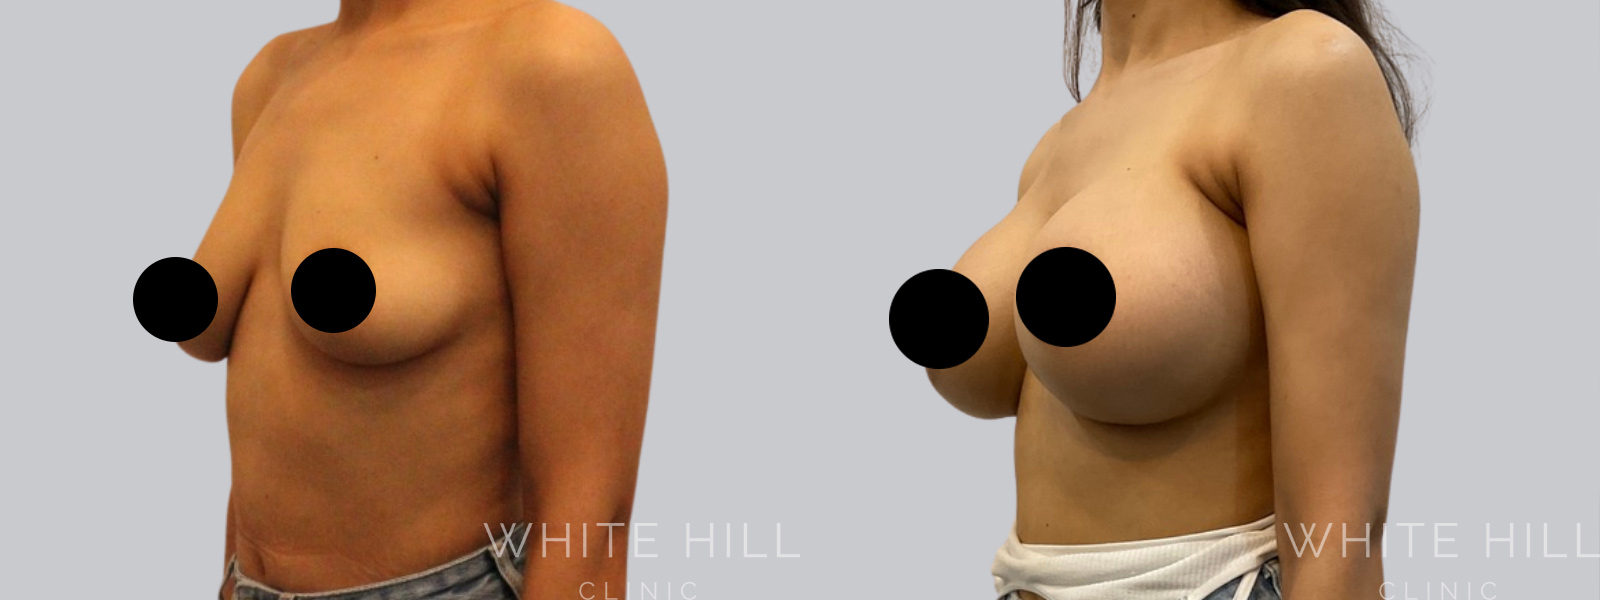
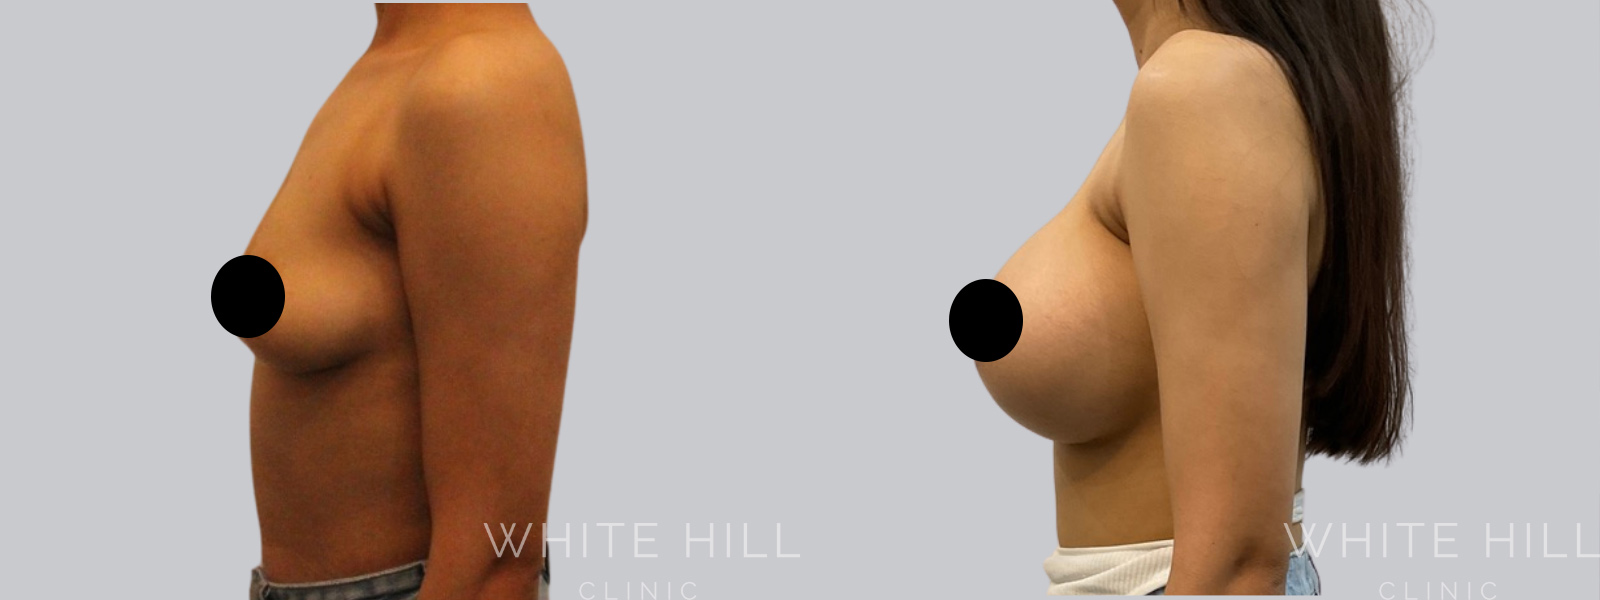
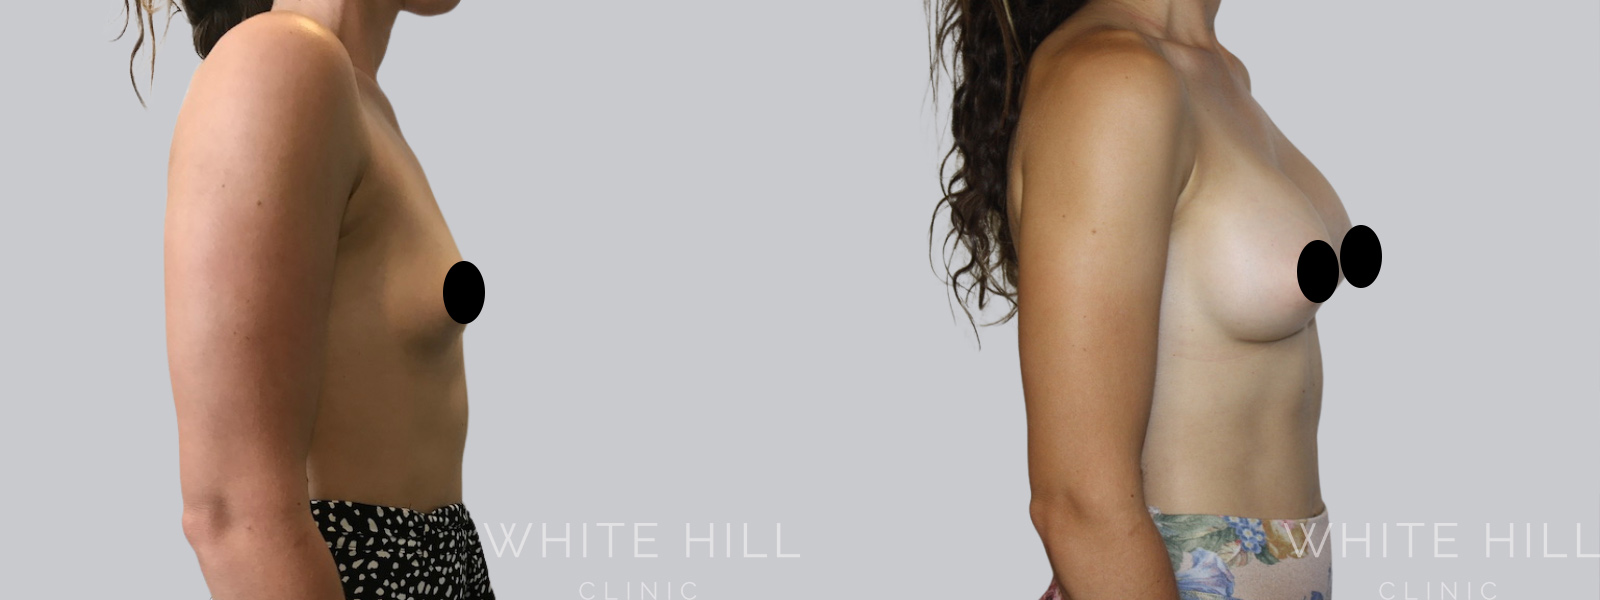
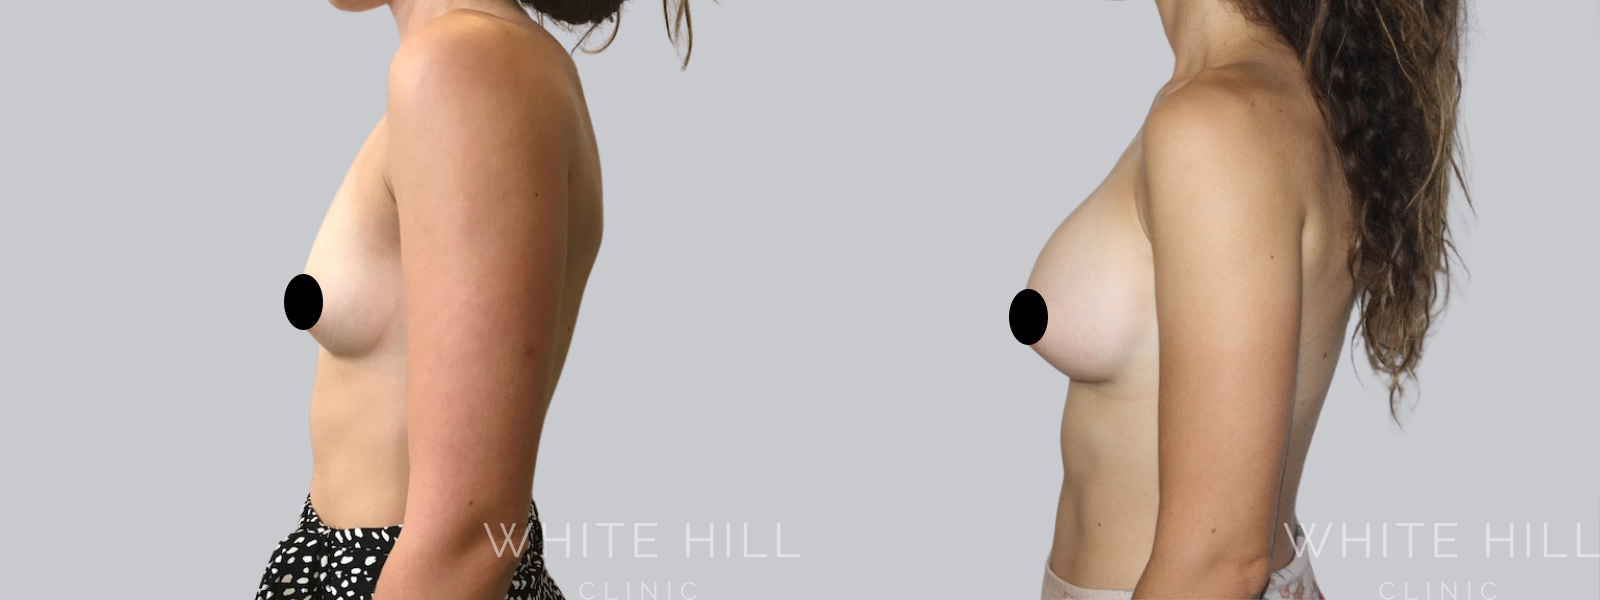
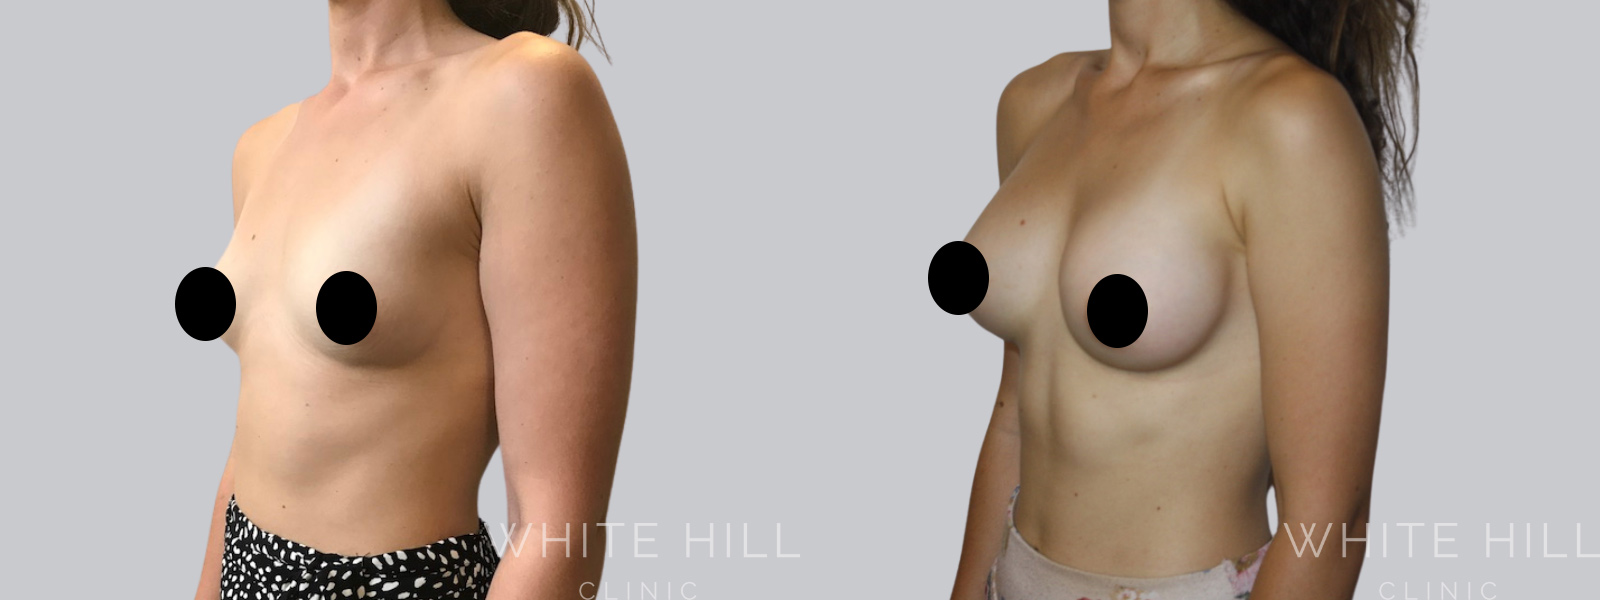
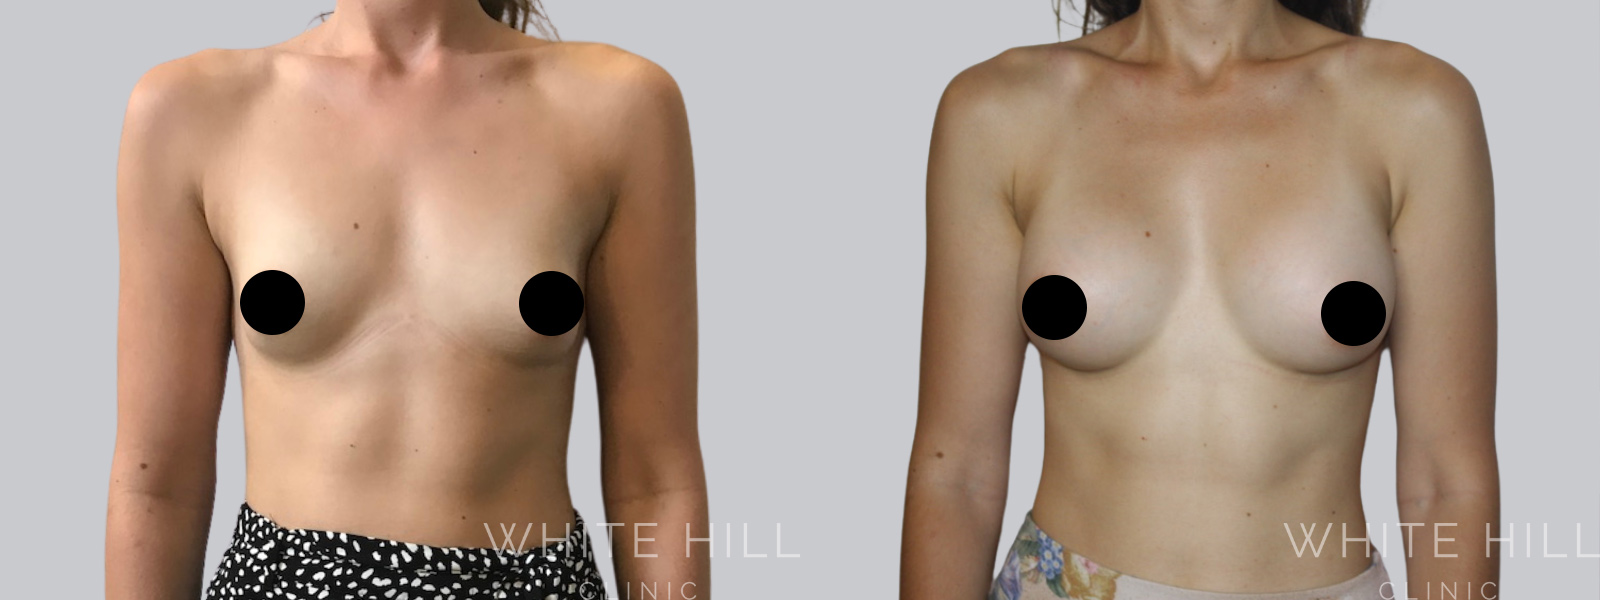
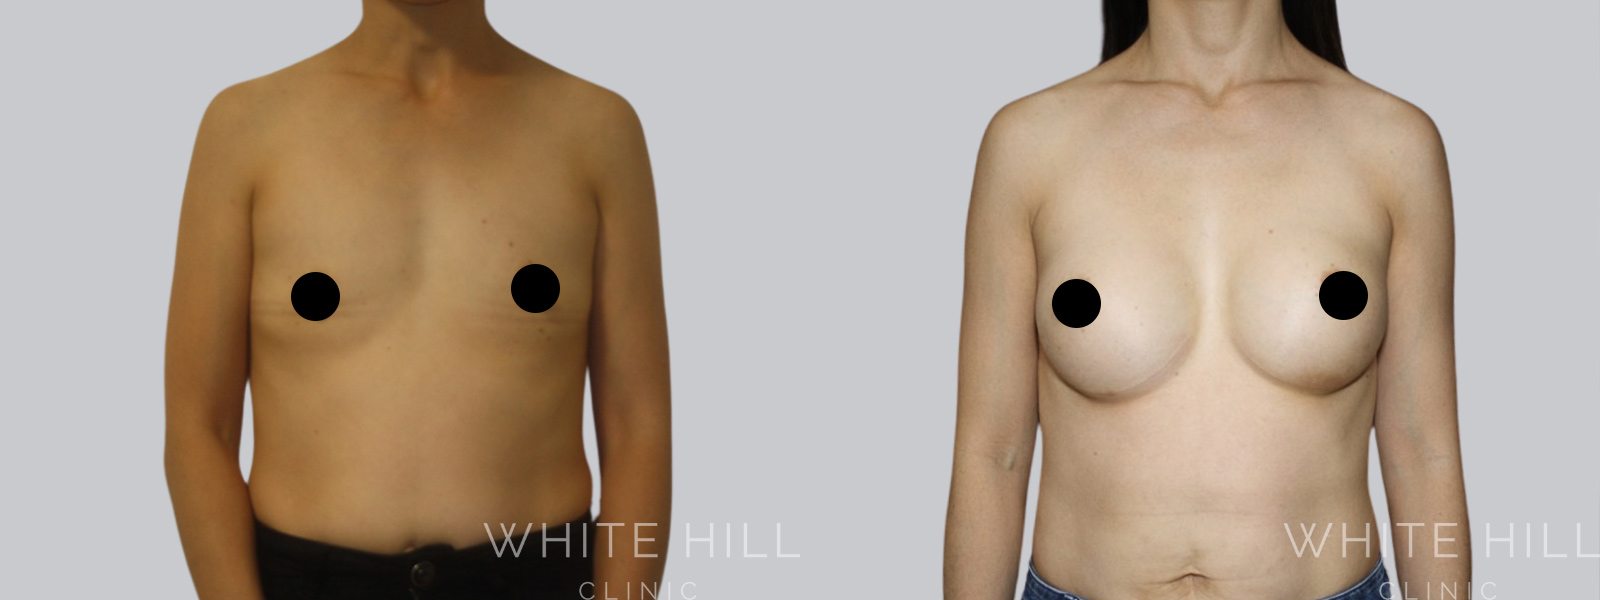
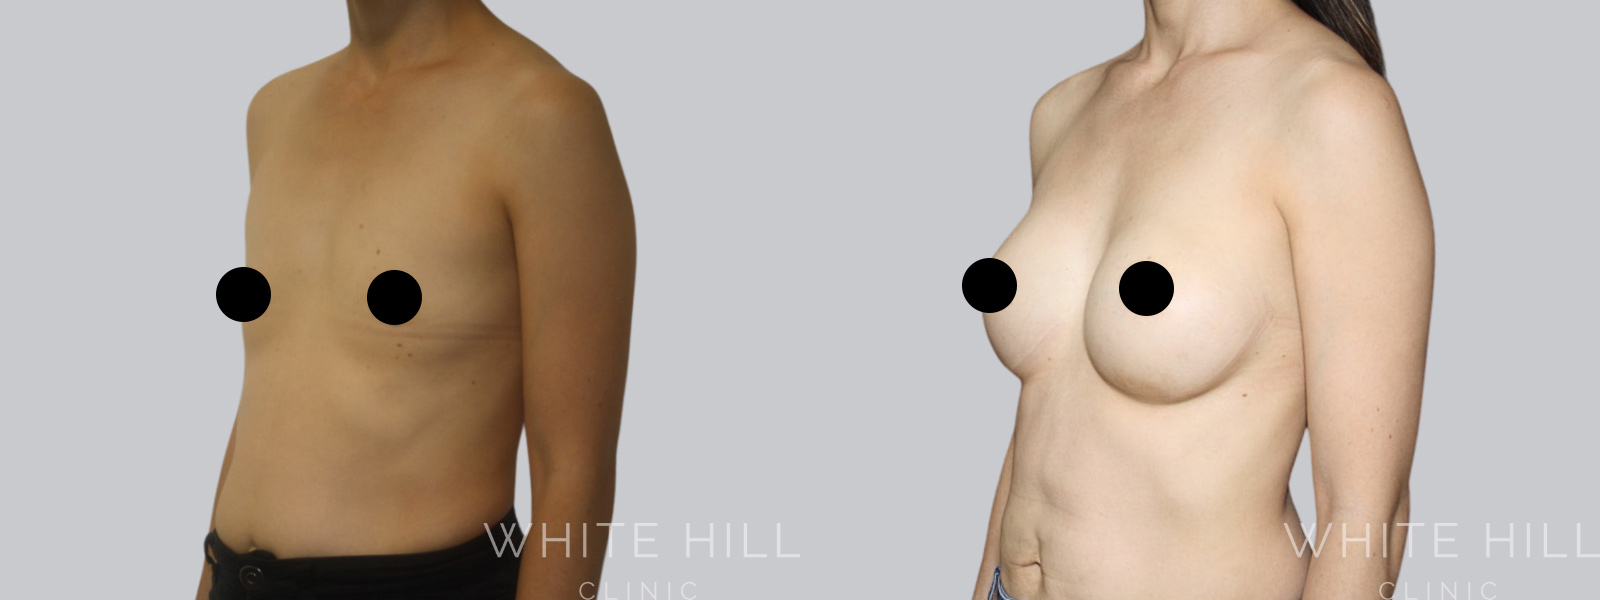
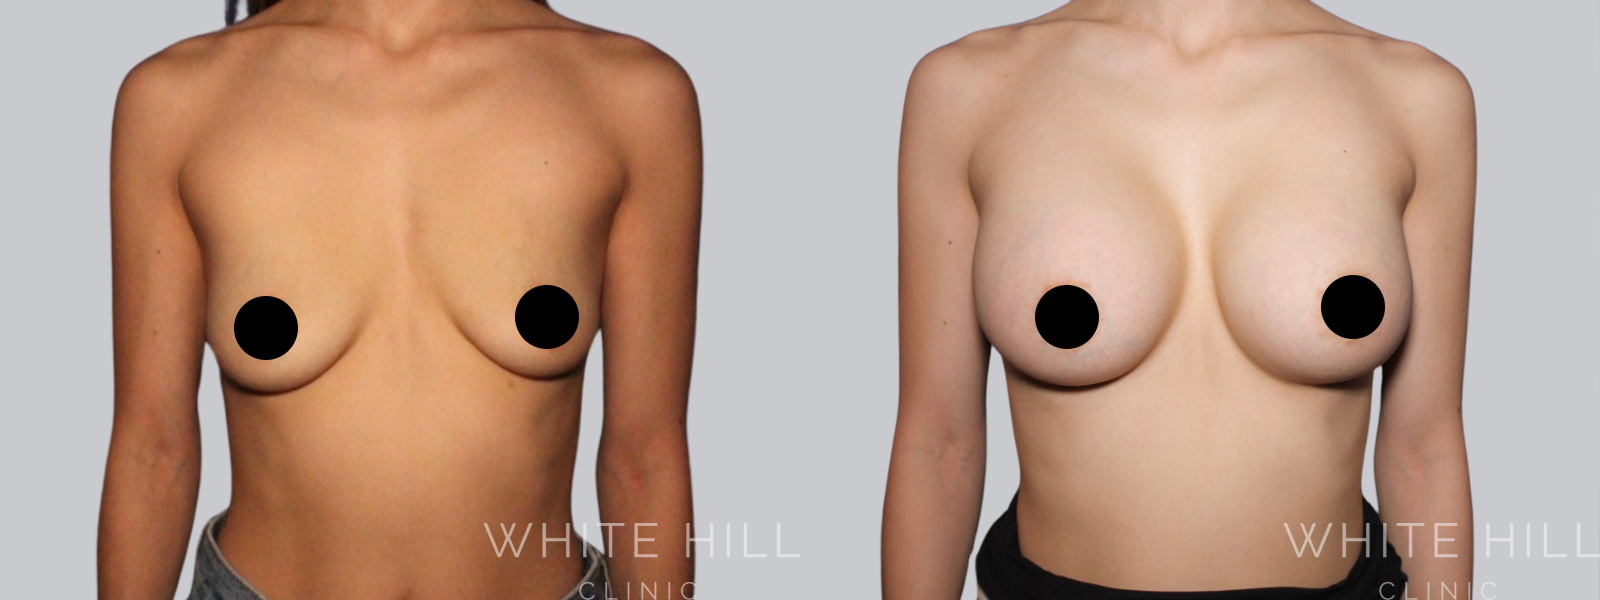
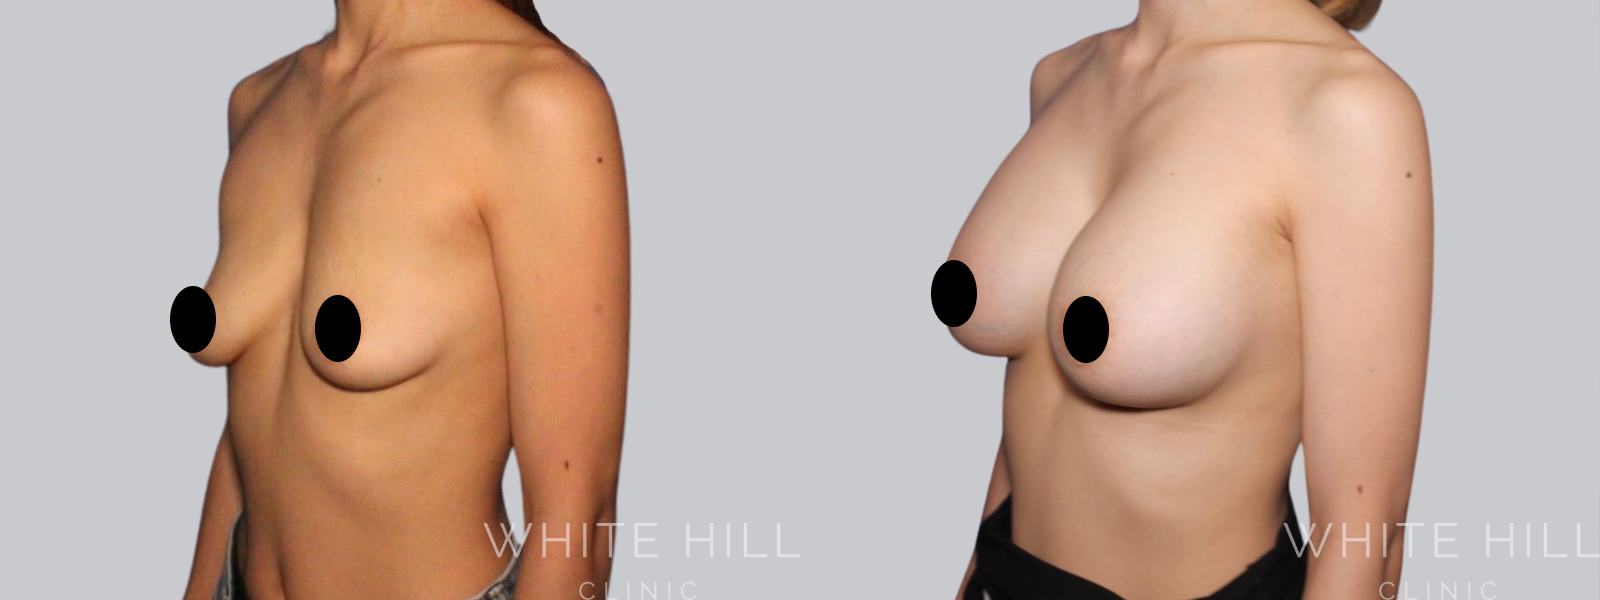
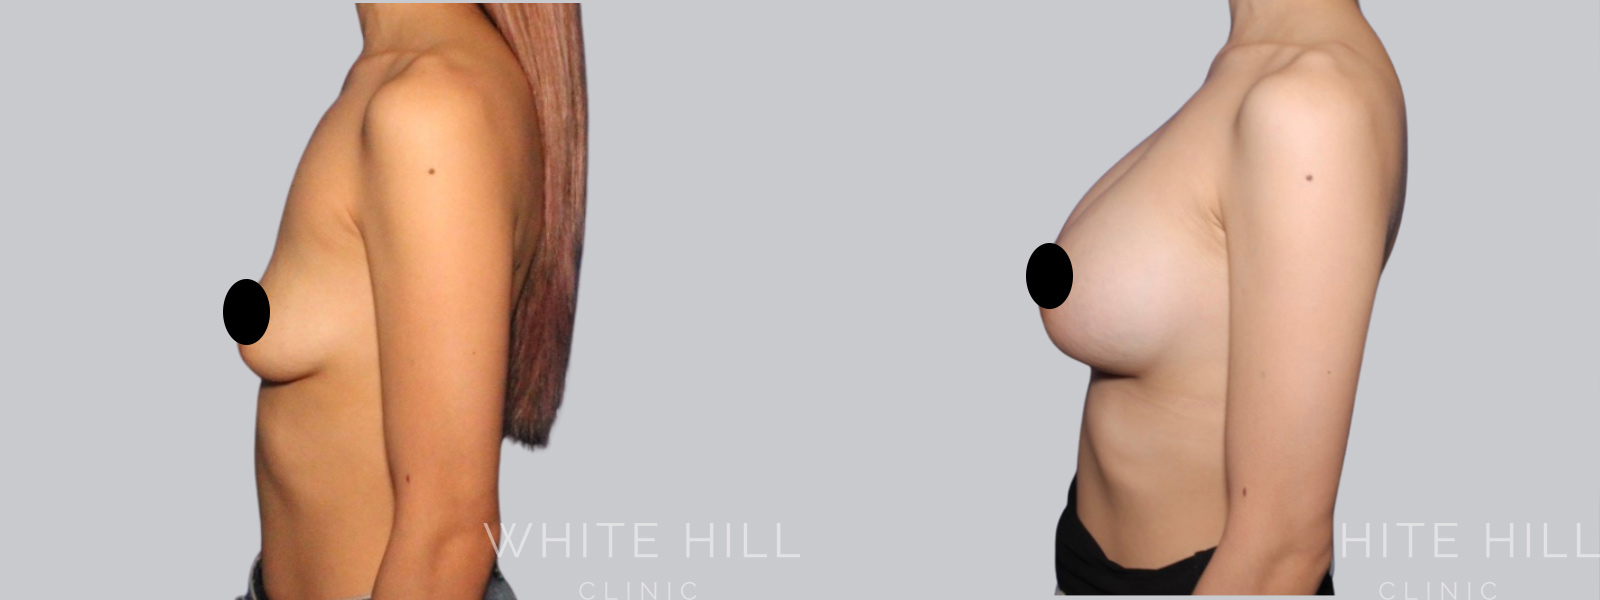
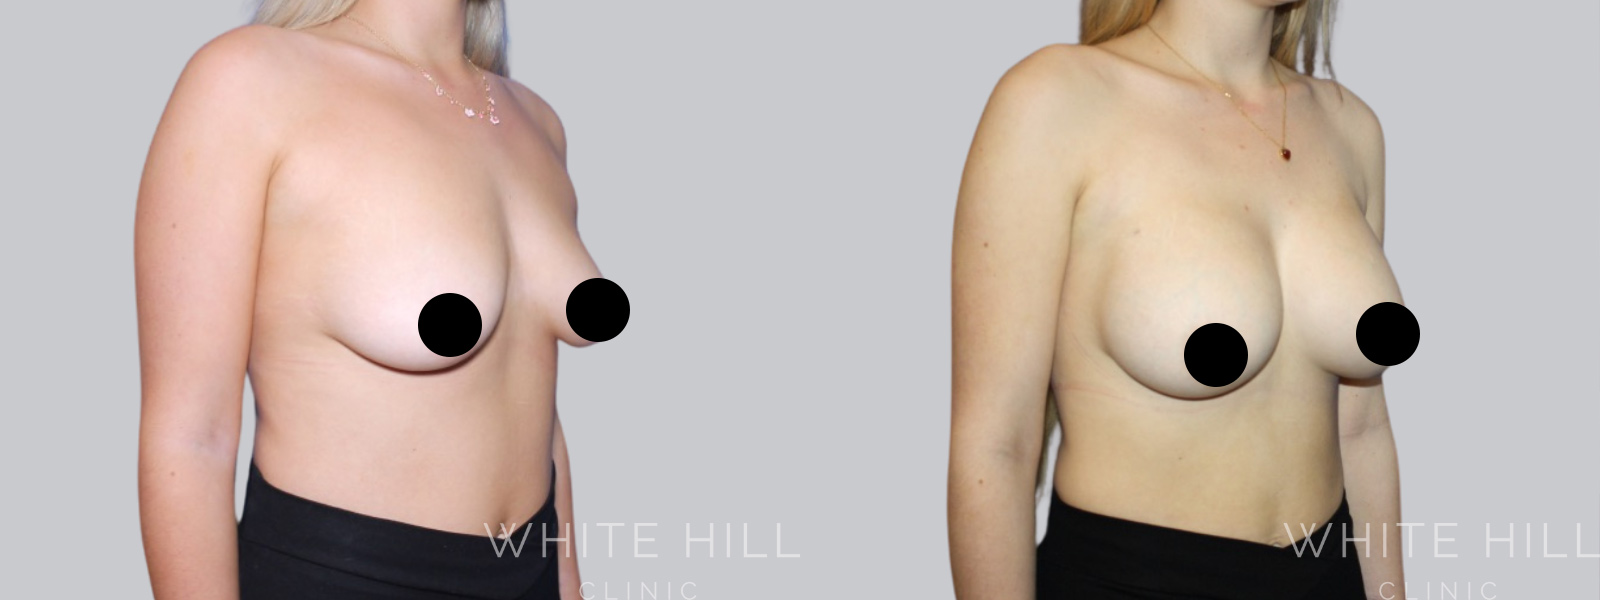
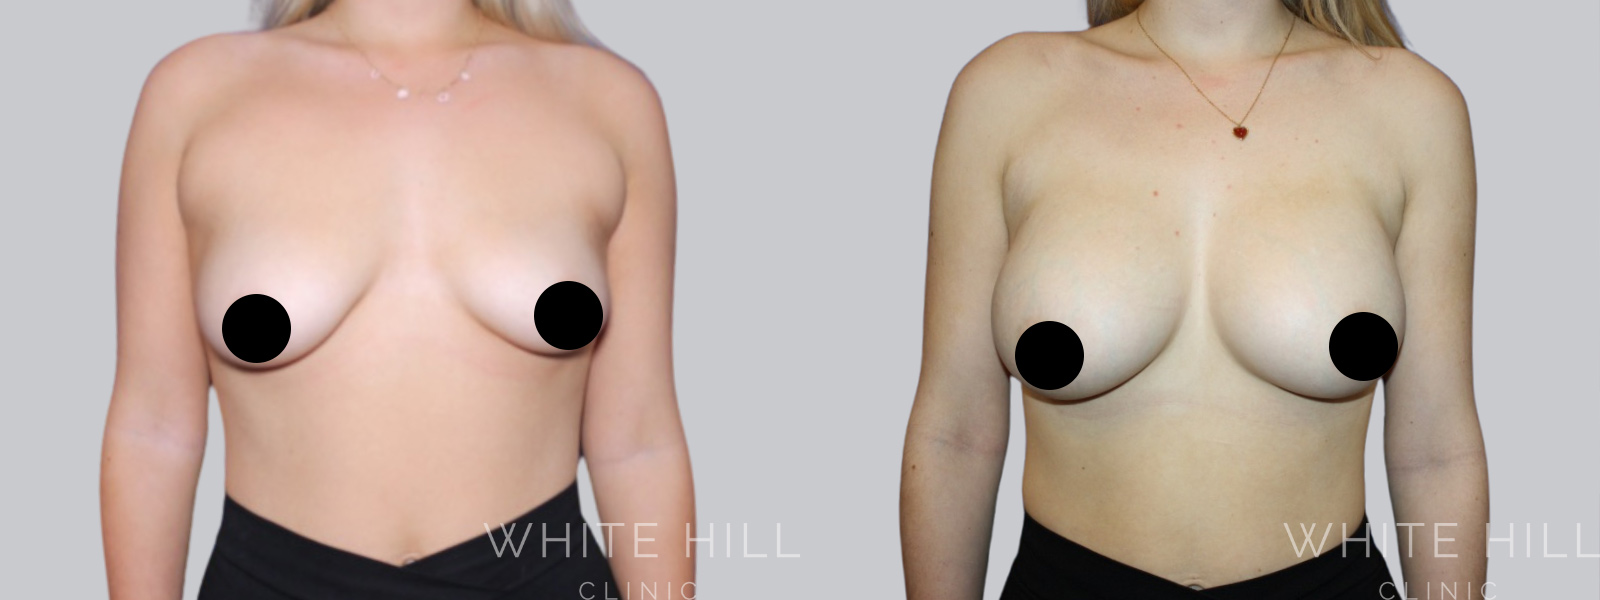
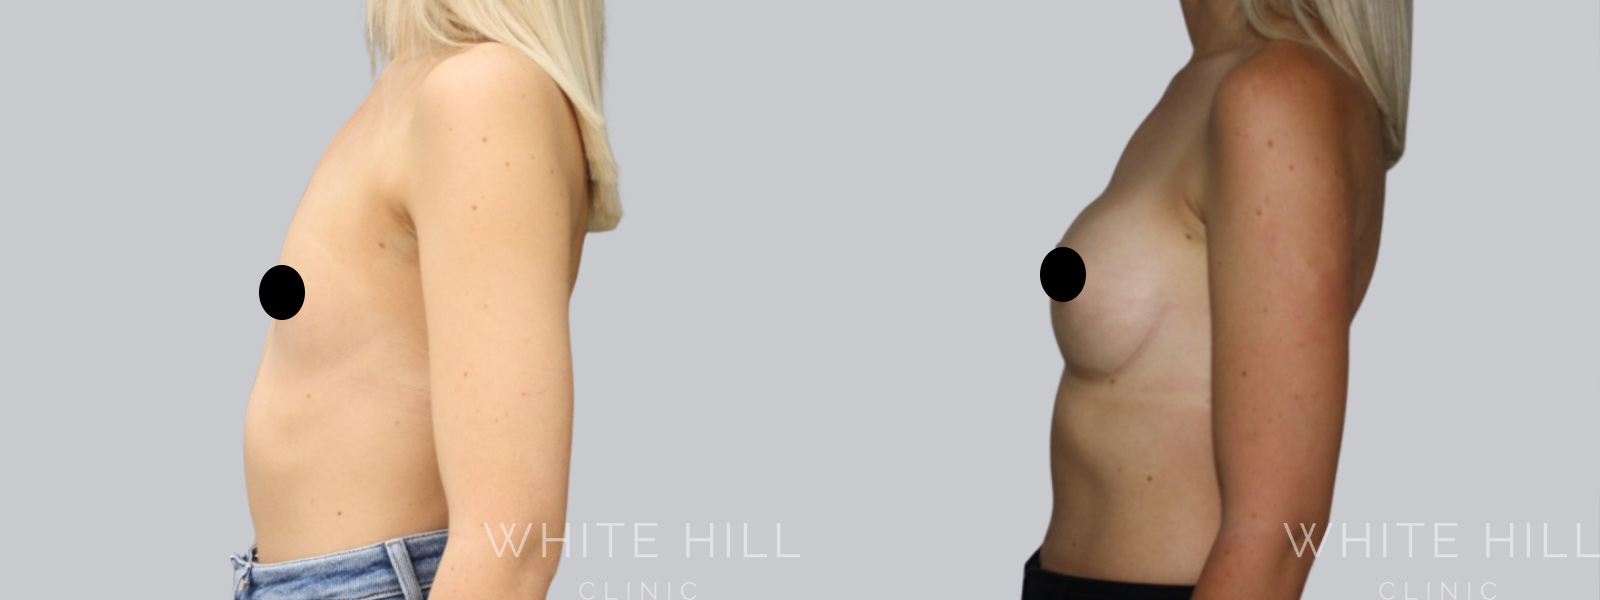
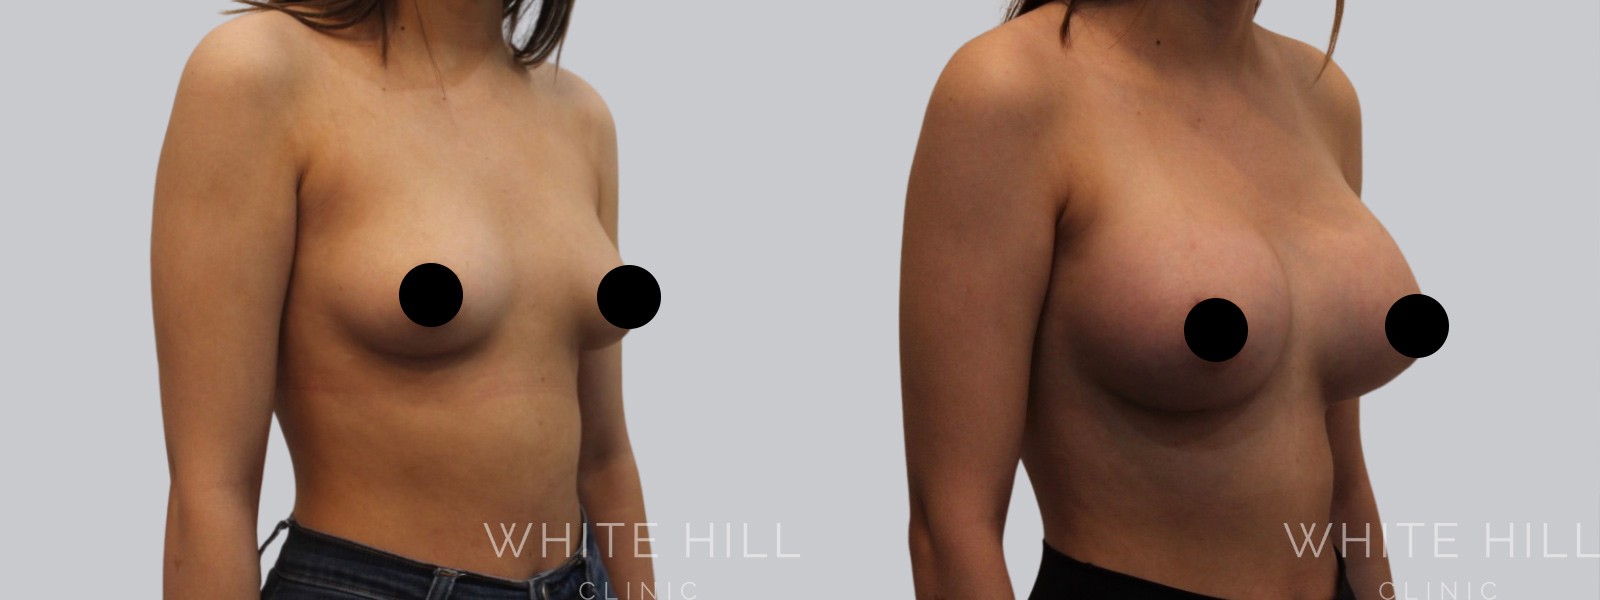
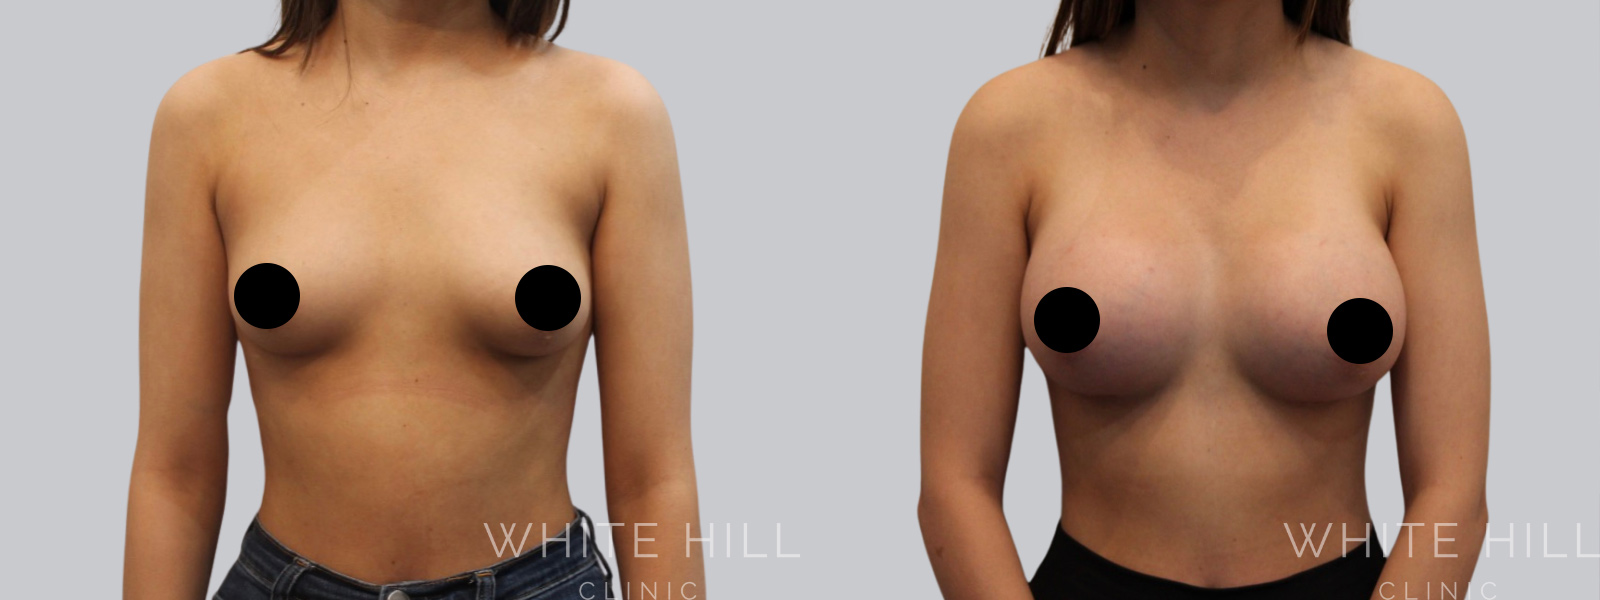
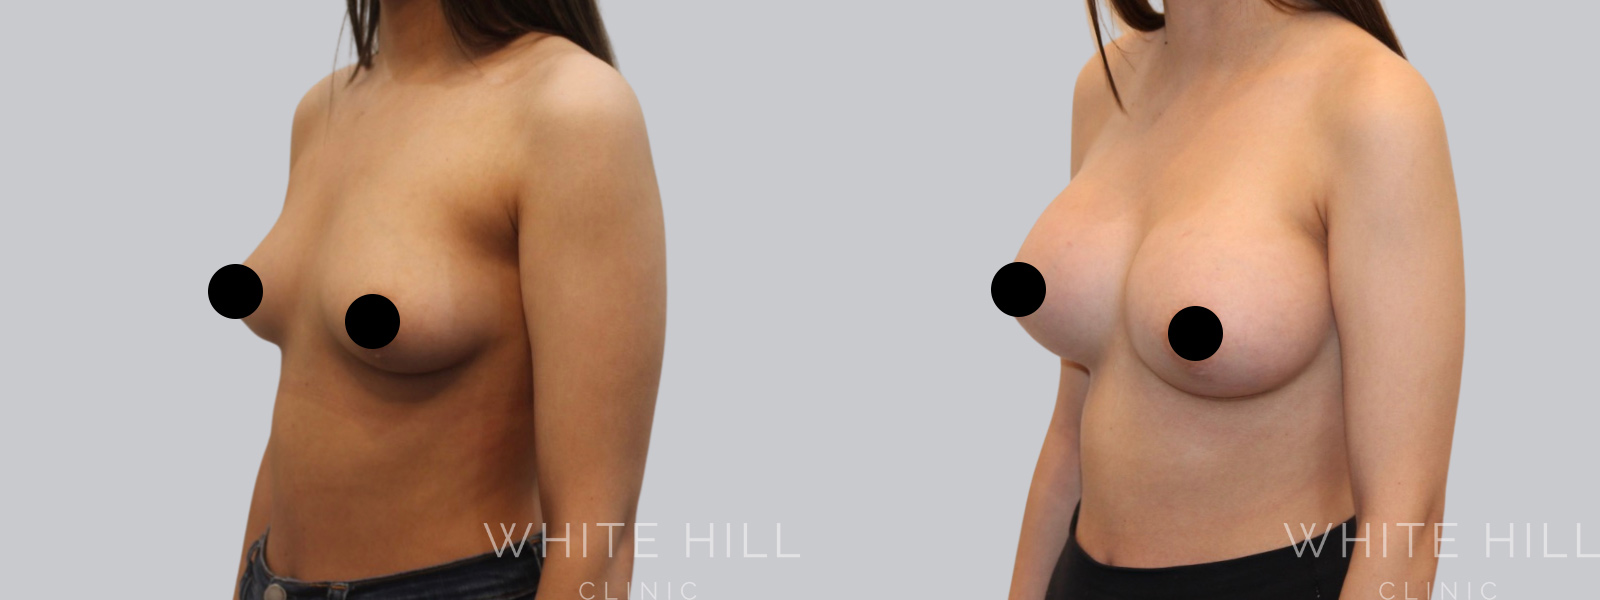
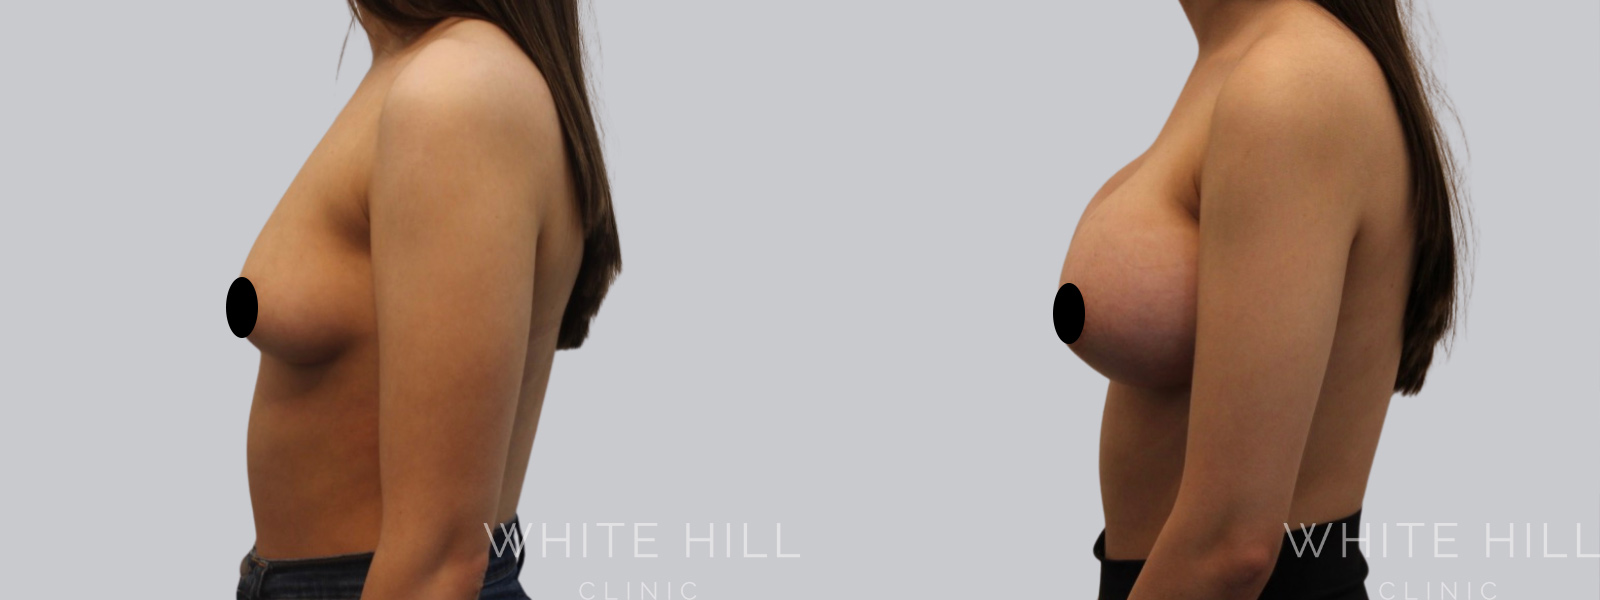
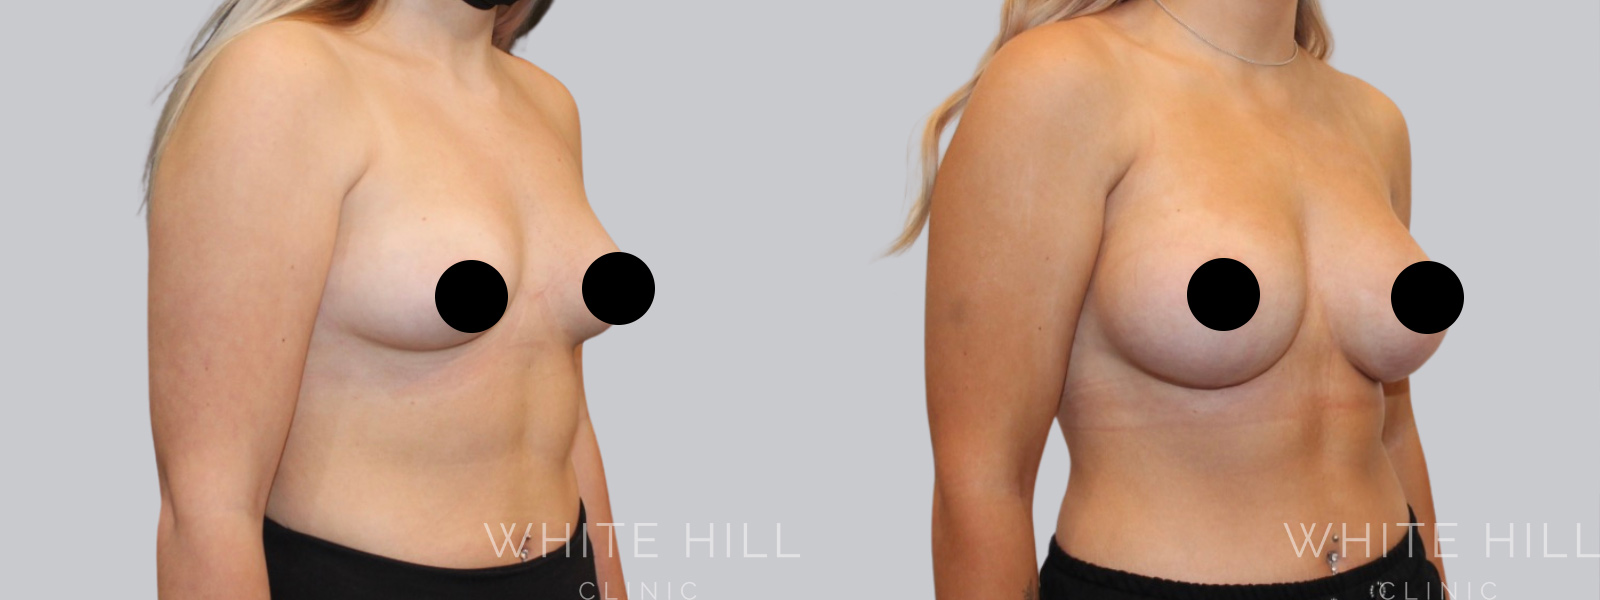
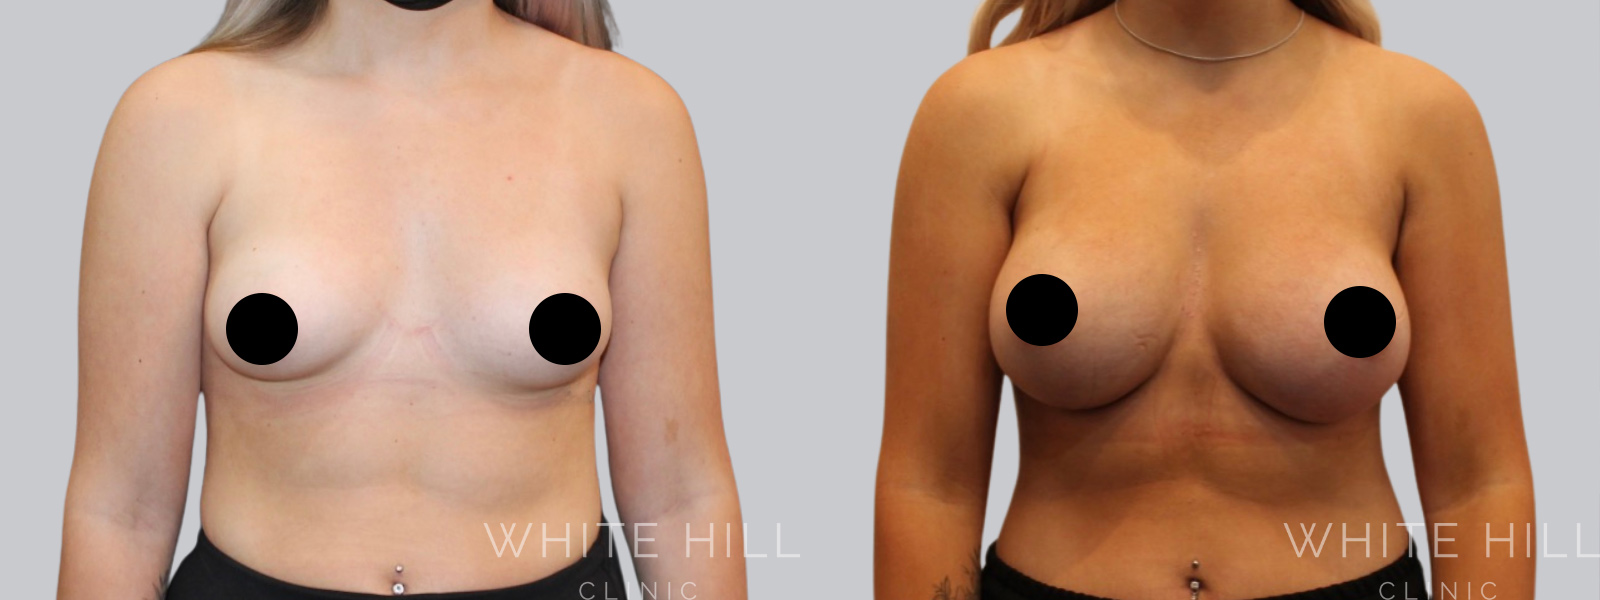
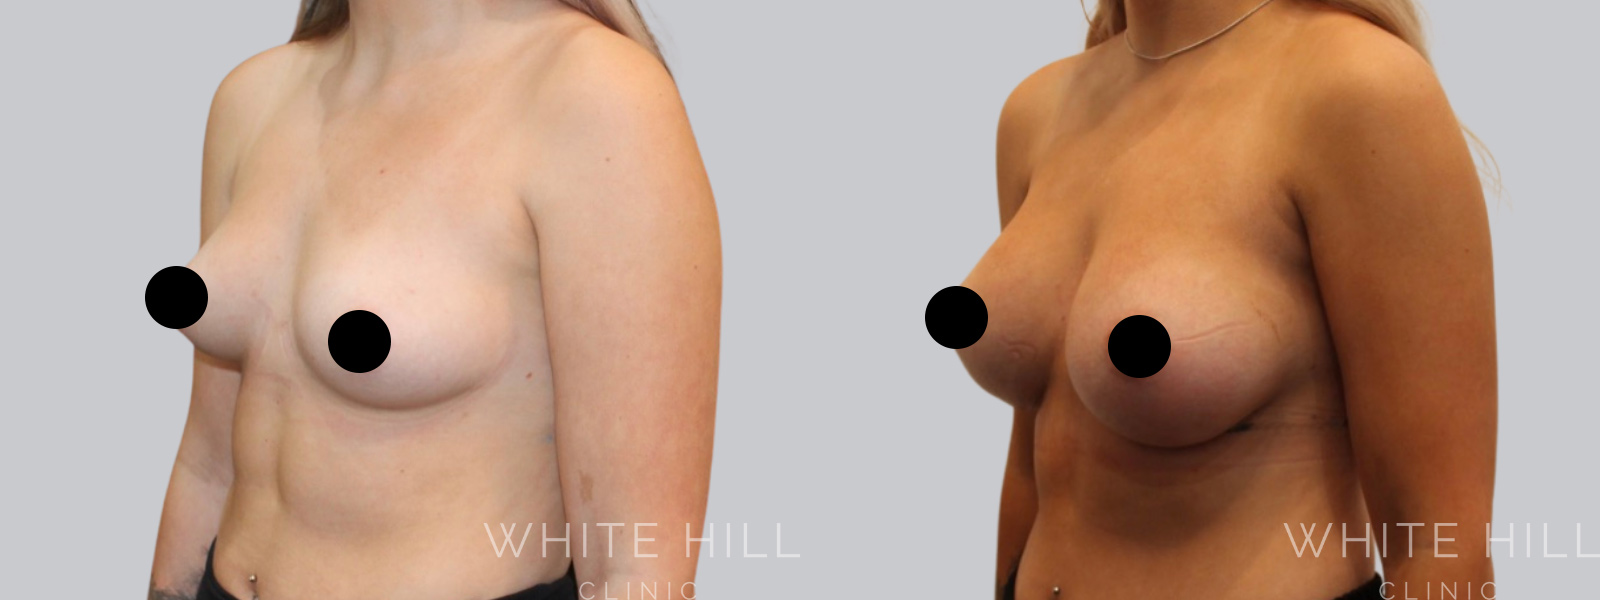
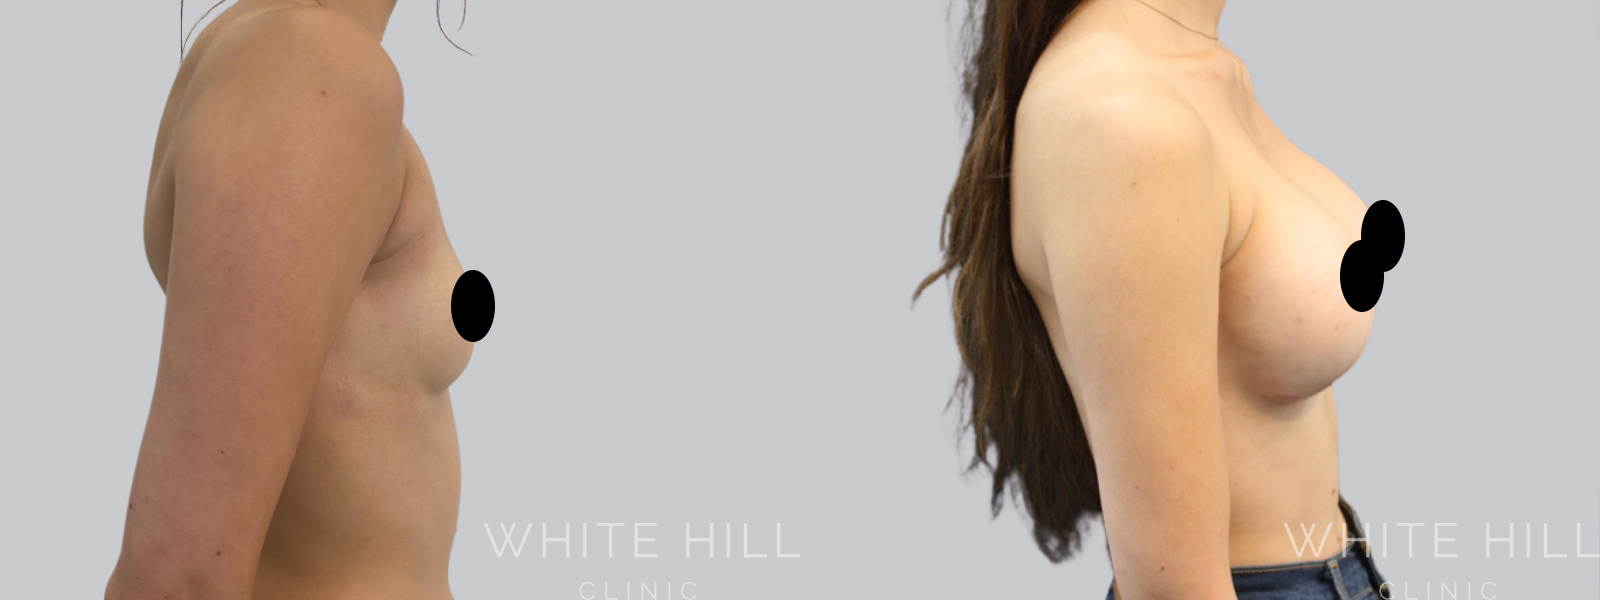
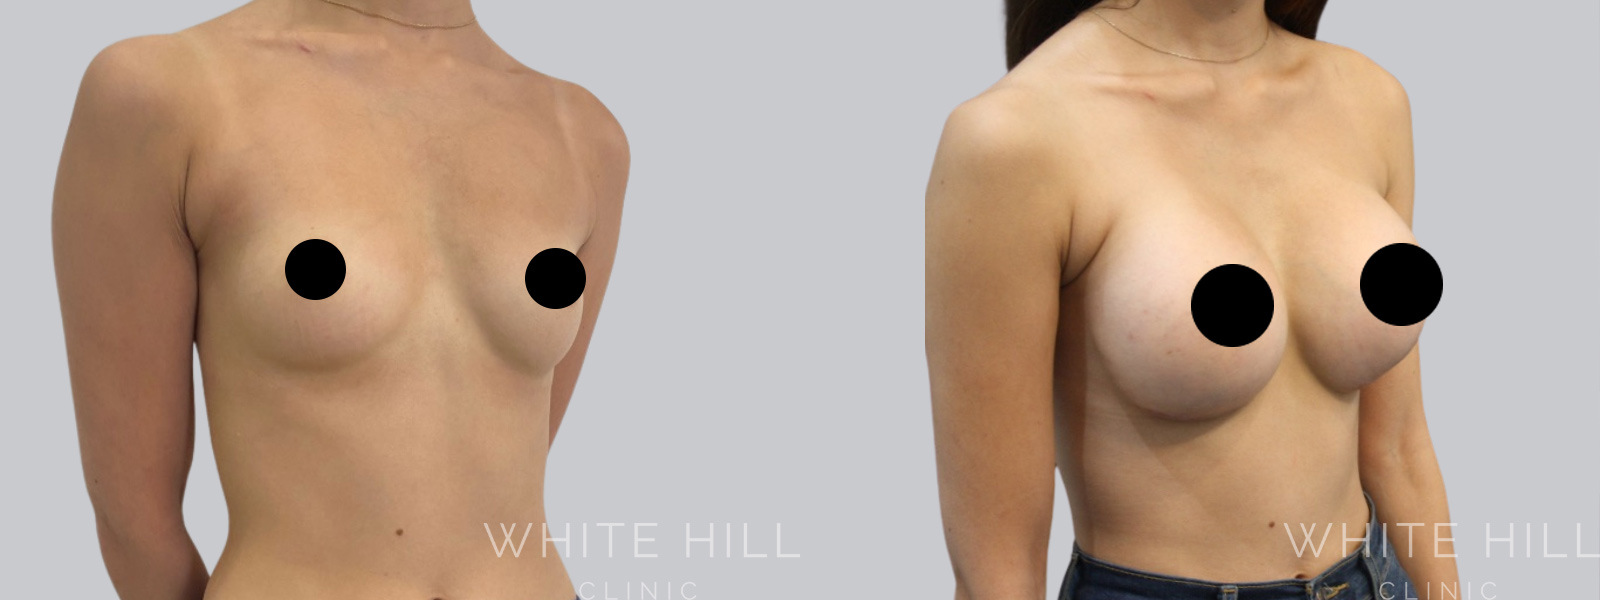
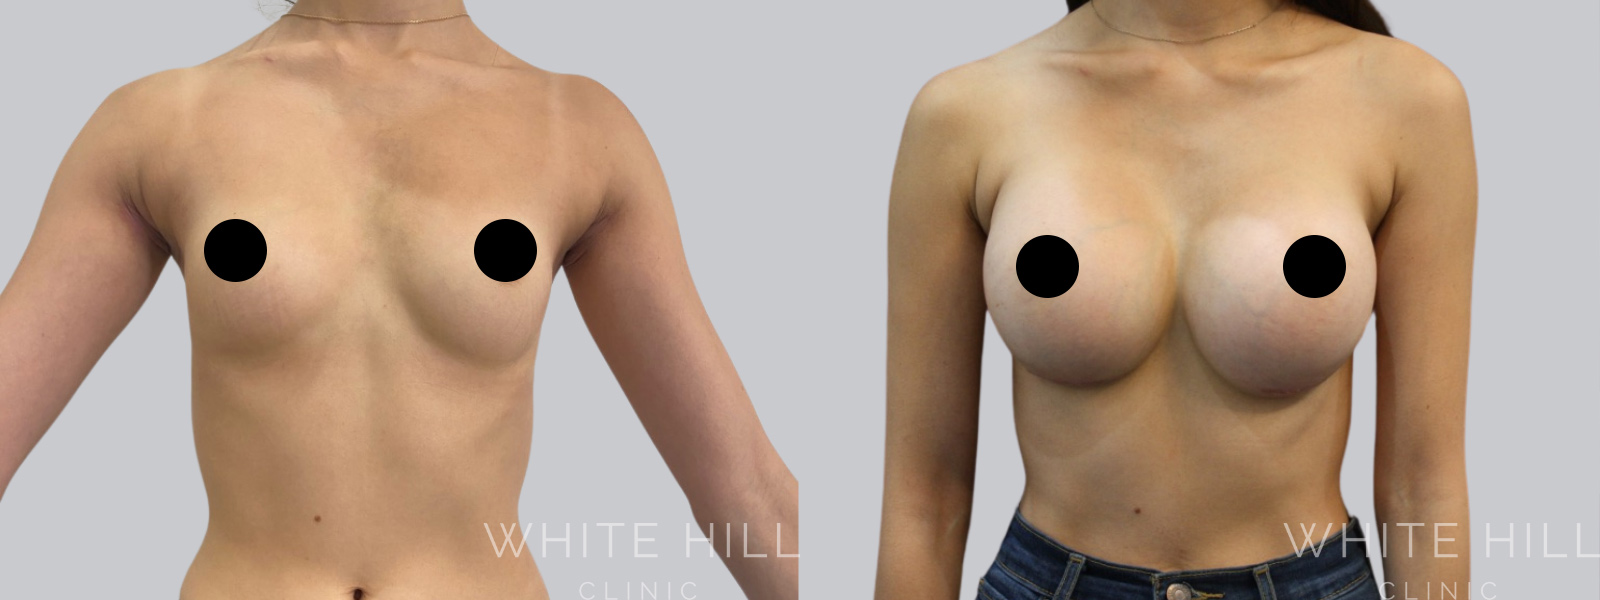
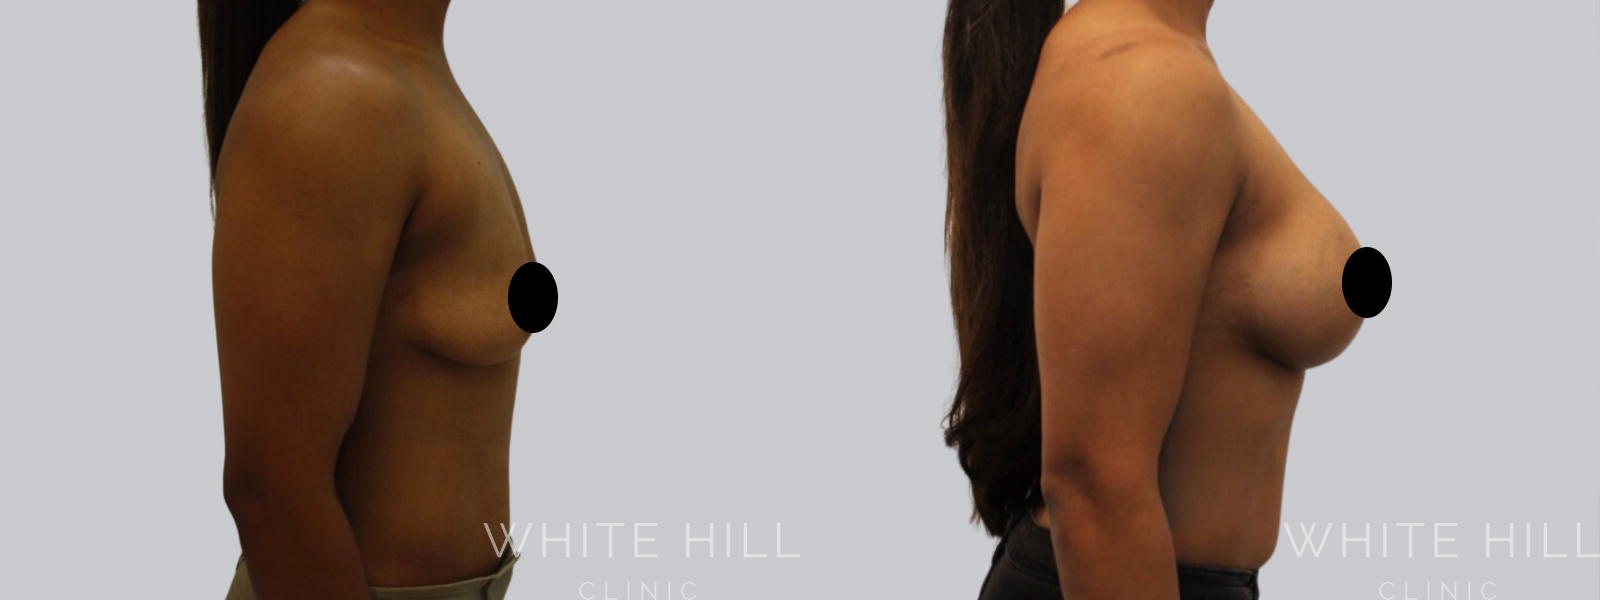
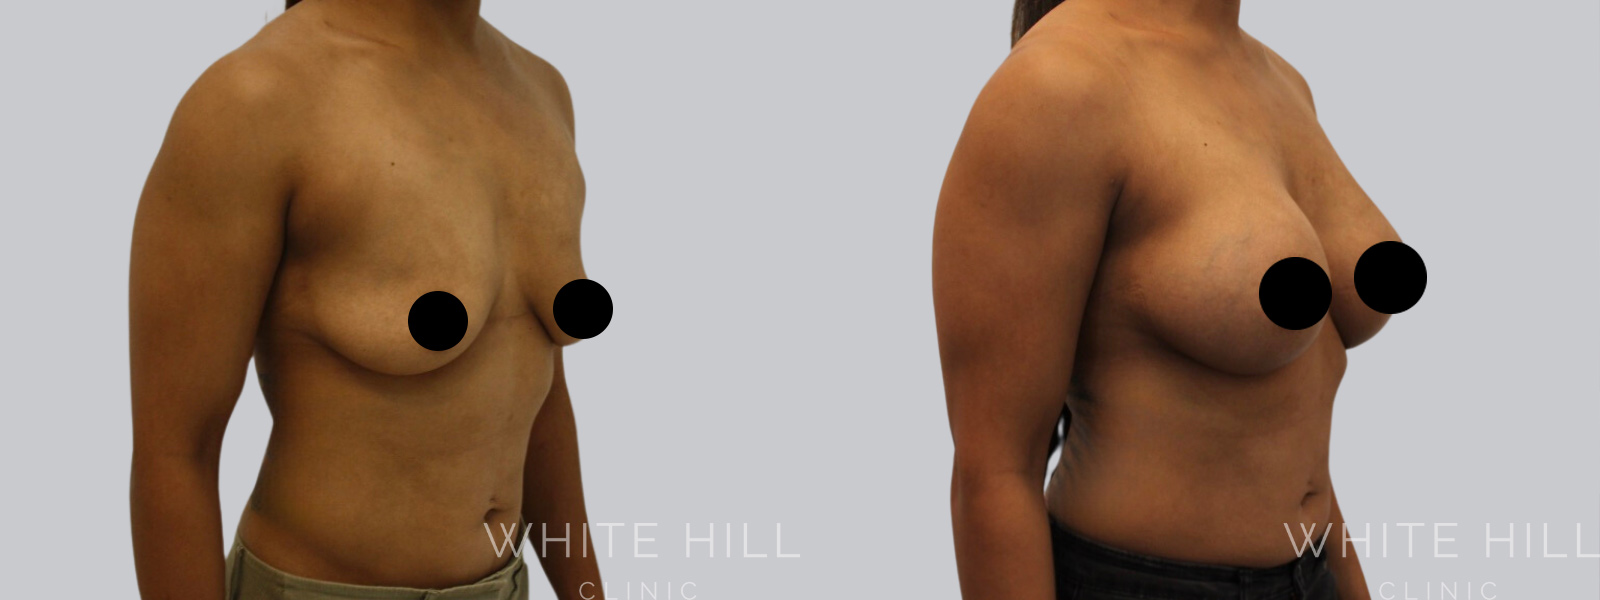
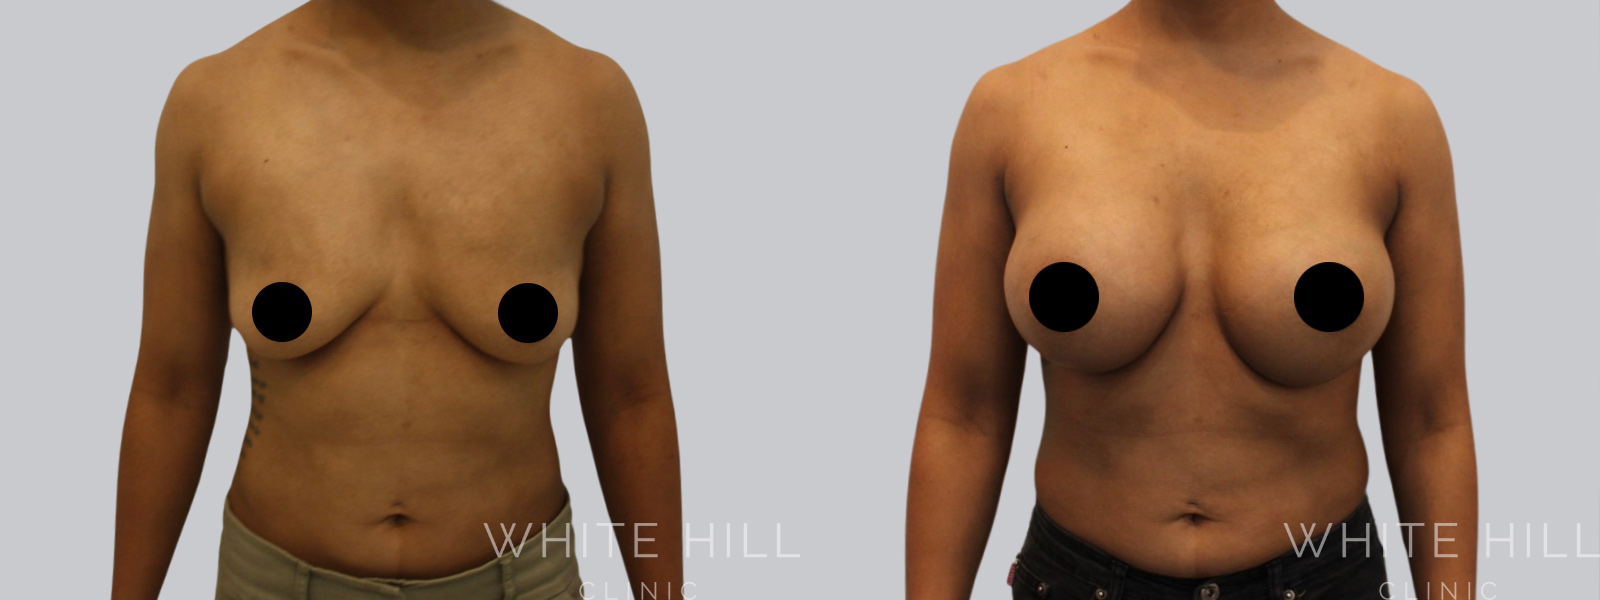
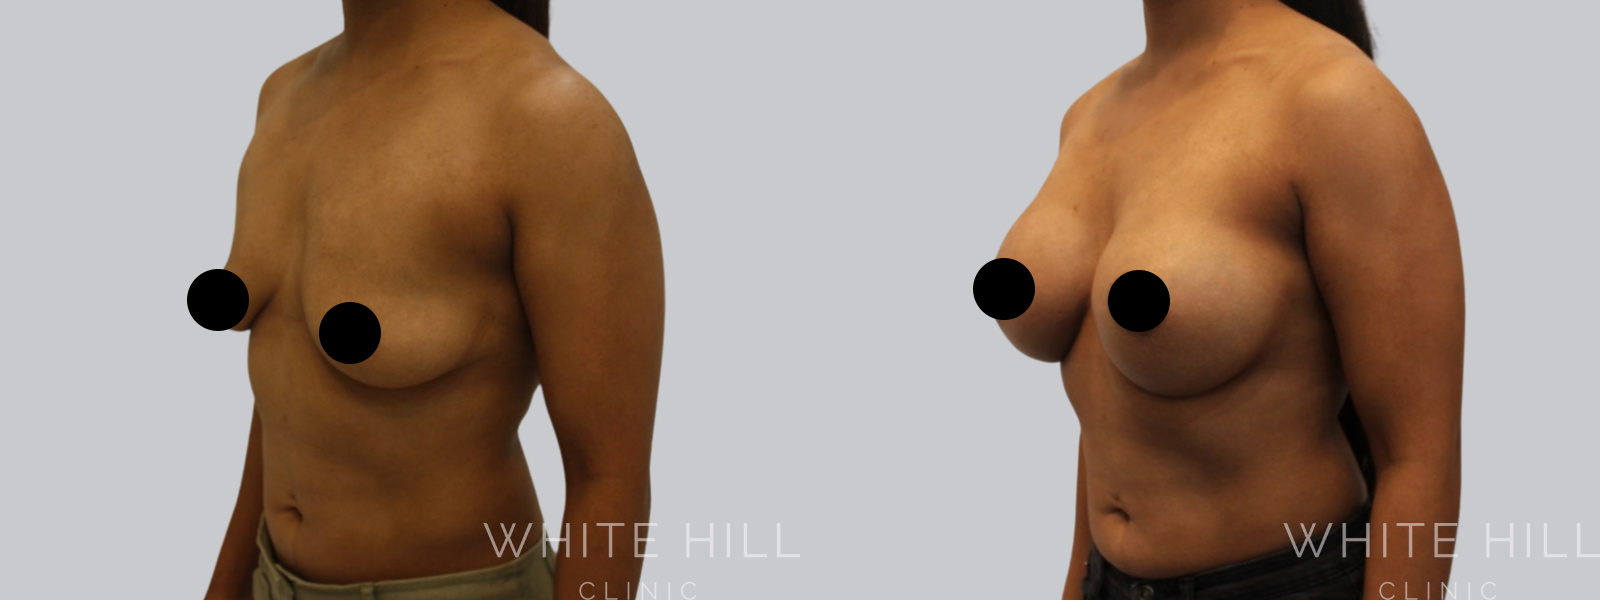
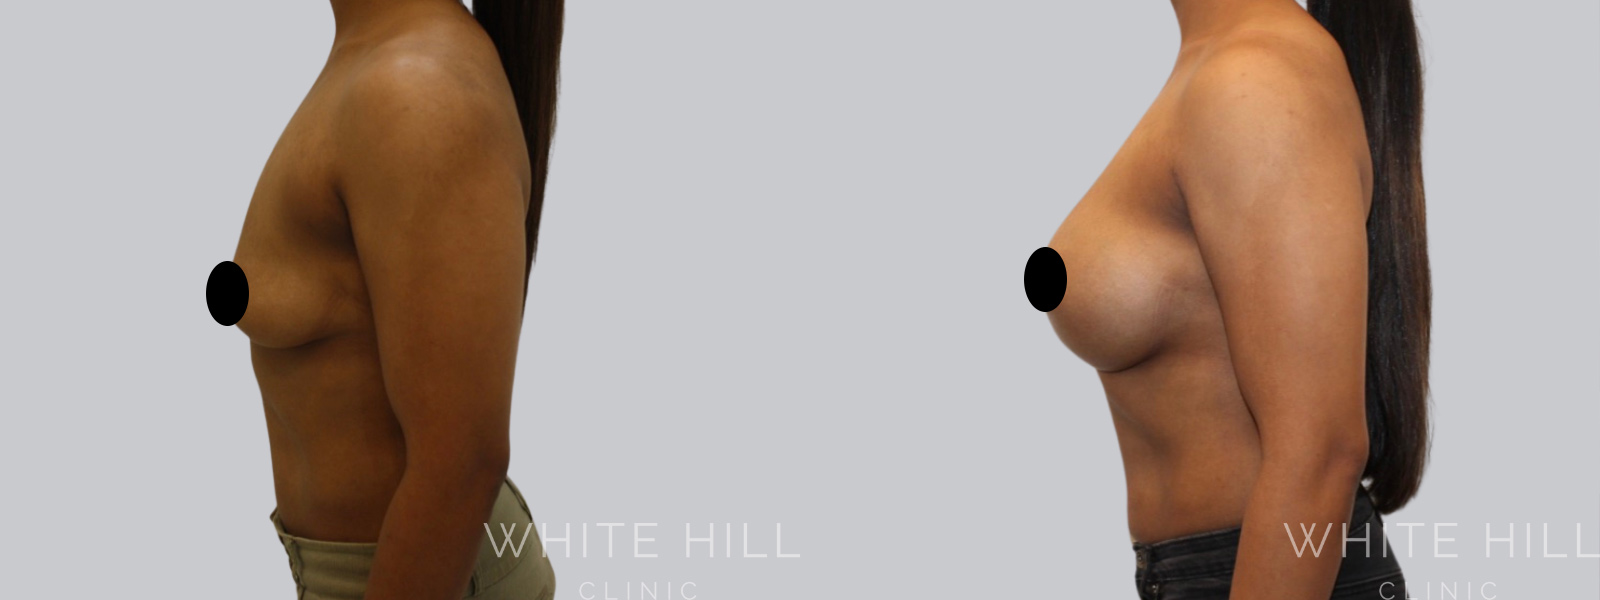
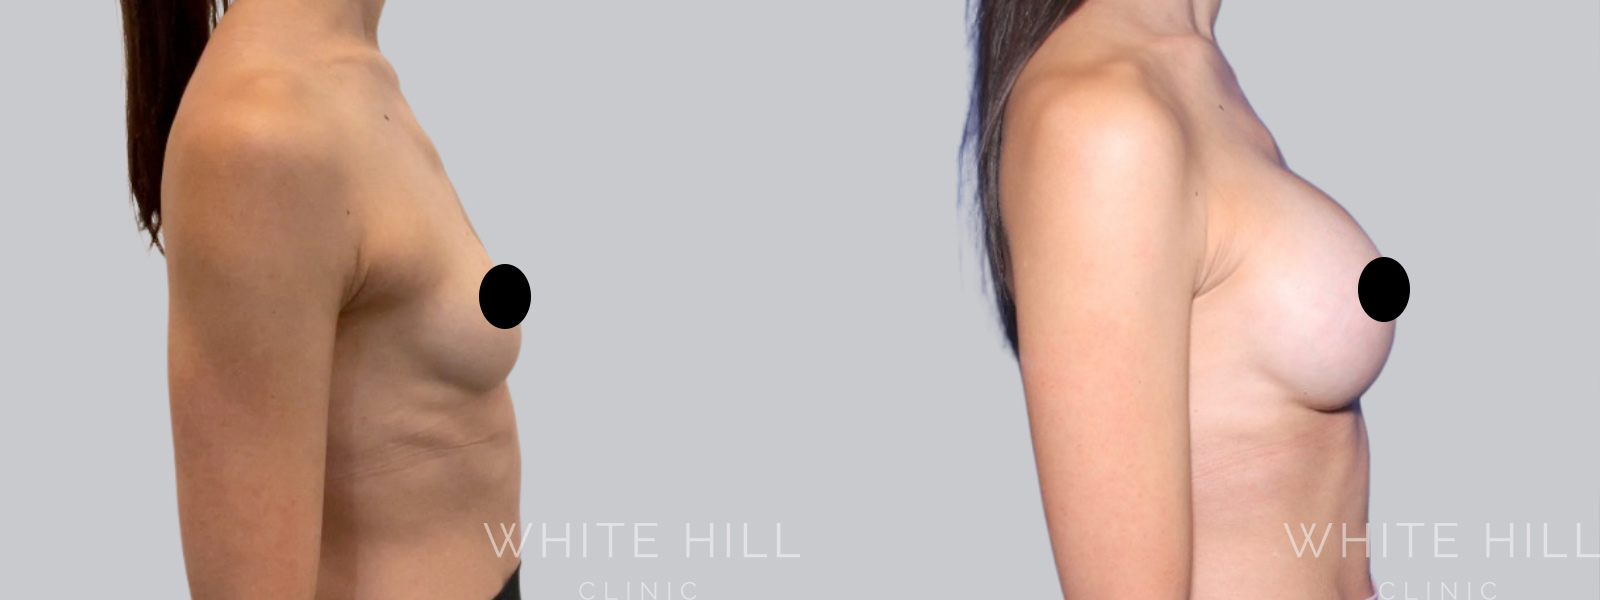
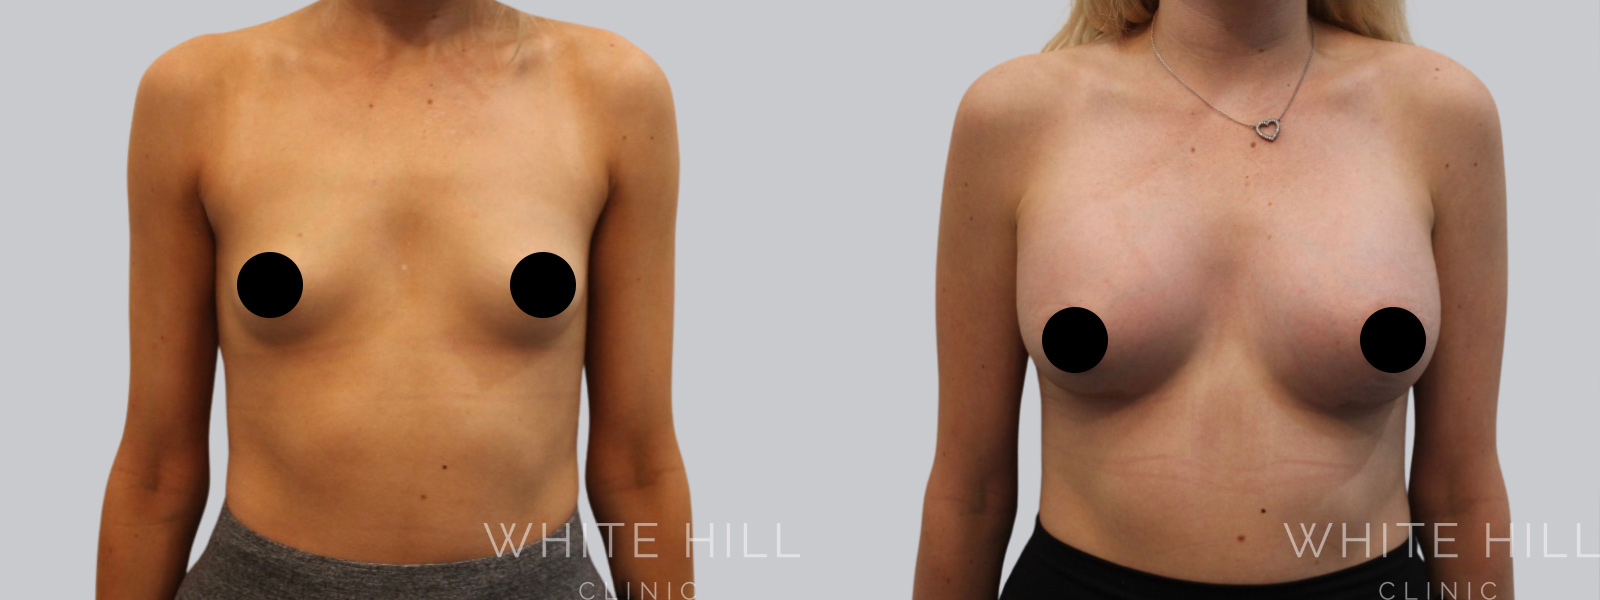
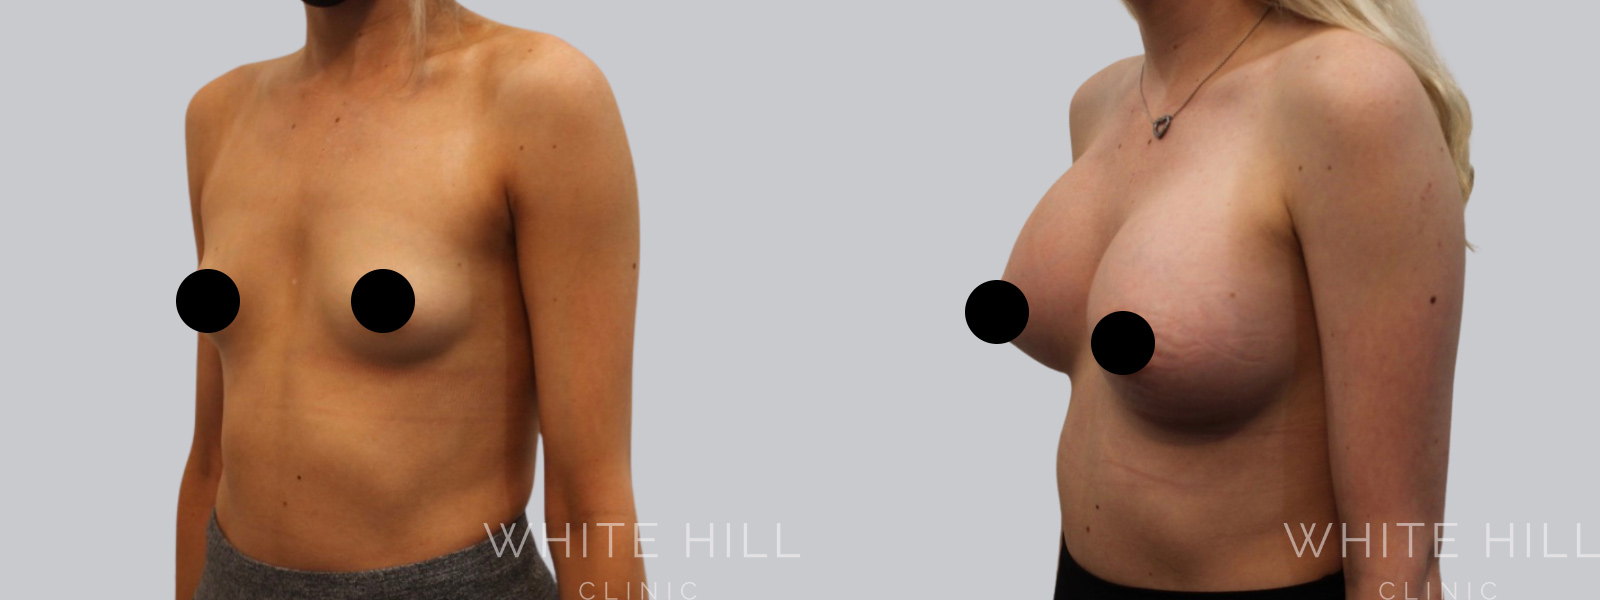
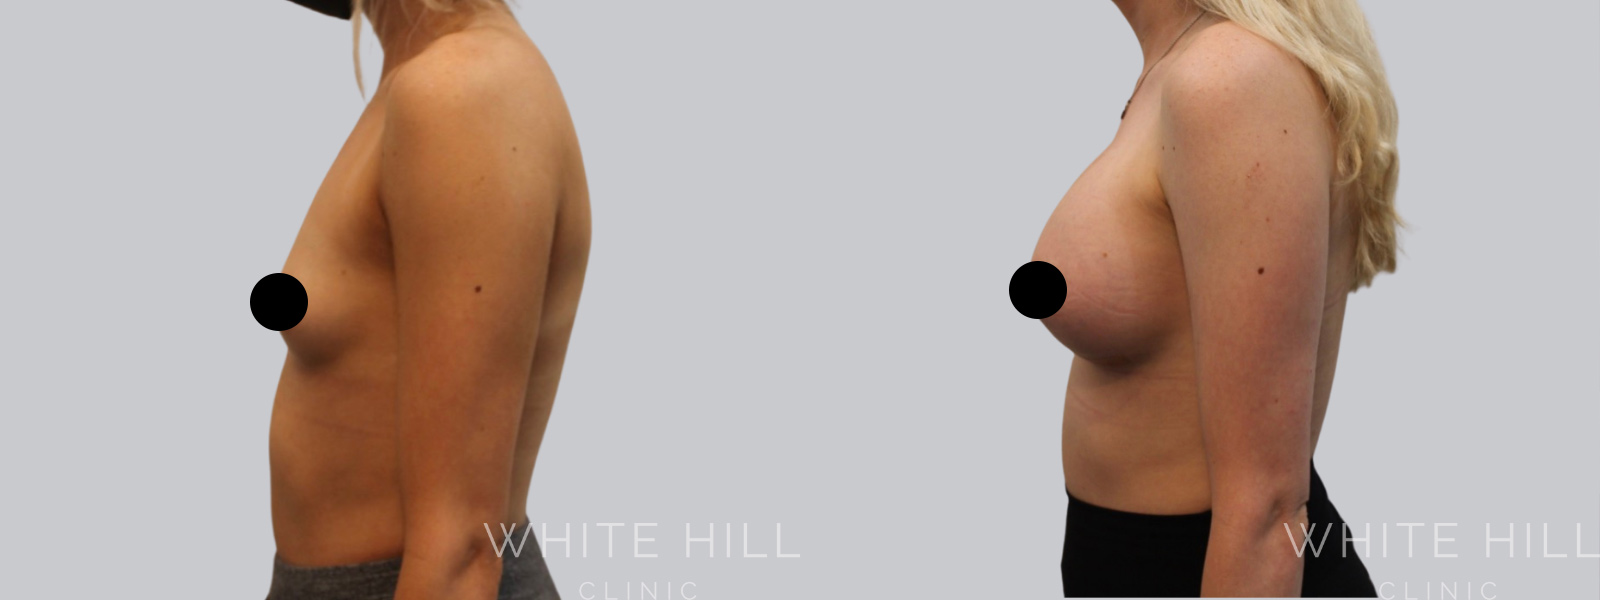
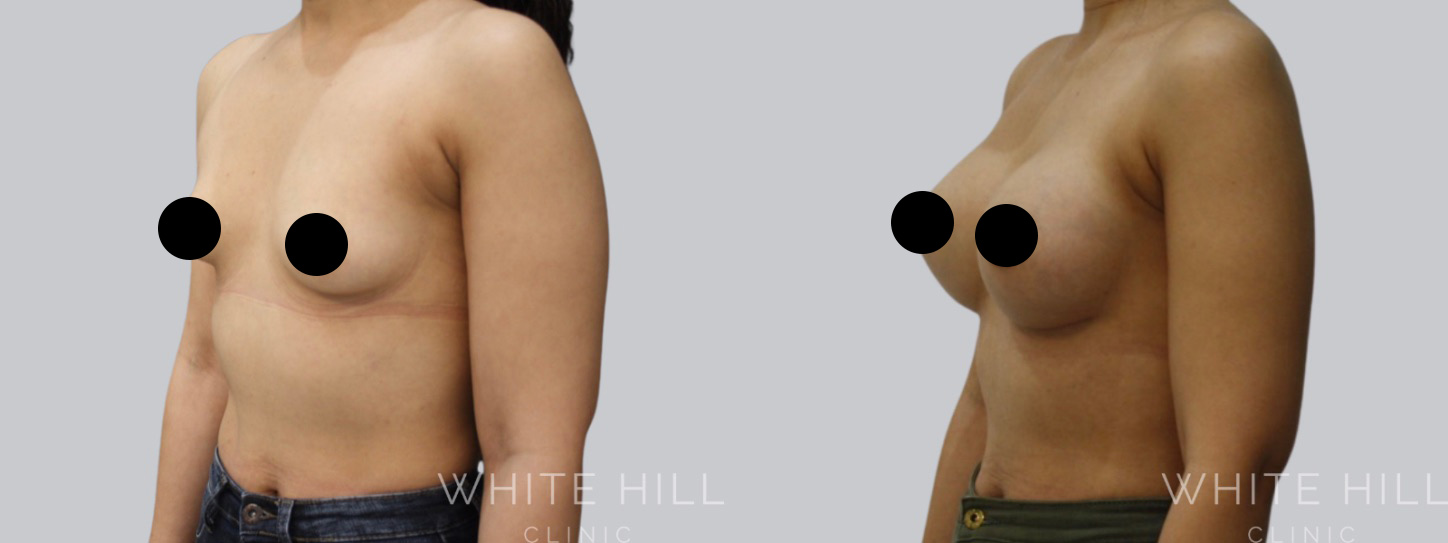
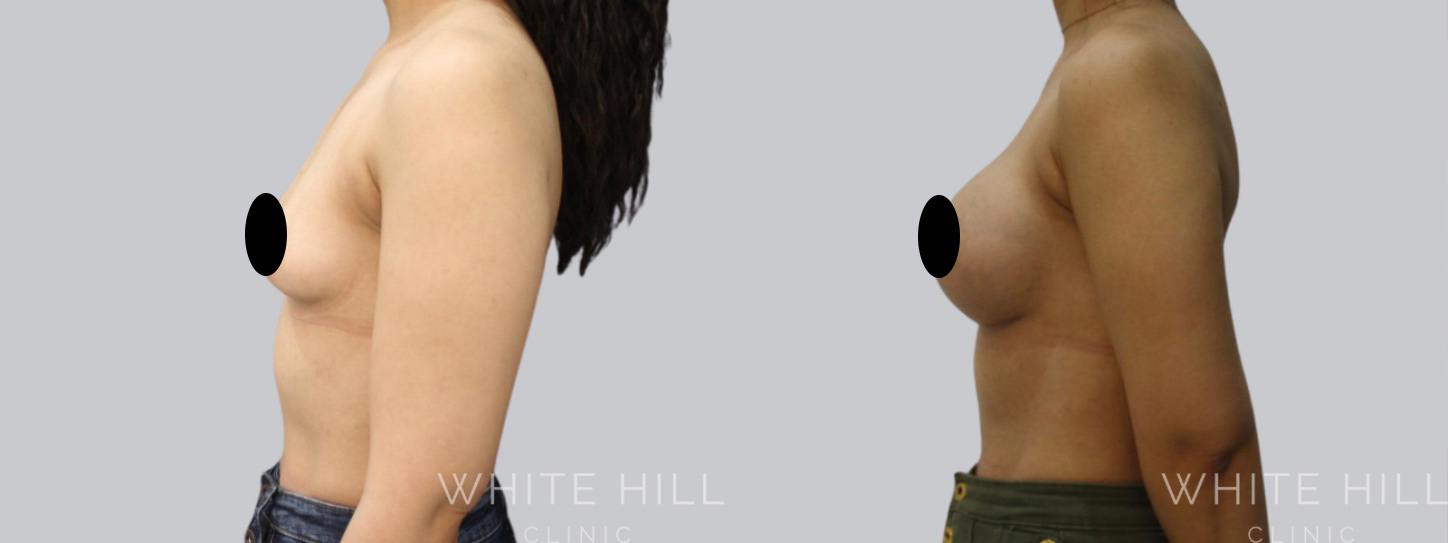
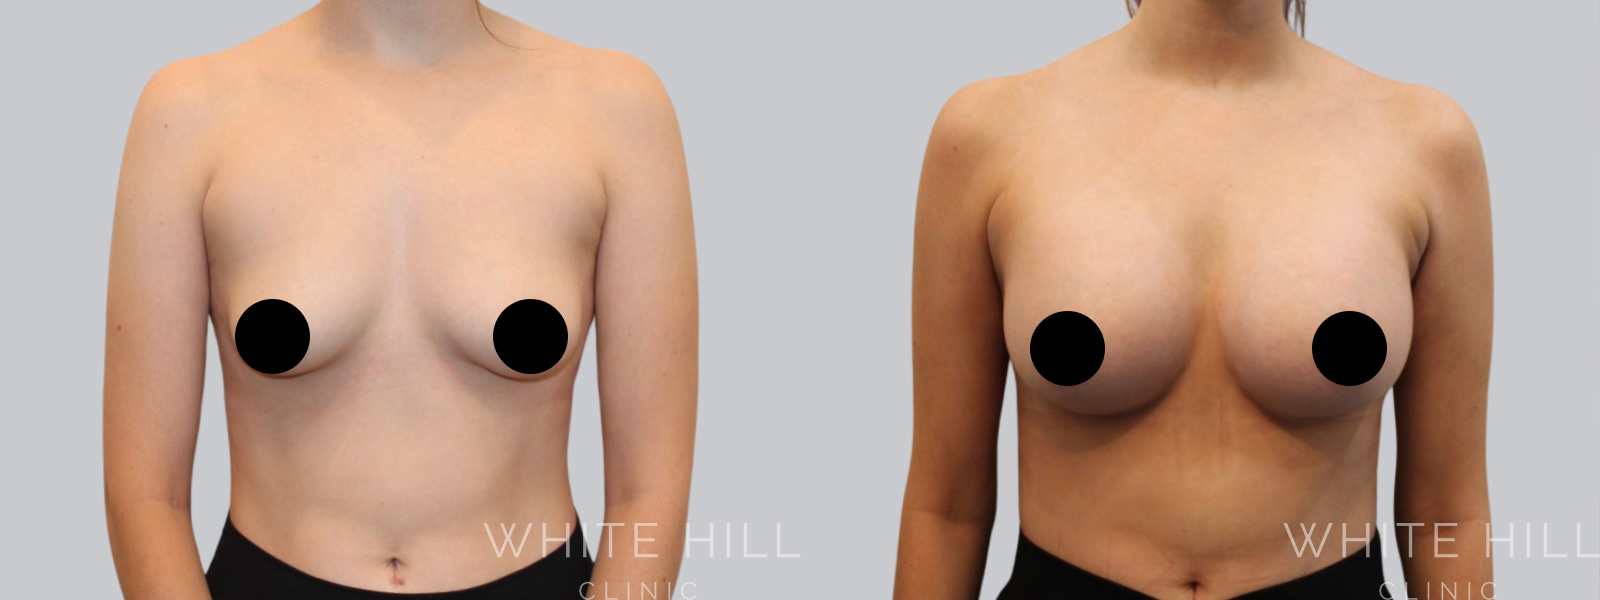
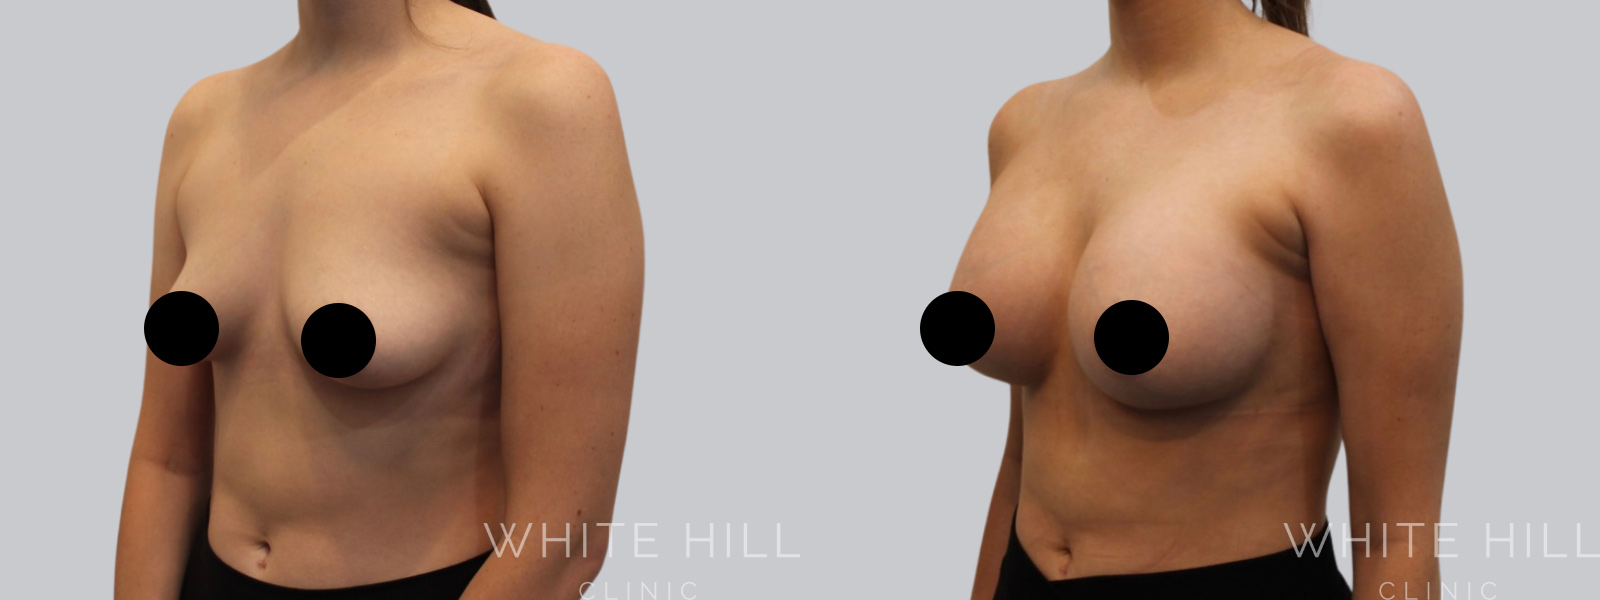
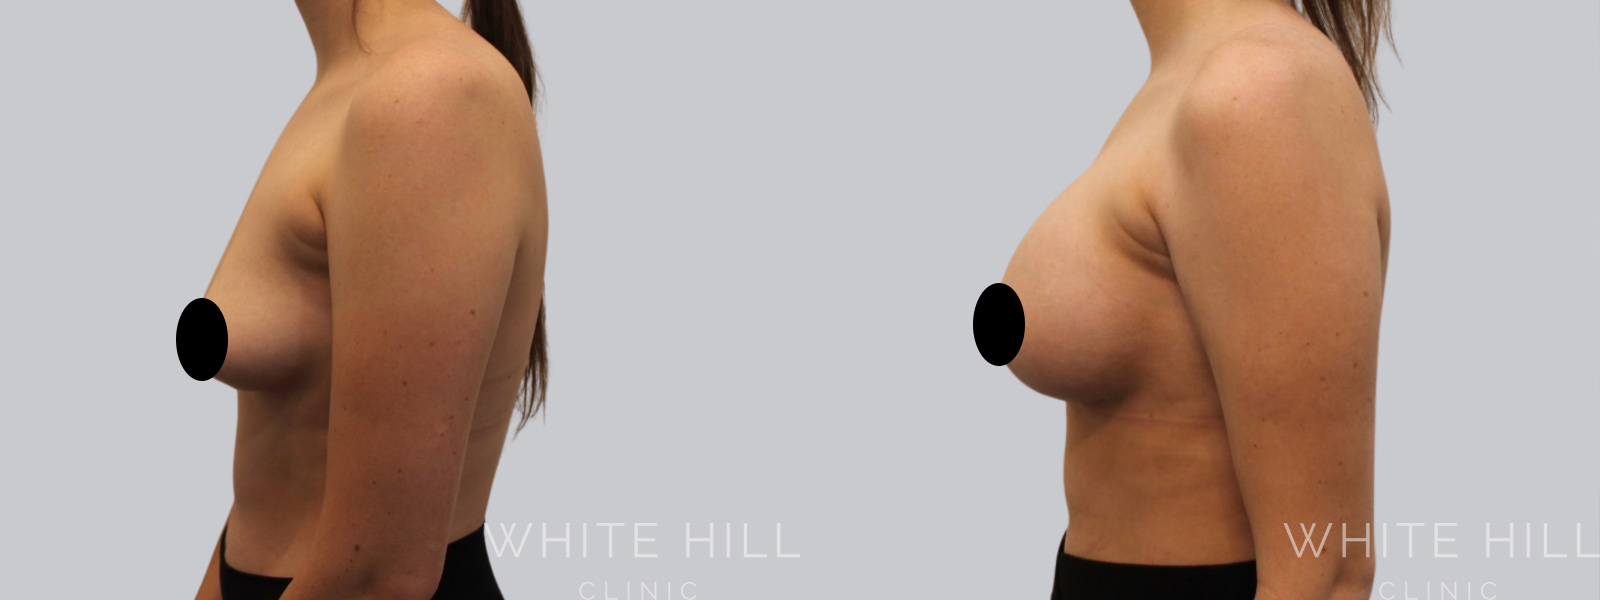
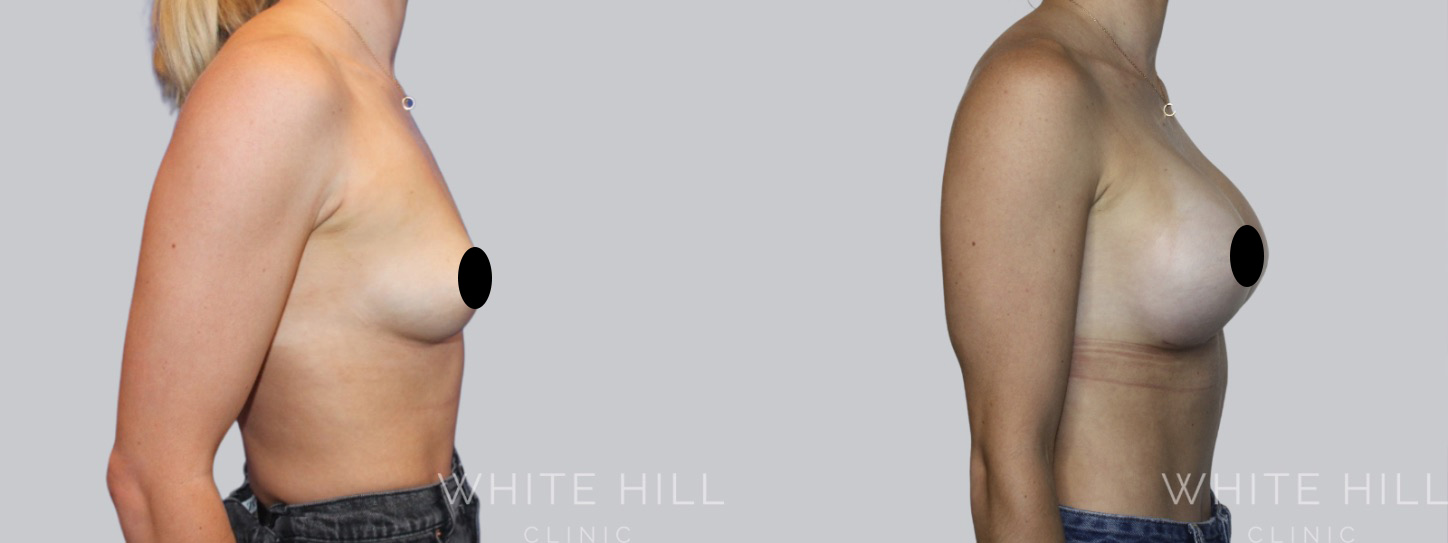
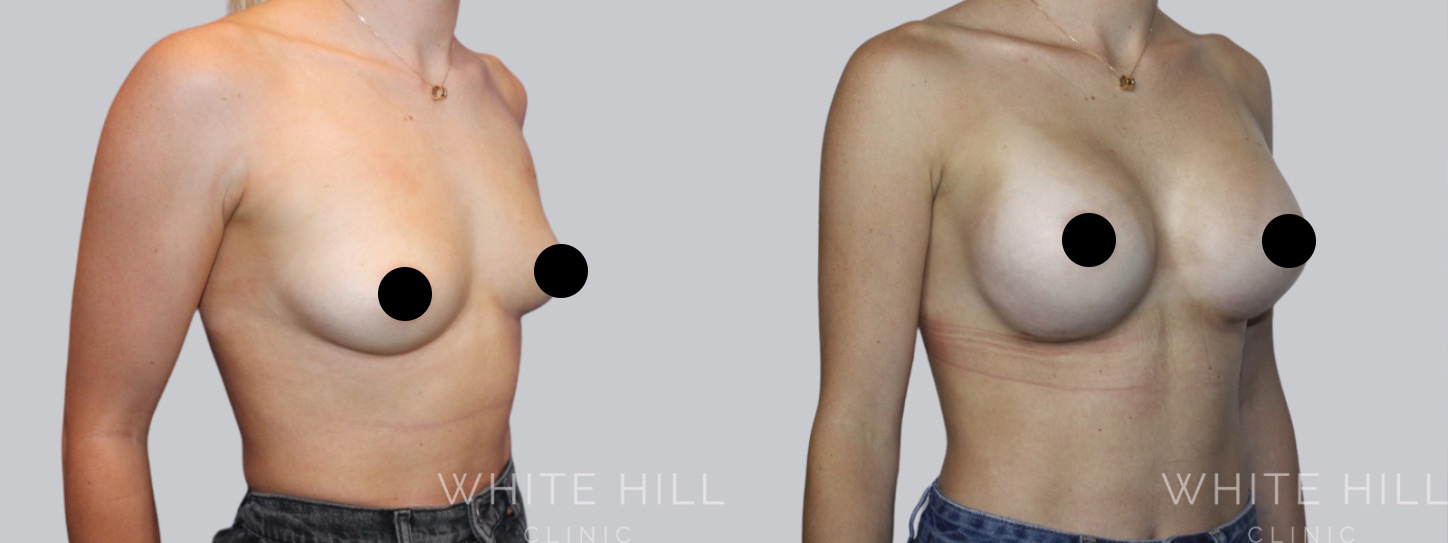
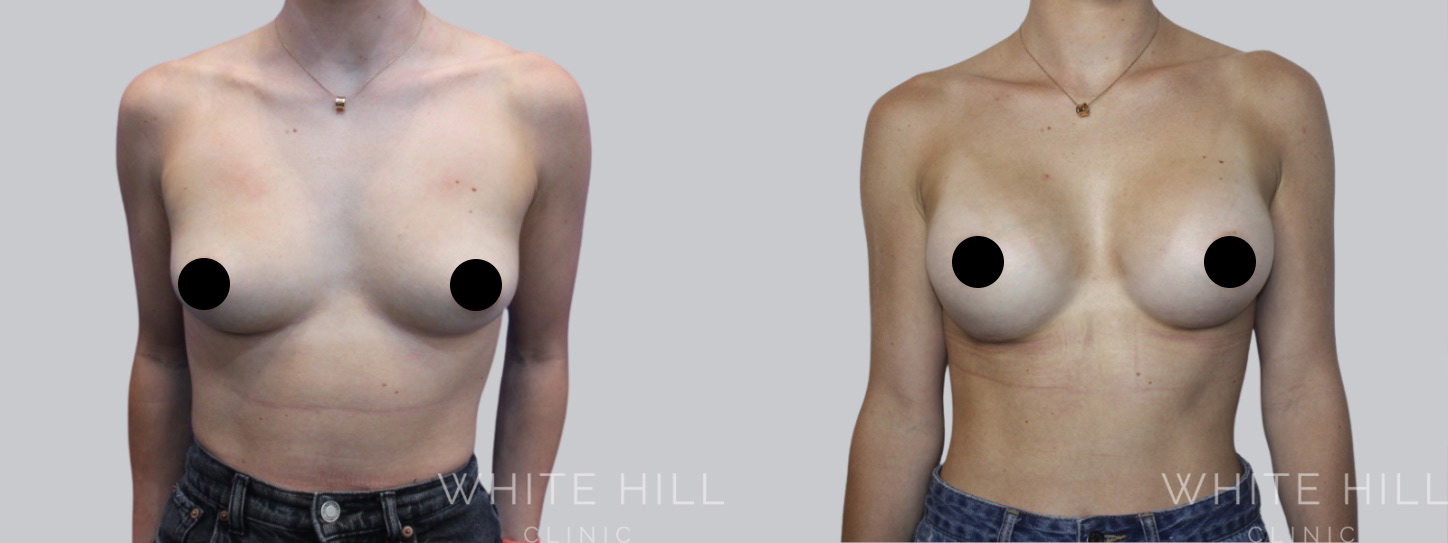
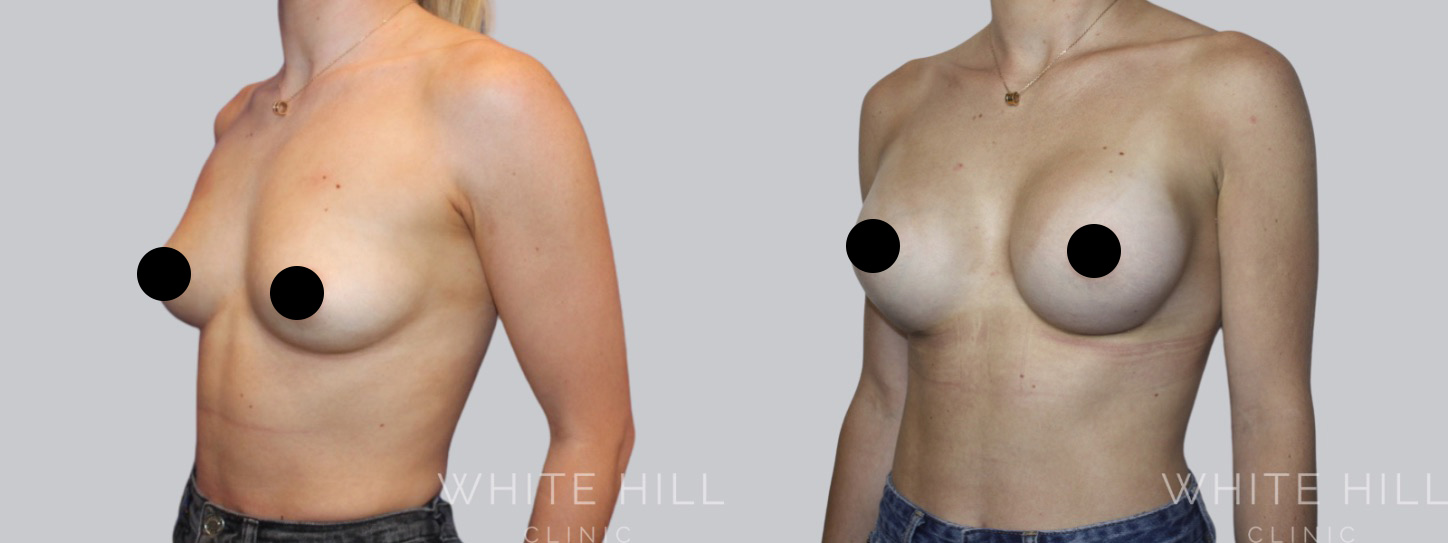
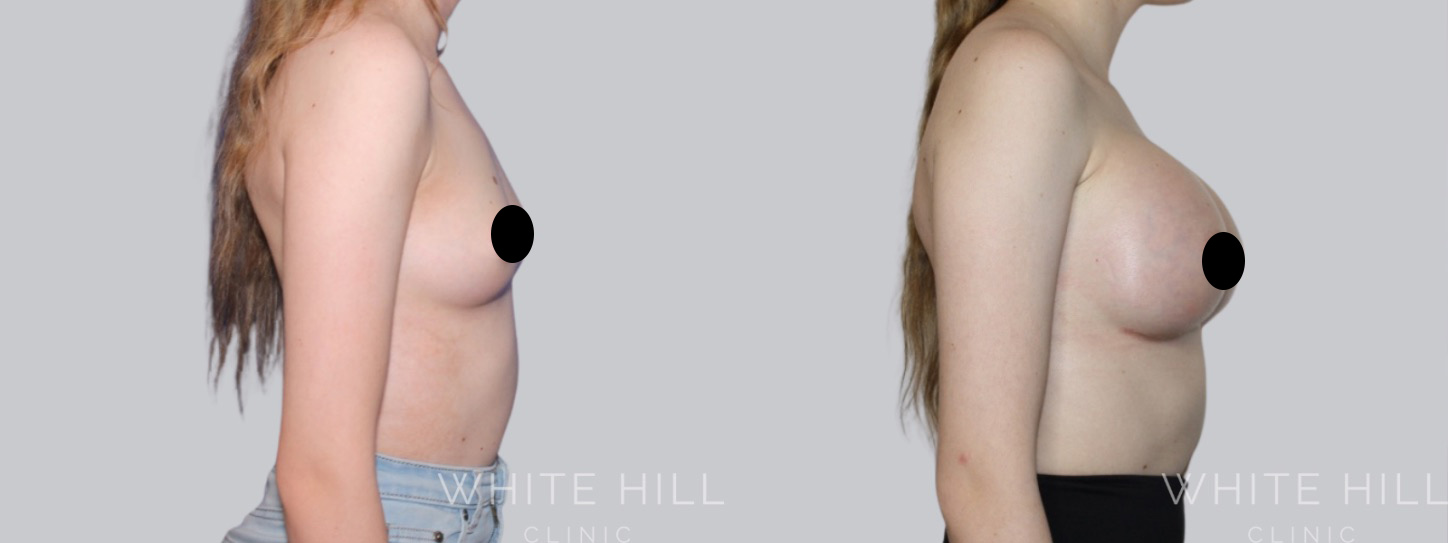
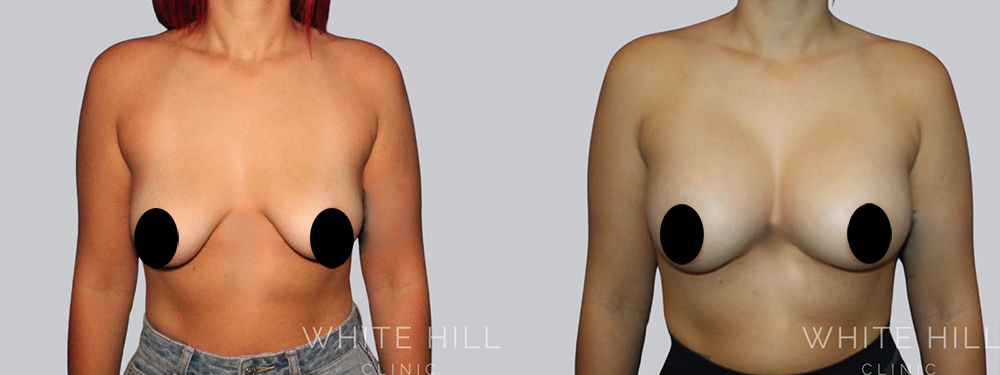
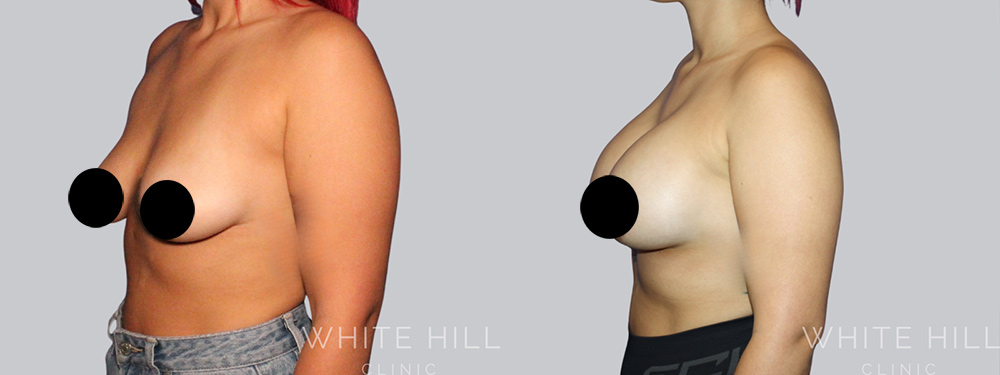
- Early 20s Female
- 395cc Ergonomix Demi Implants
- Dual Plane
- 6 months post surgery

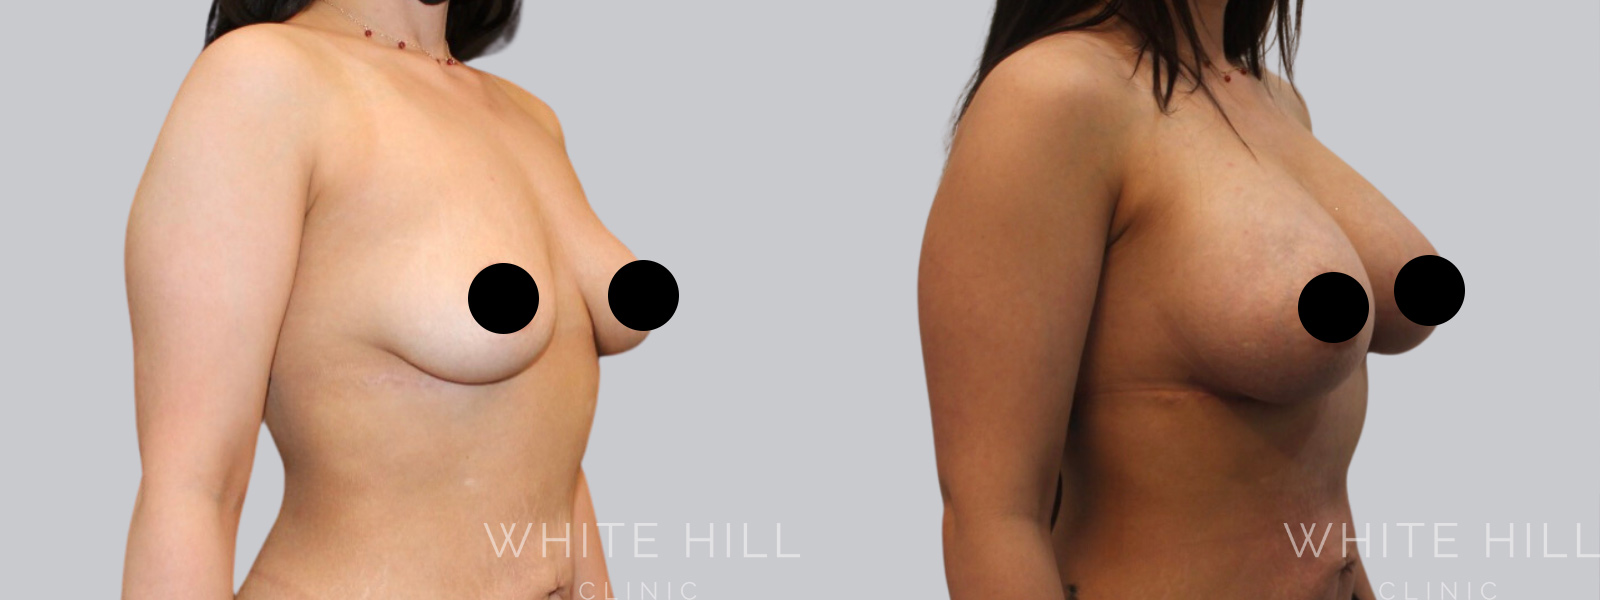
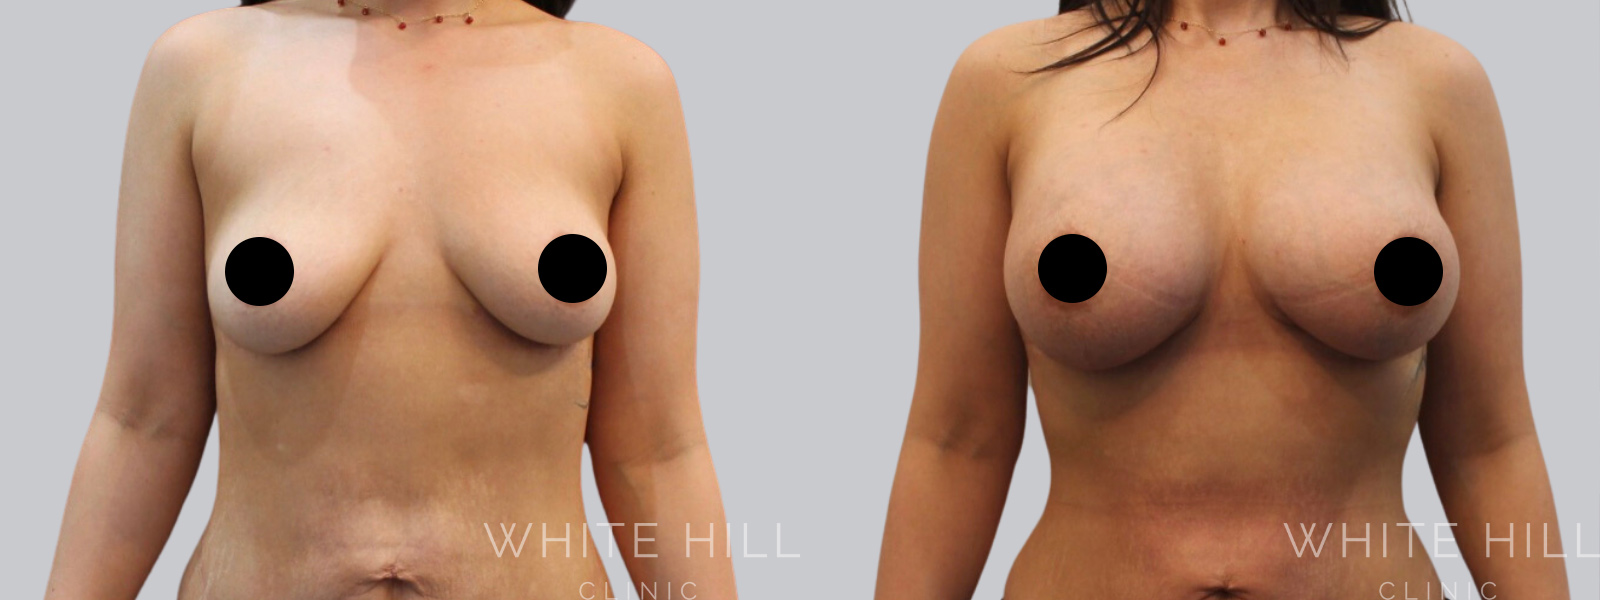


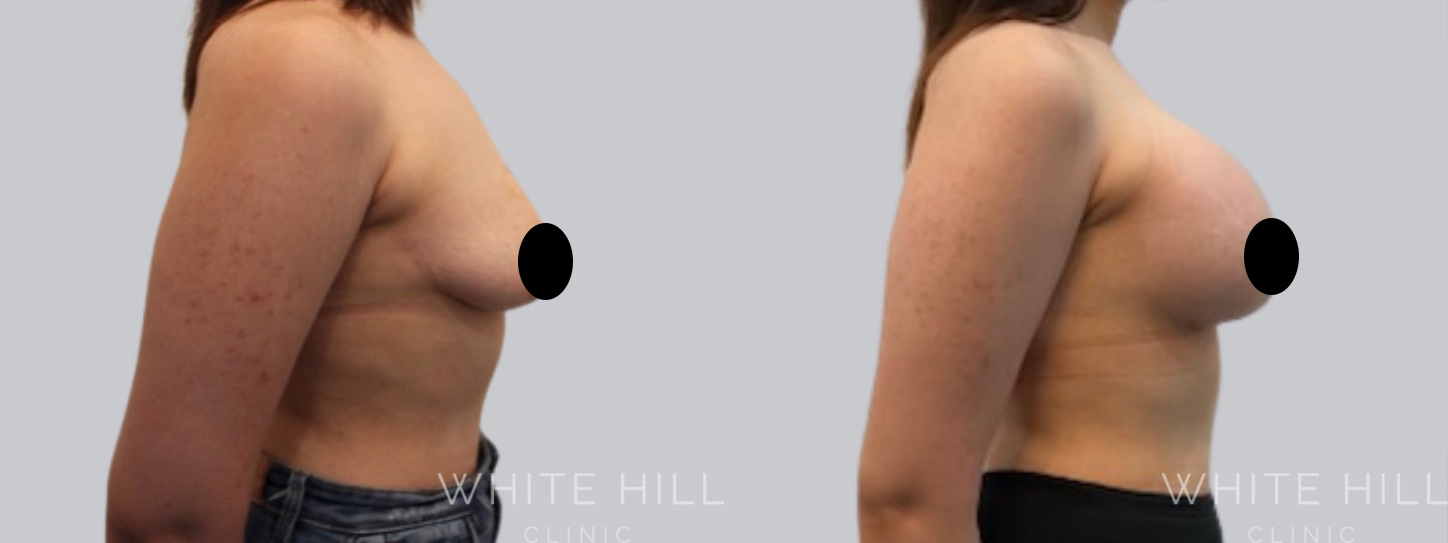
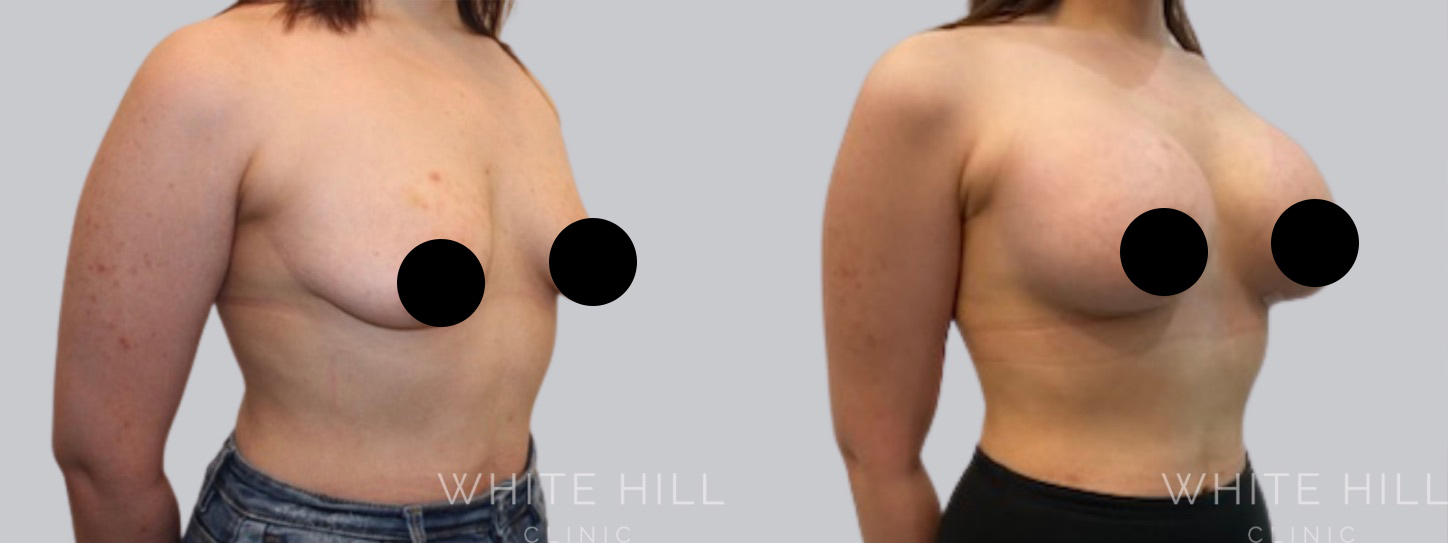
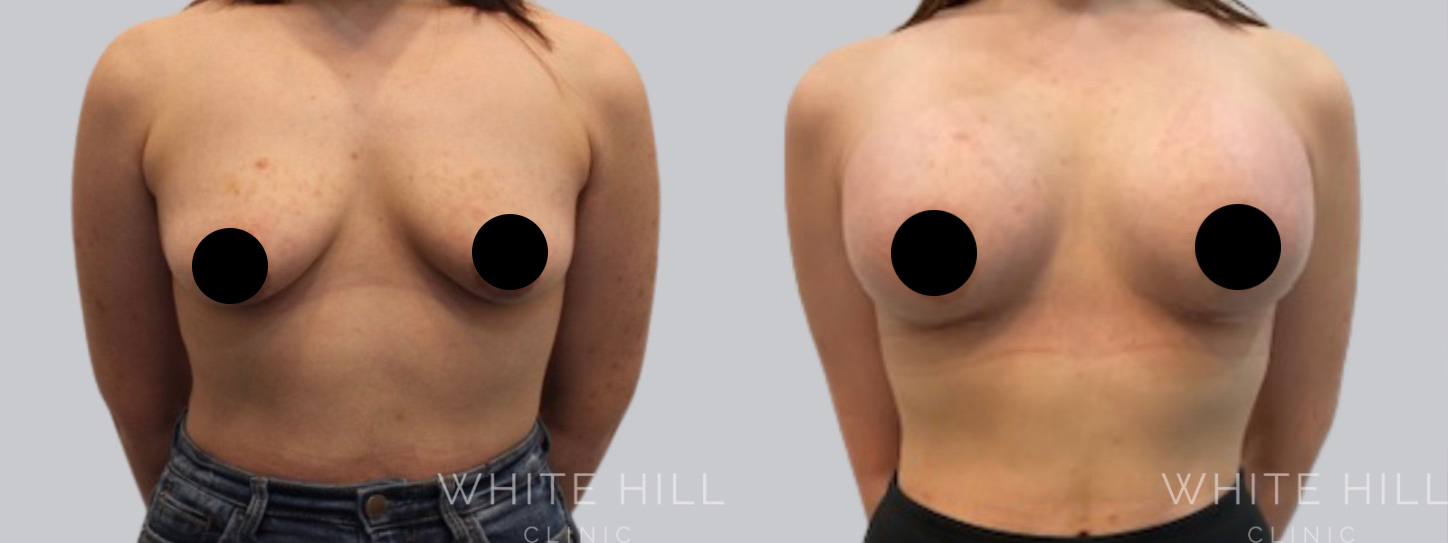
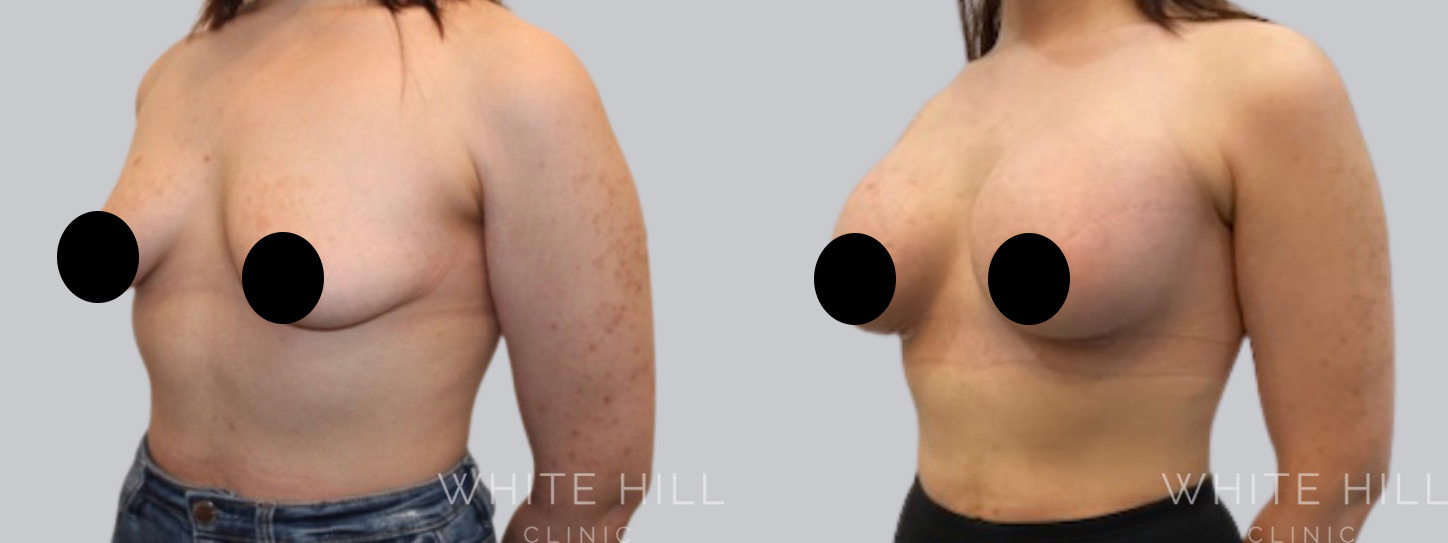
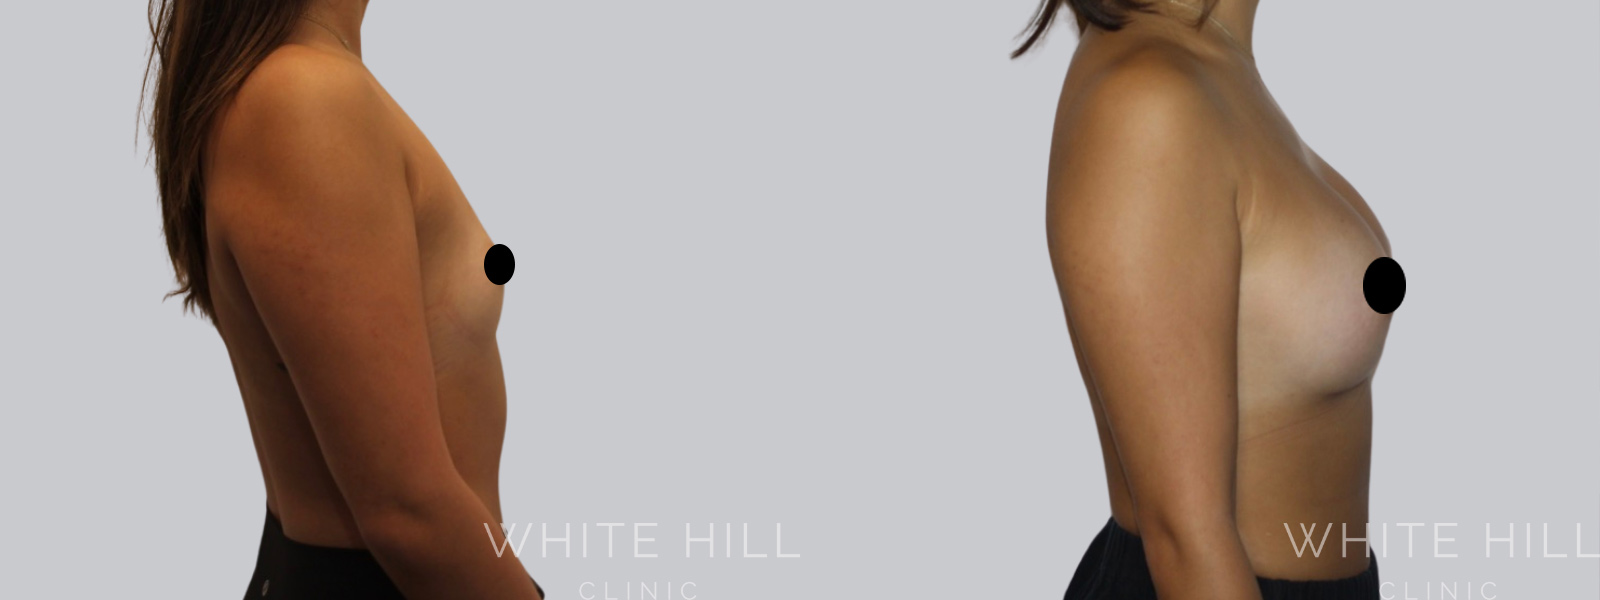
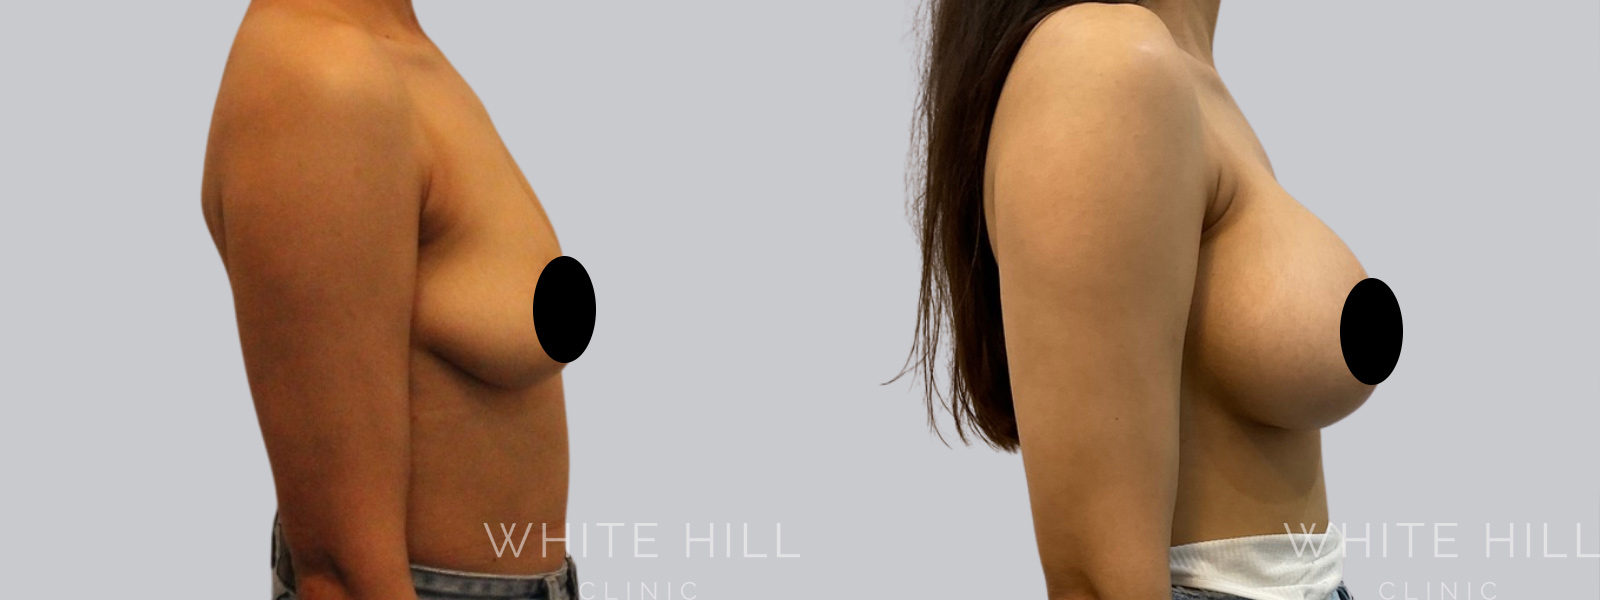
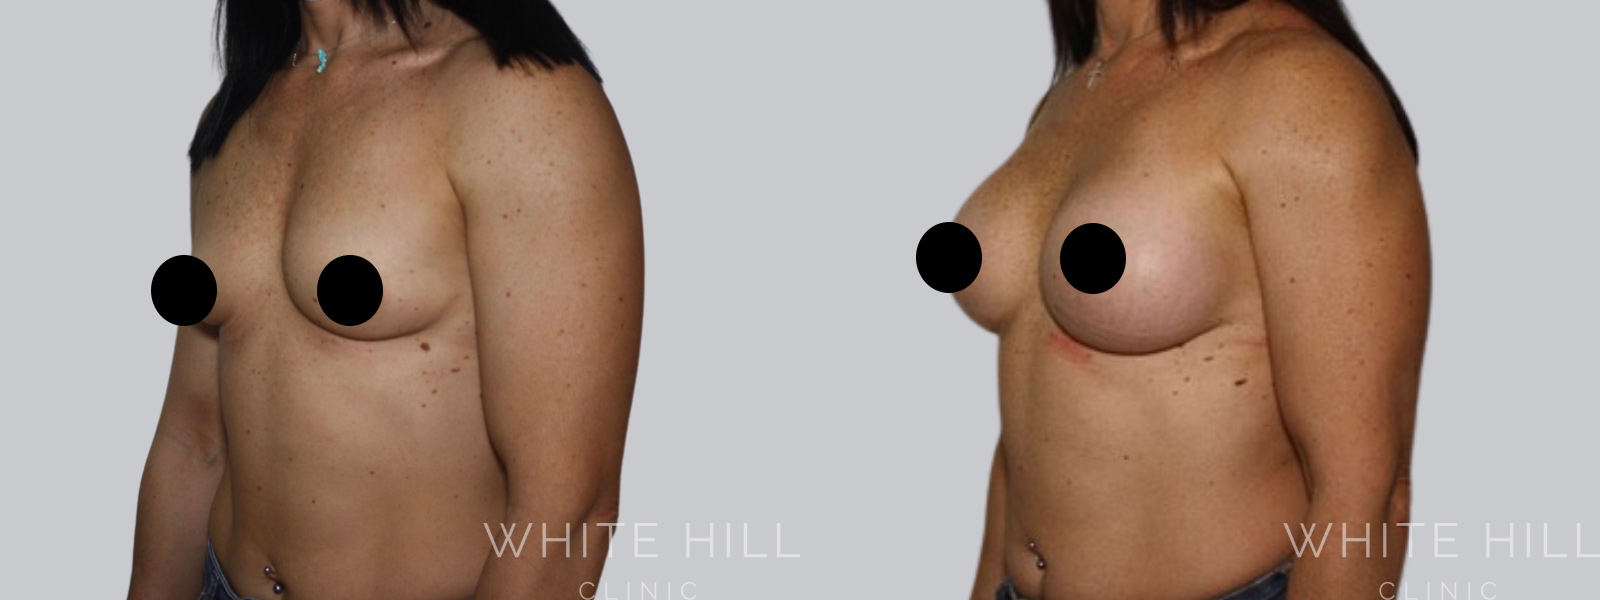
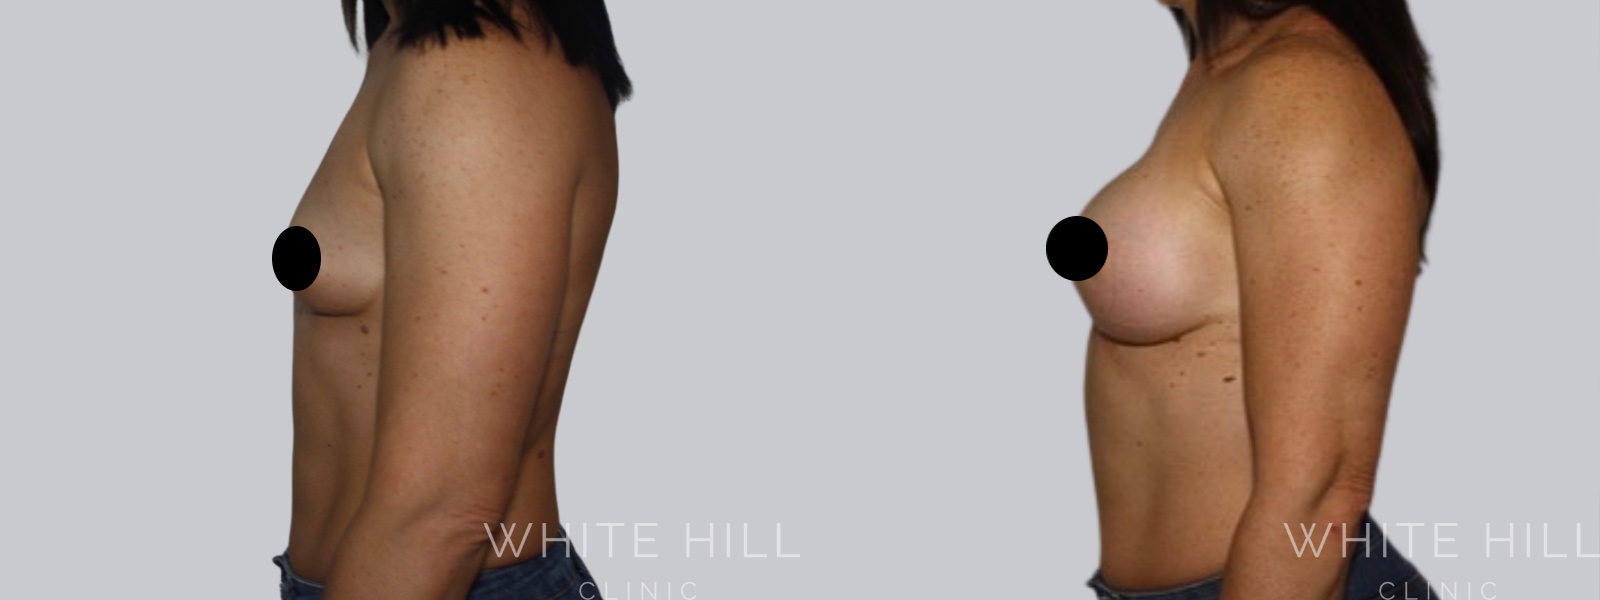
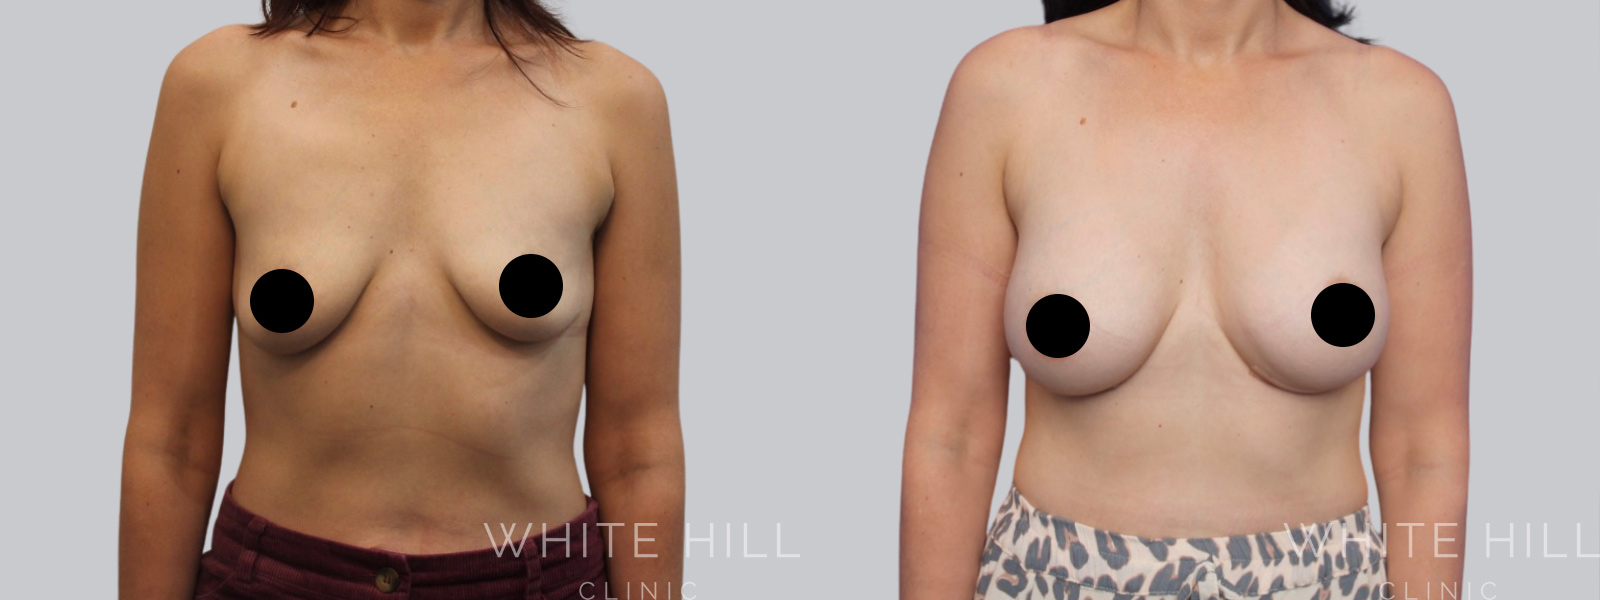
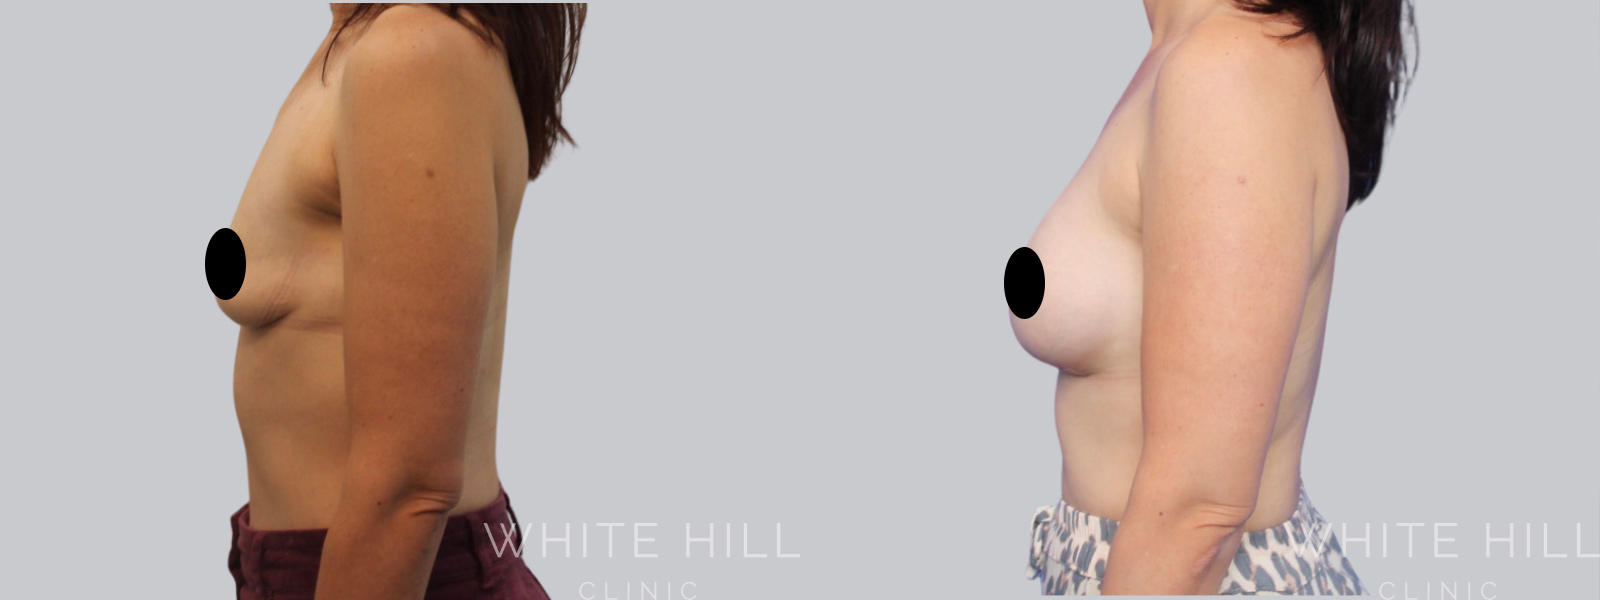
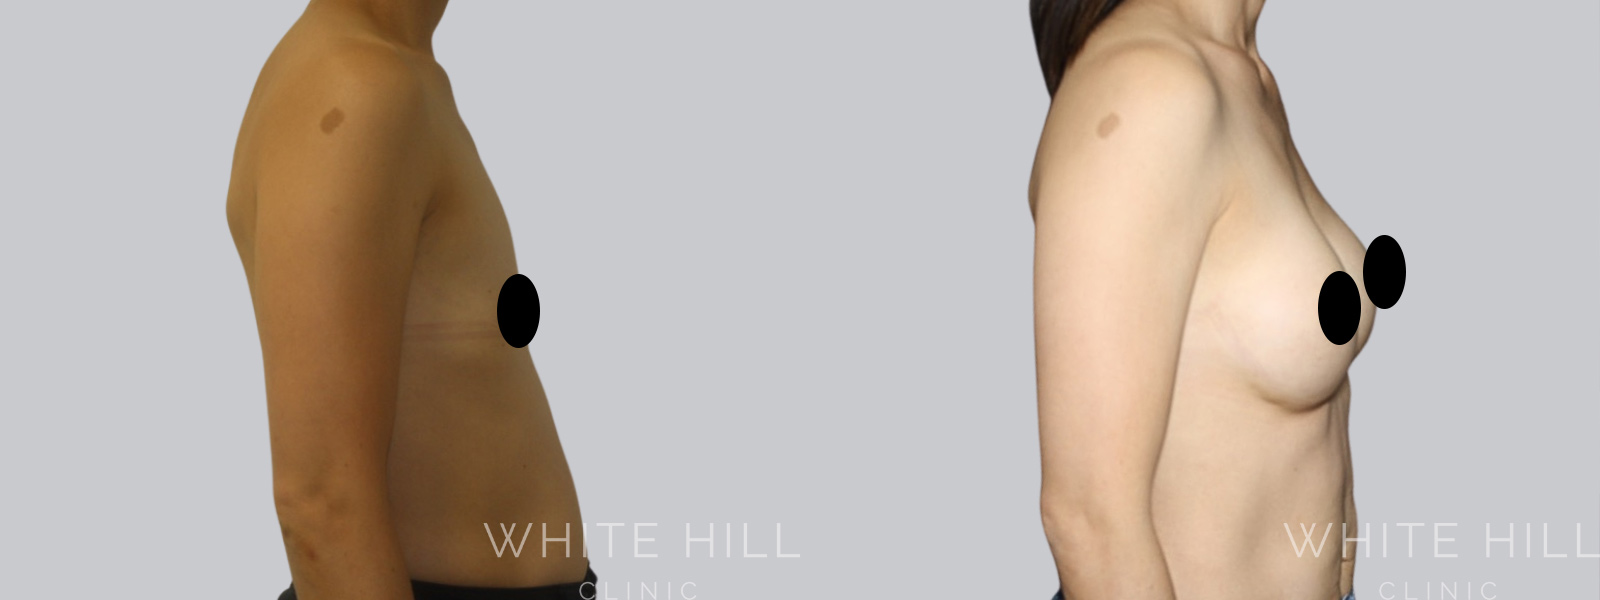
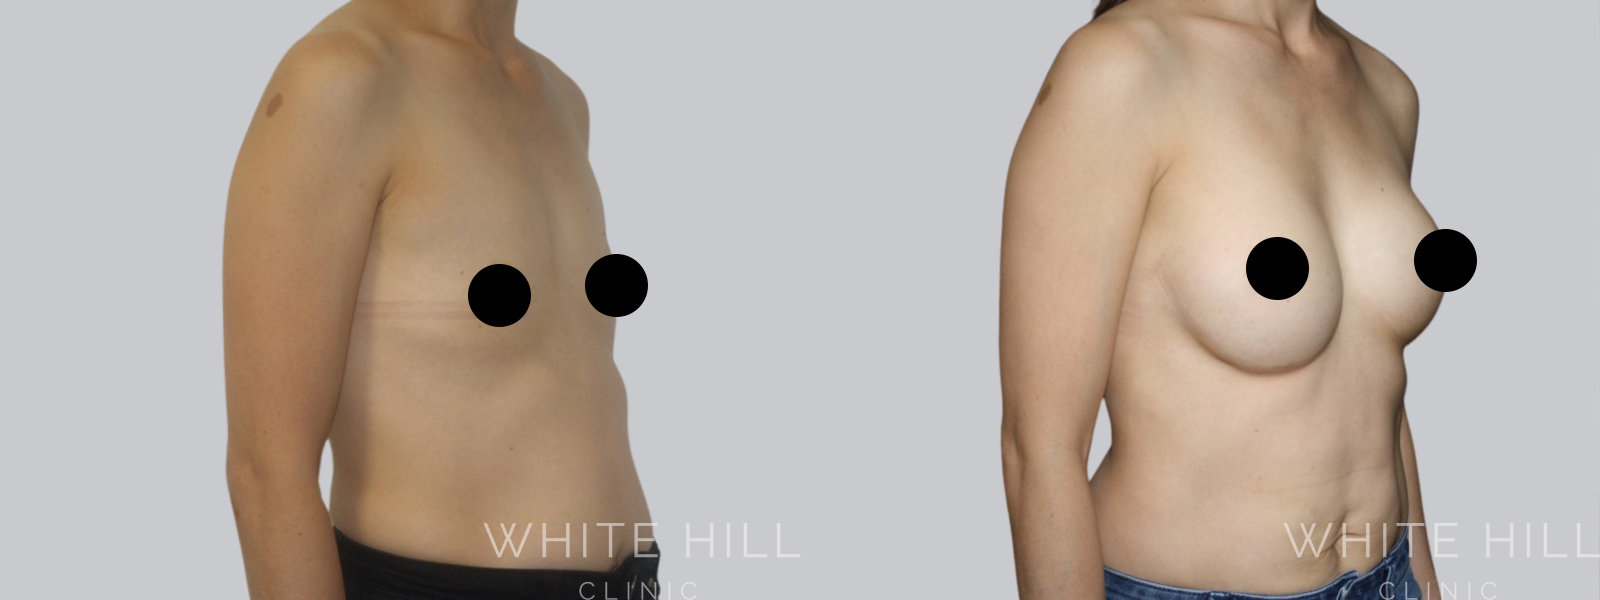
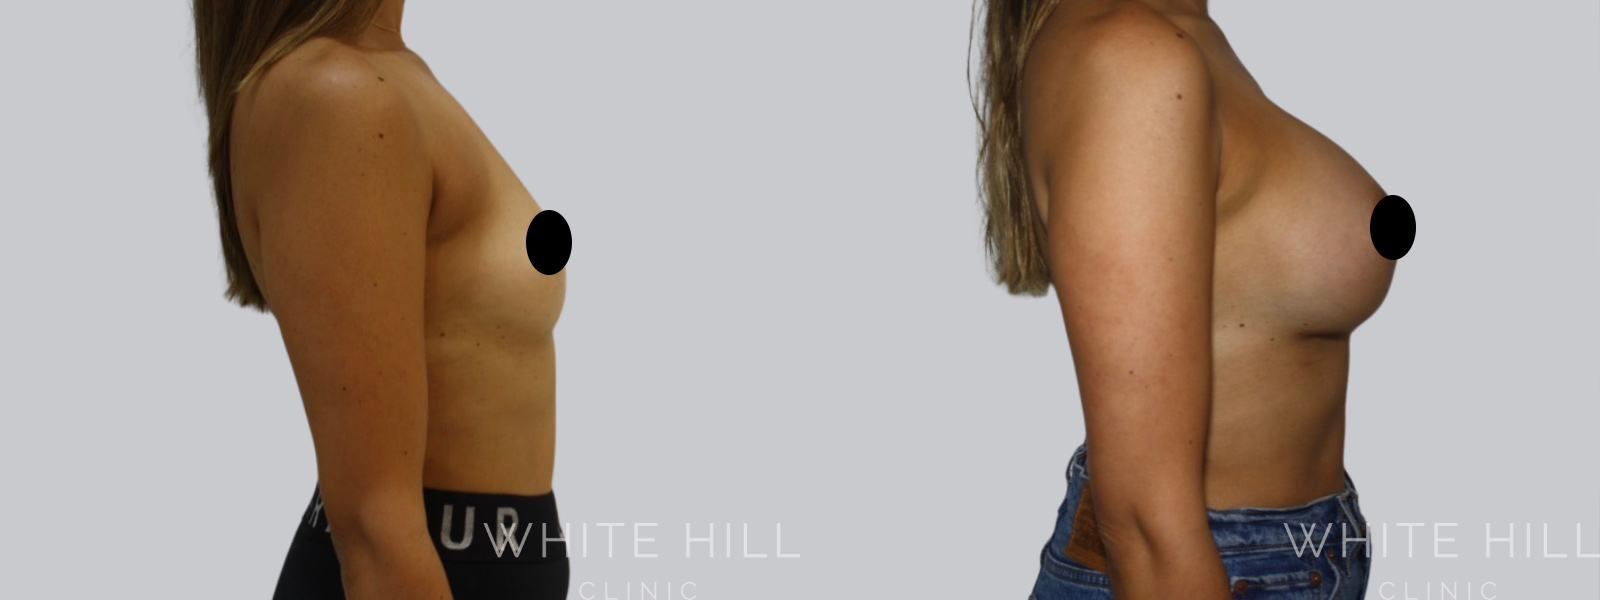
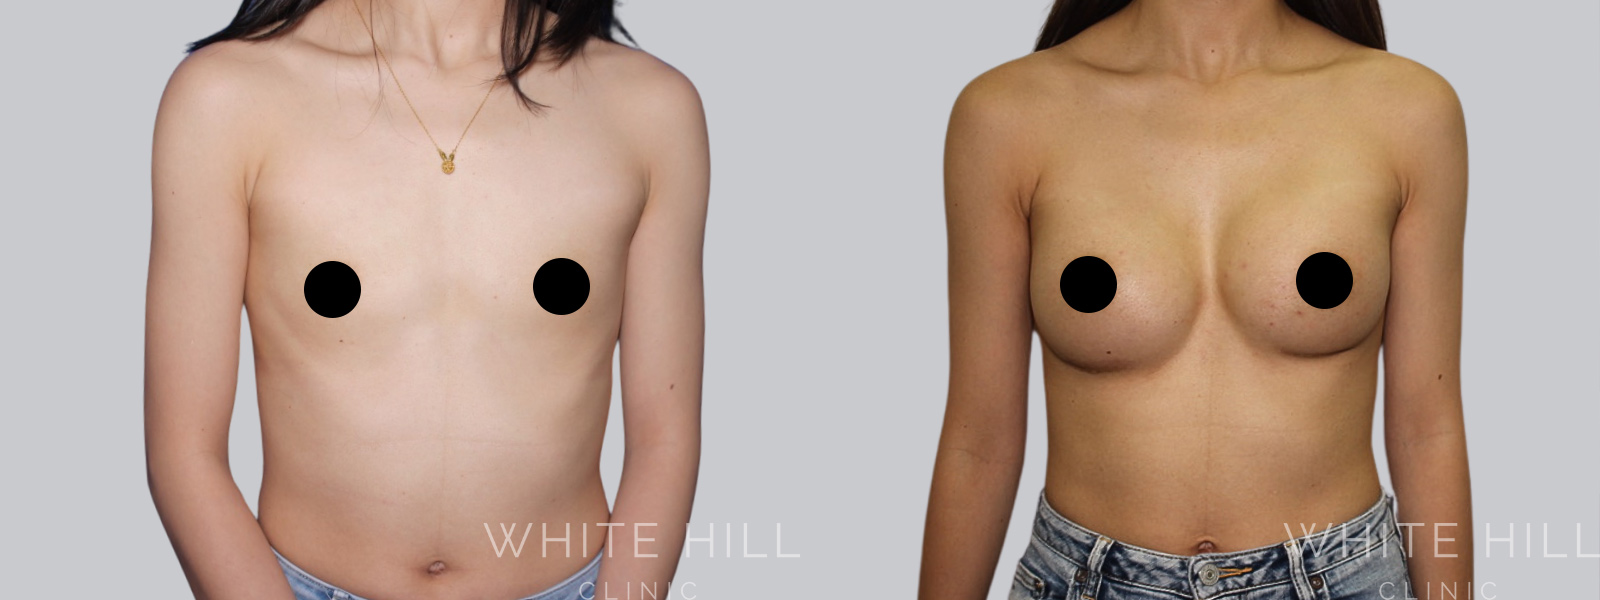
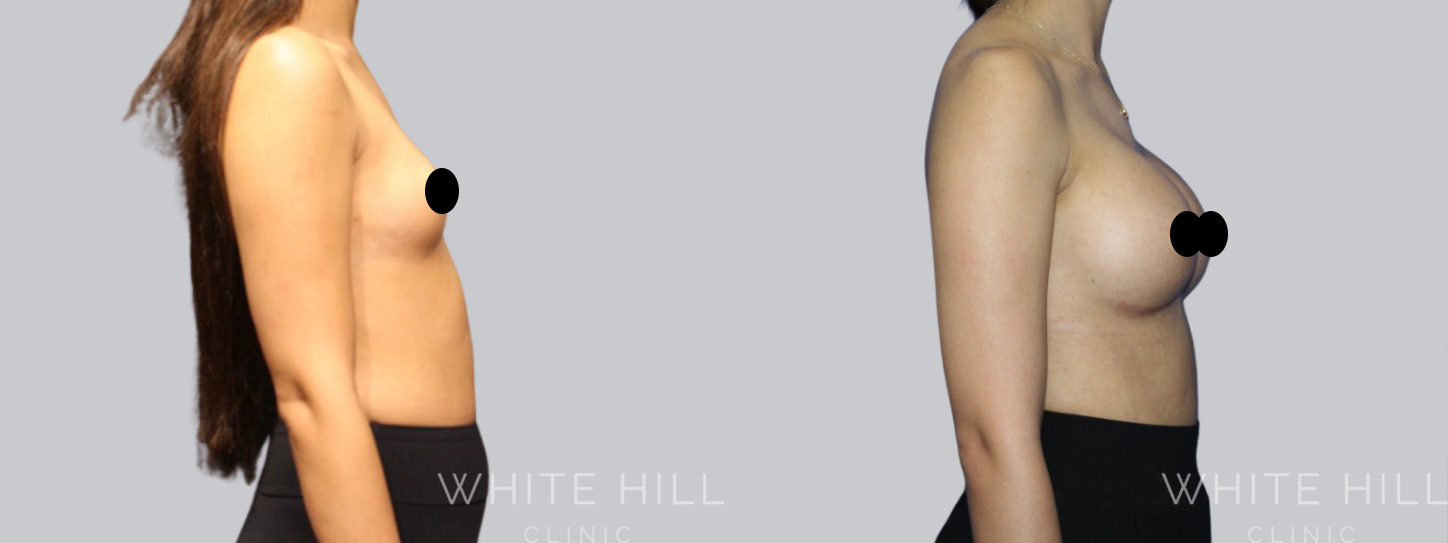
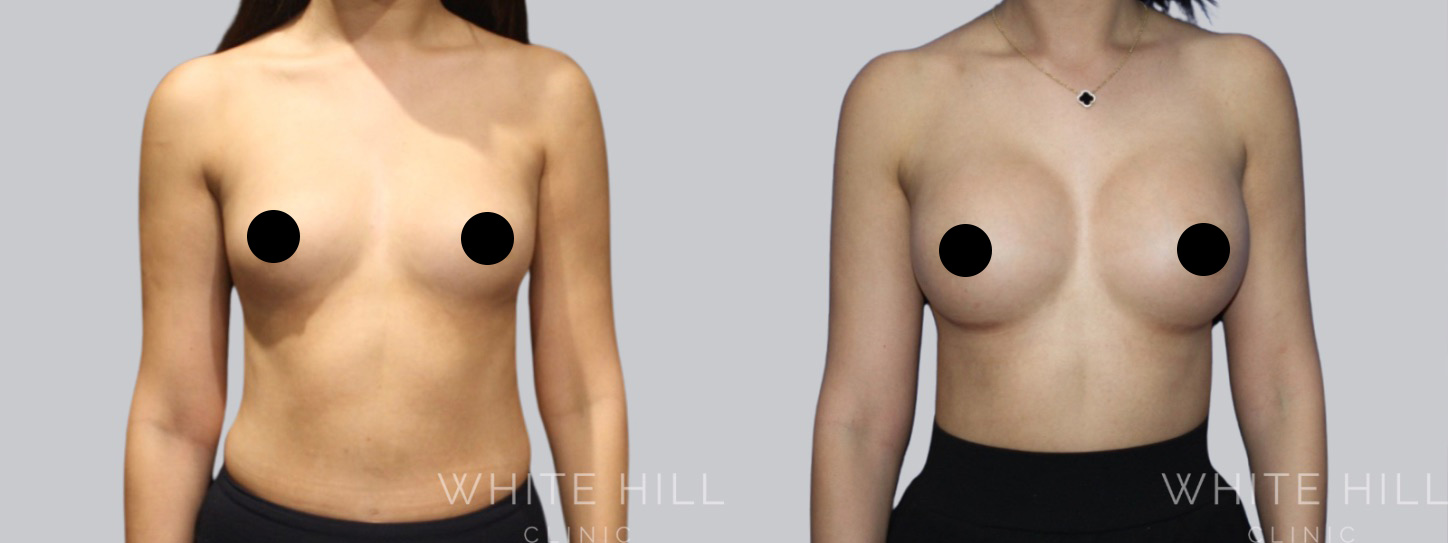
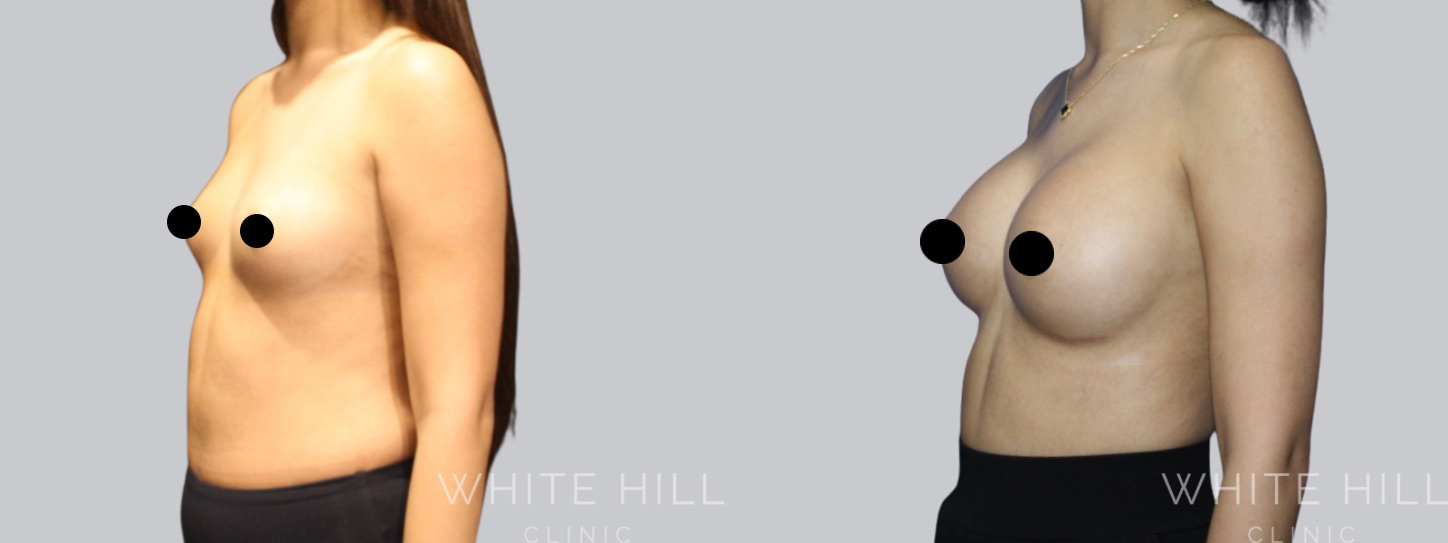
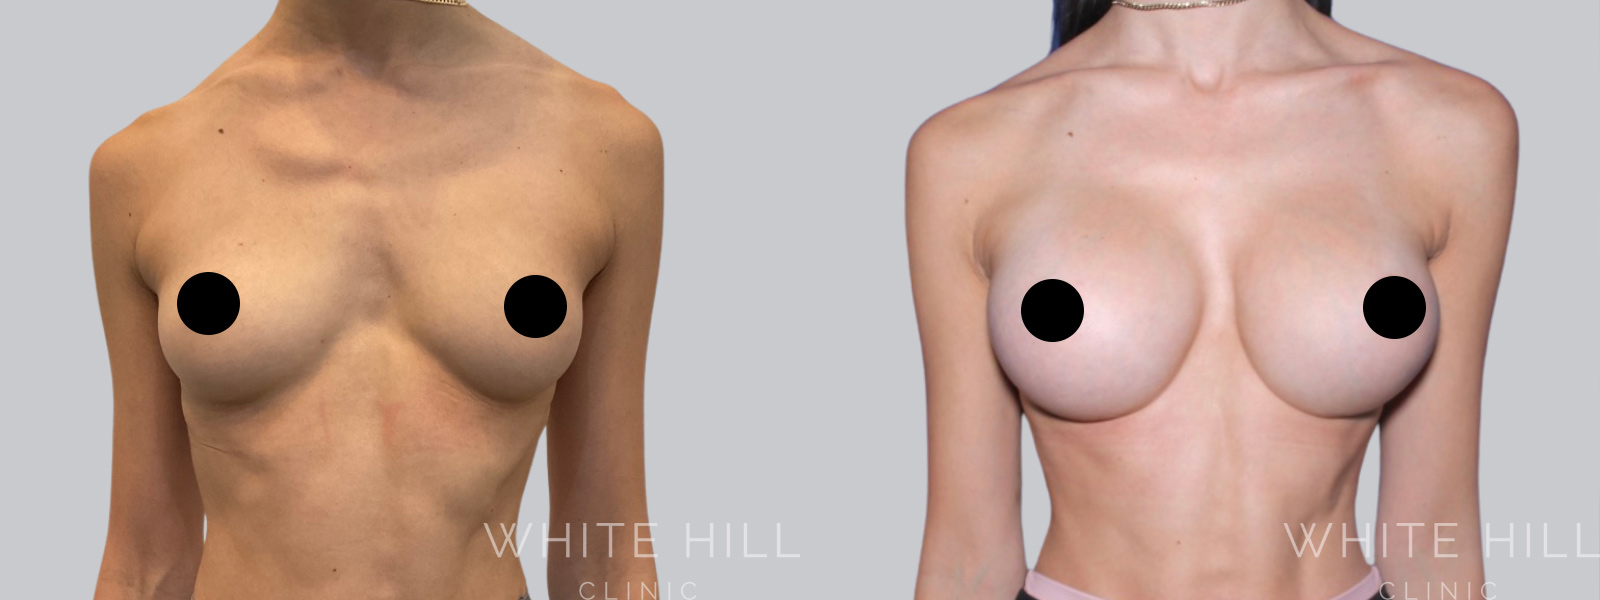
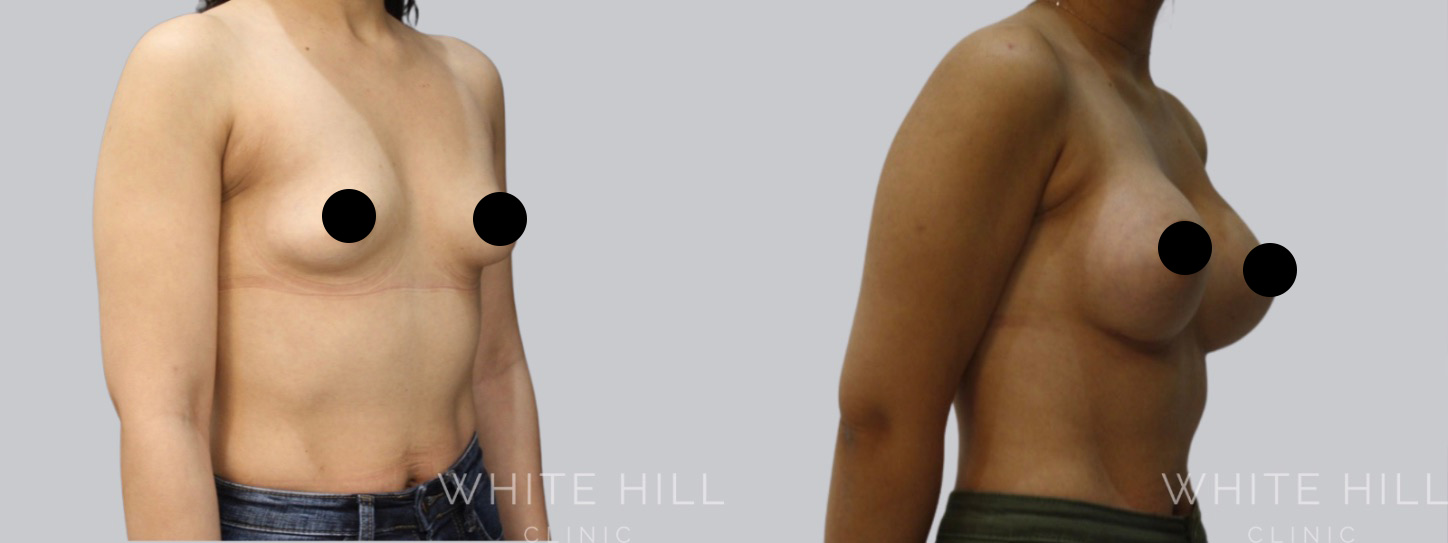
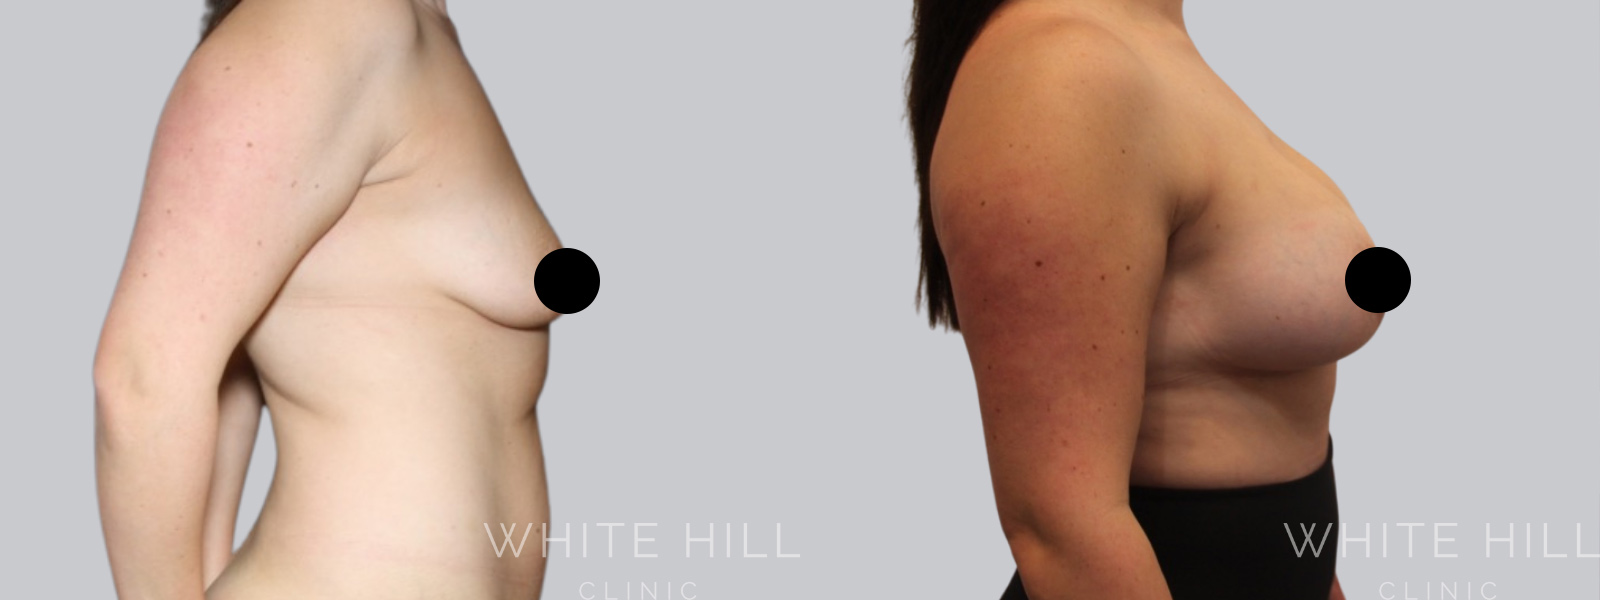
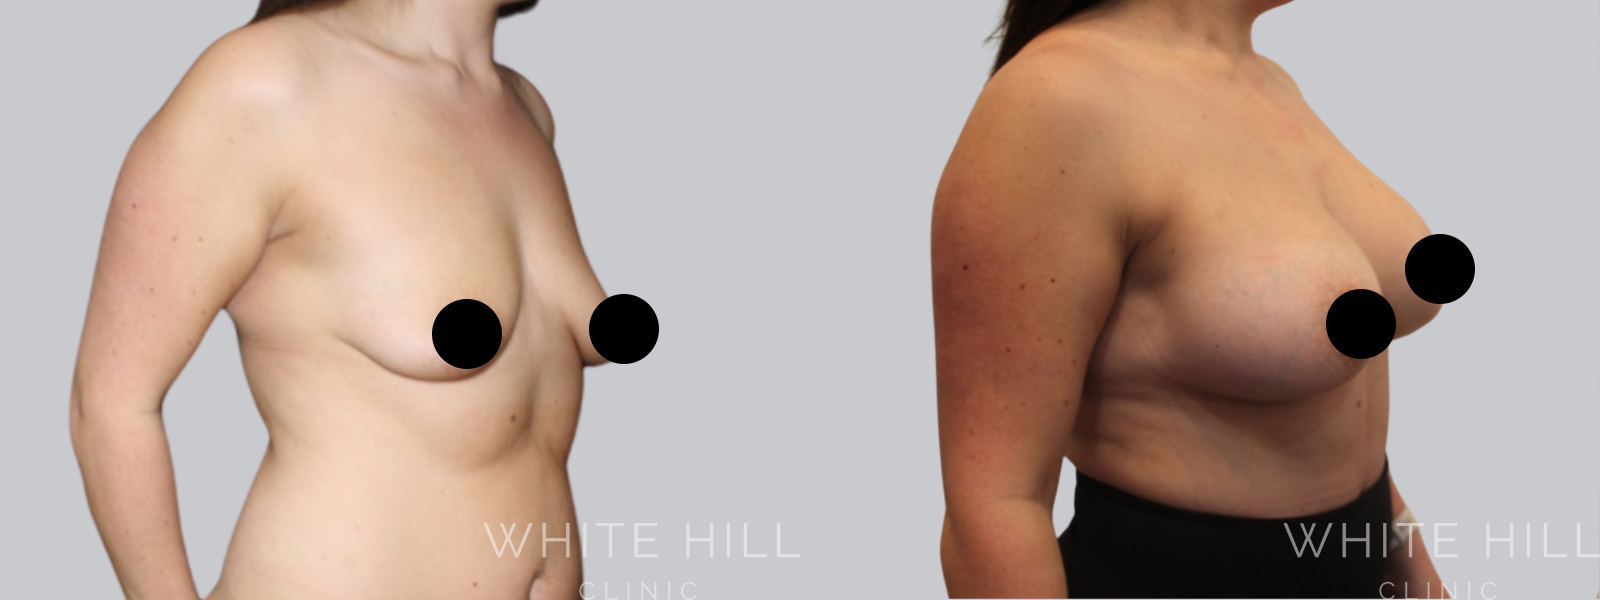
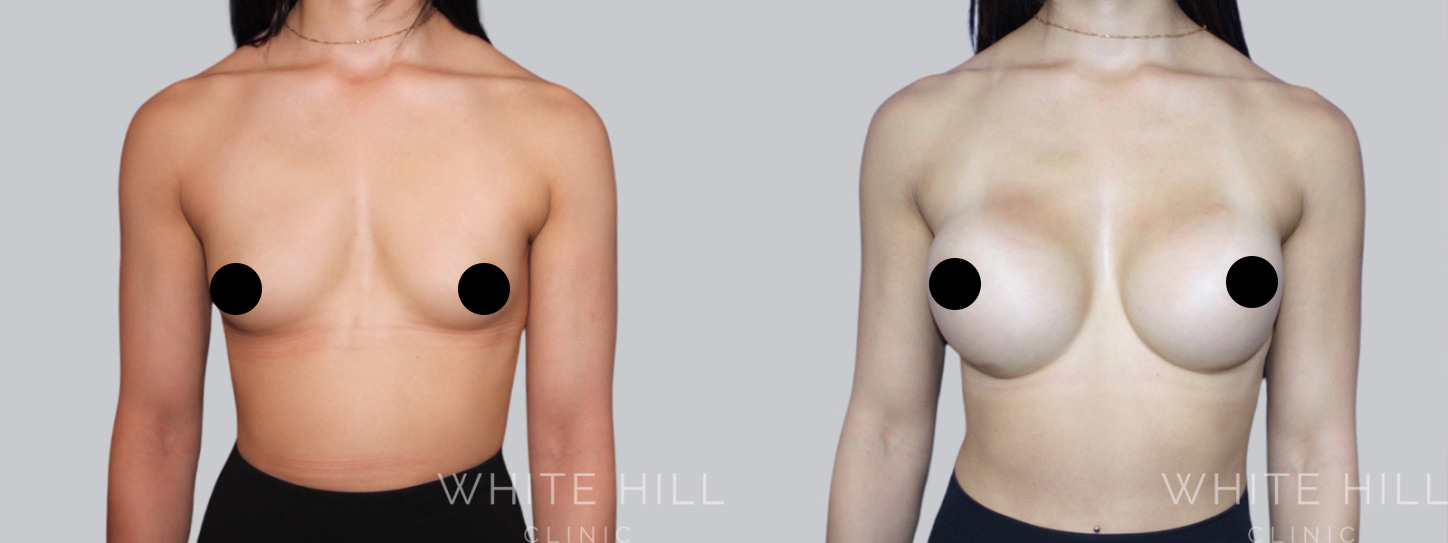
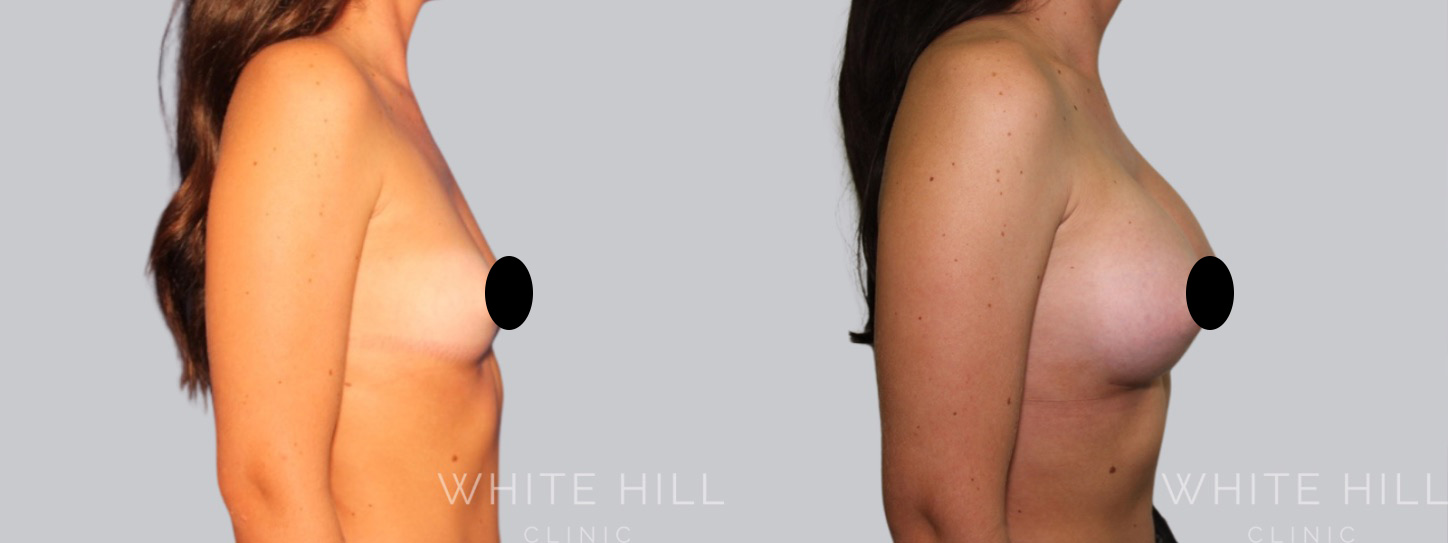
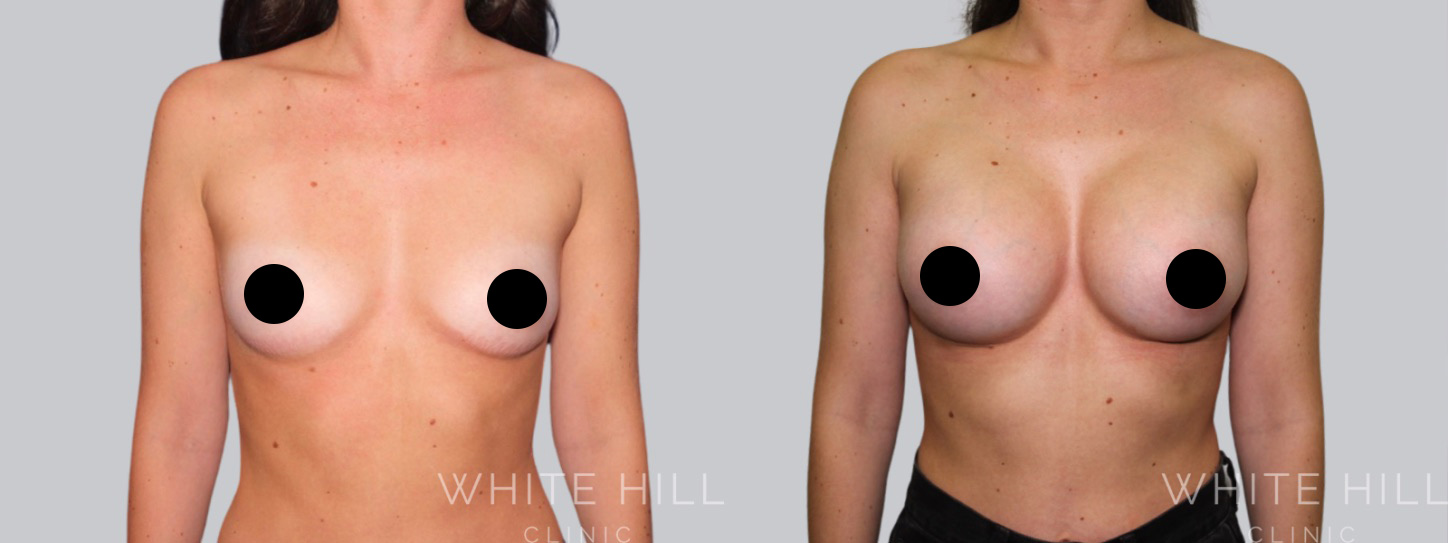
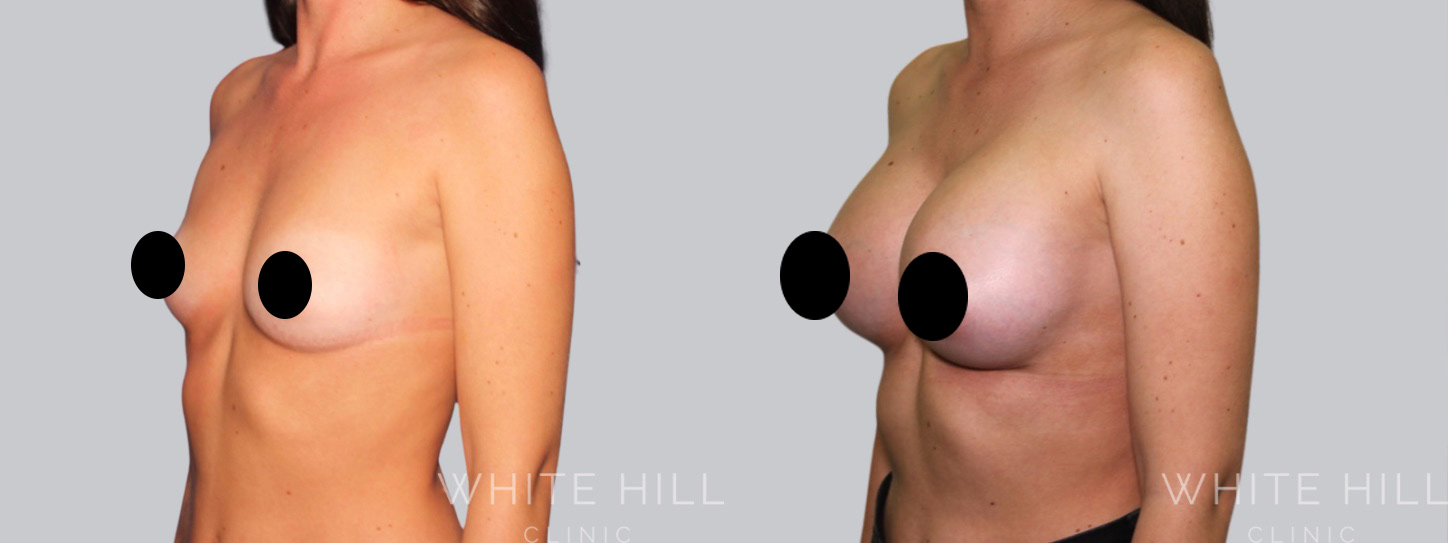
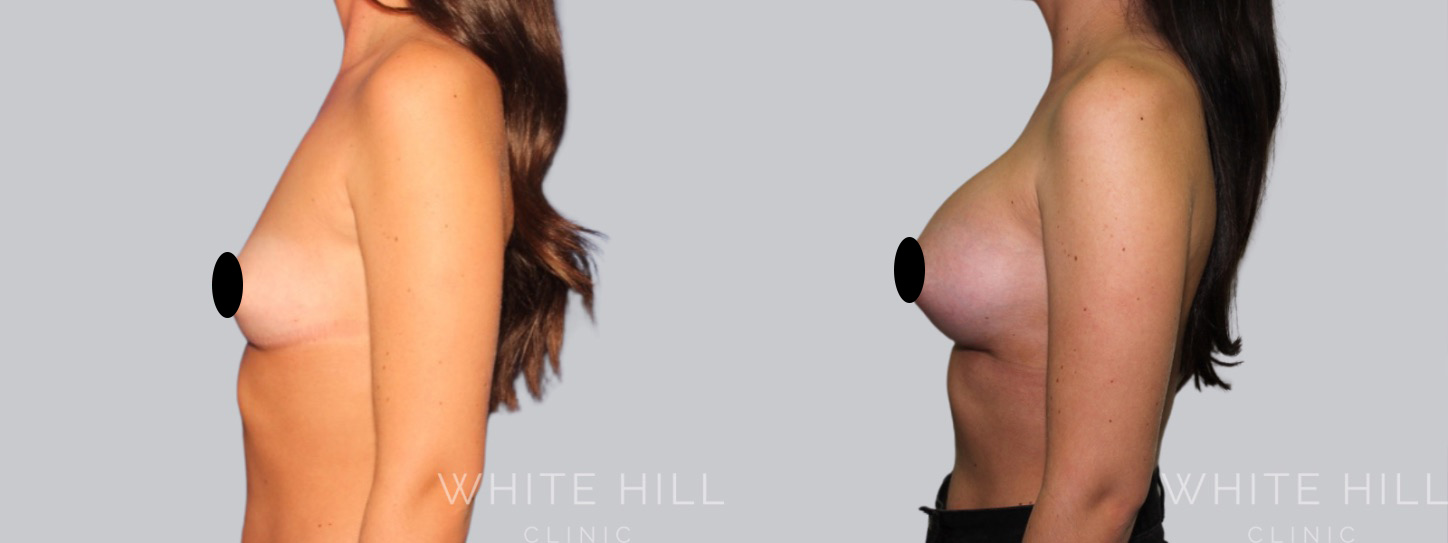
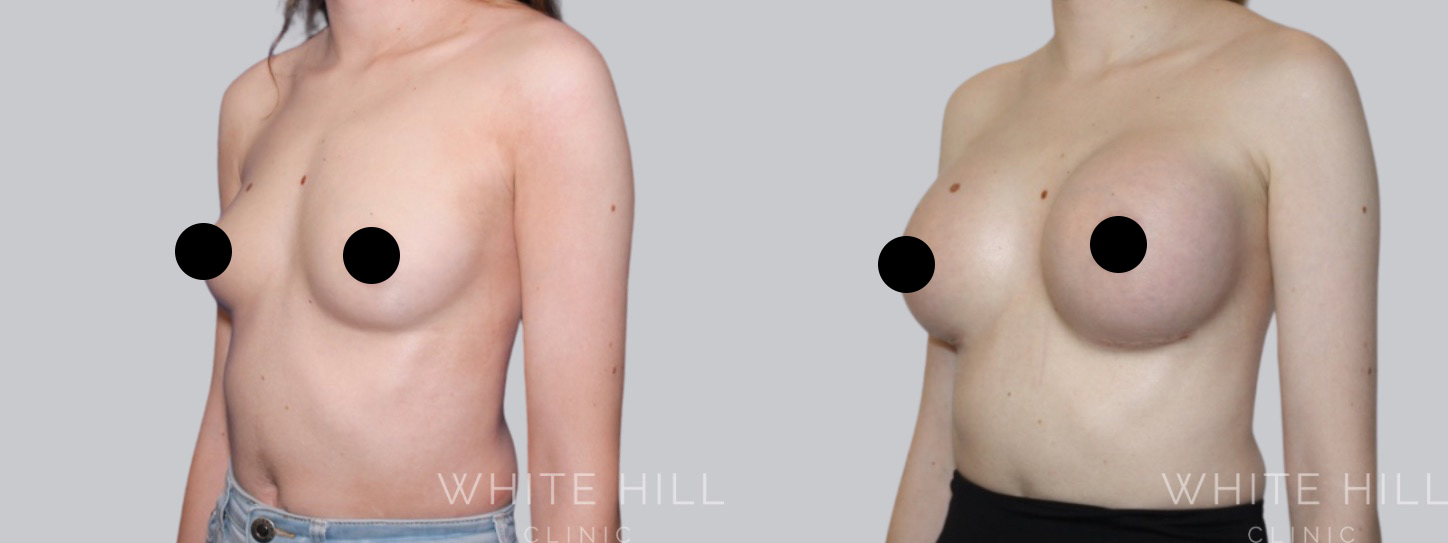
- Late 20s Female
- Mother
- 400cc Ergonomix Demi Implant
- Subglandular Plane as she required musclular strength for work
- 8 months post surgery

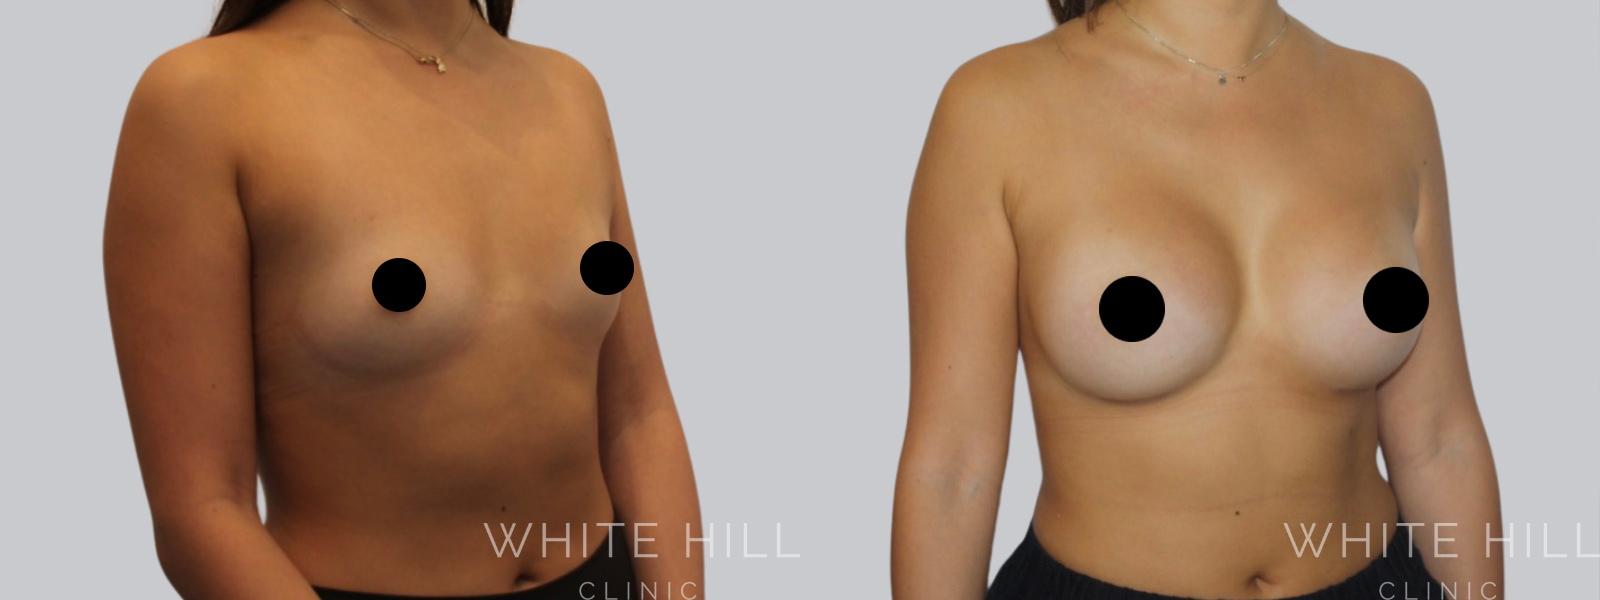
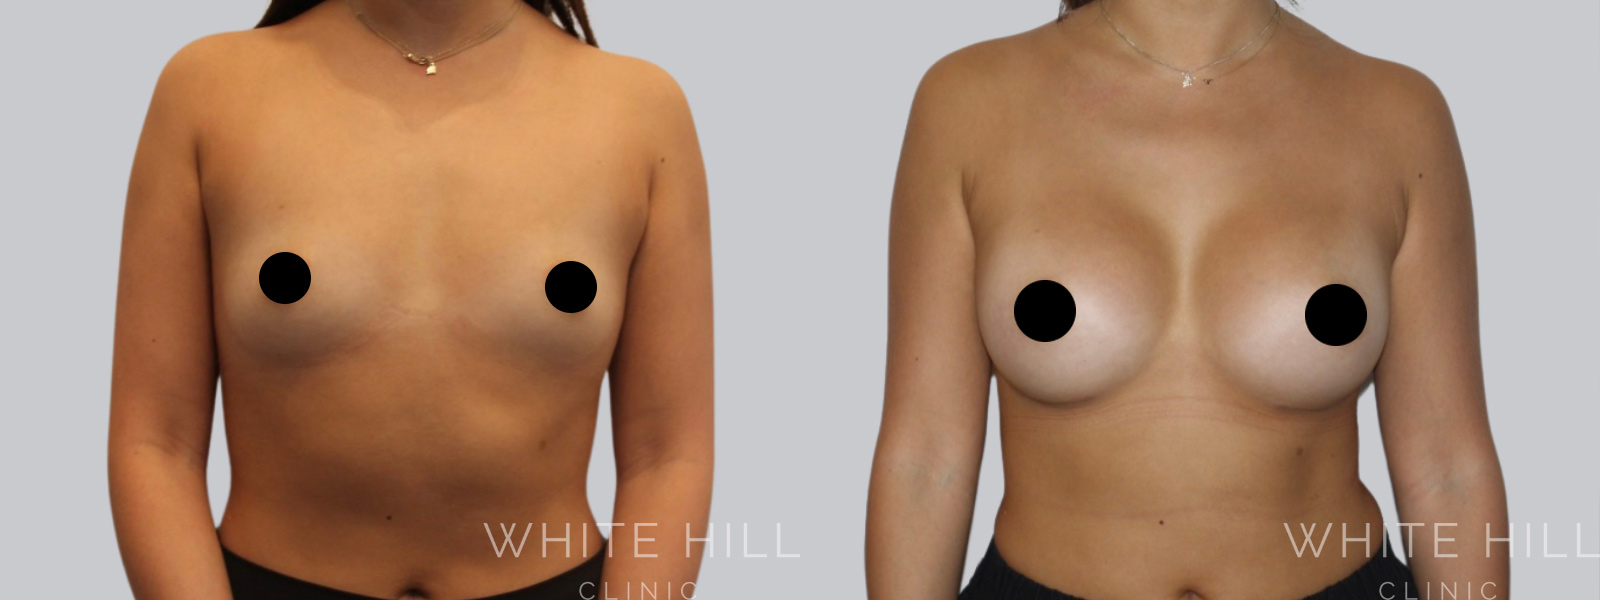
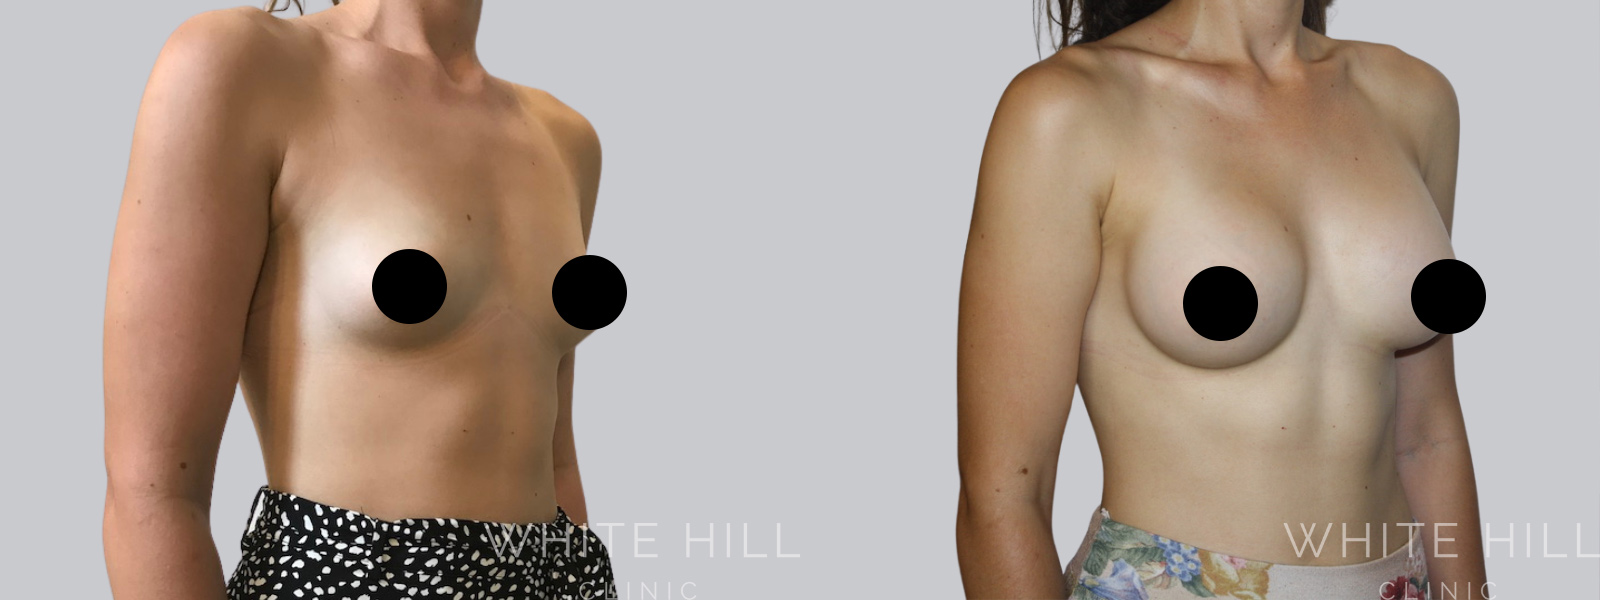
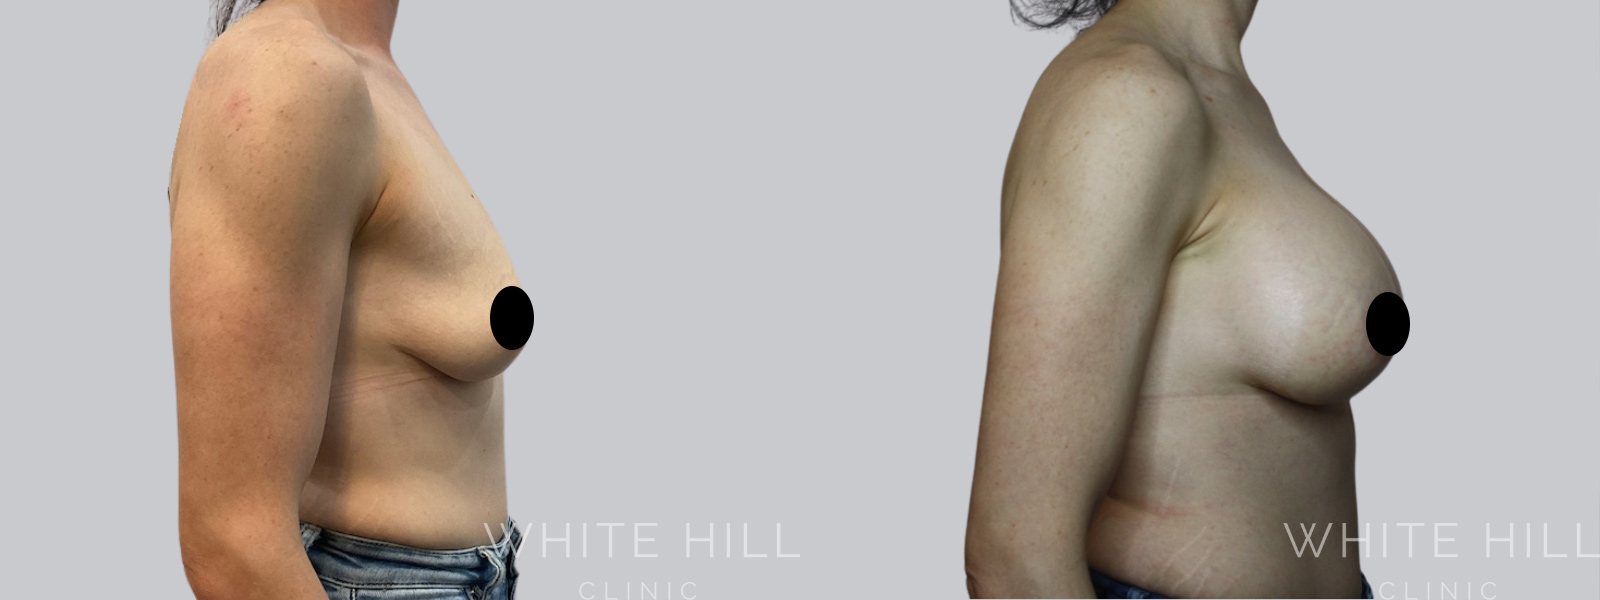
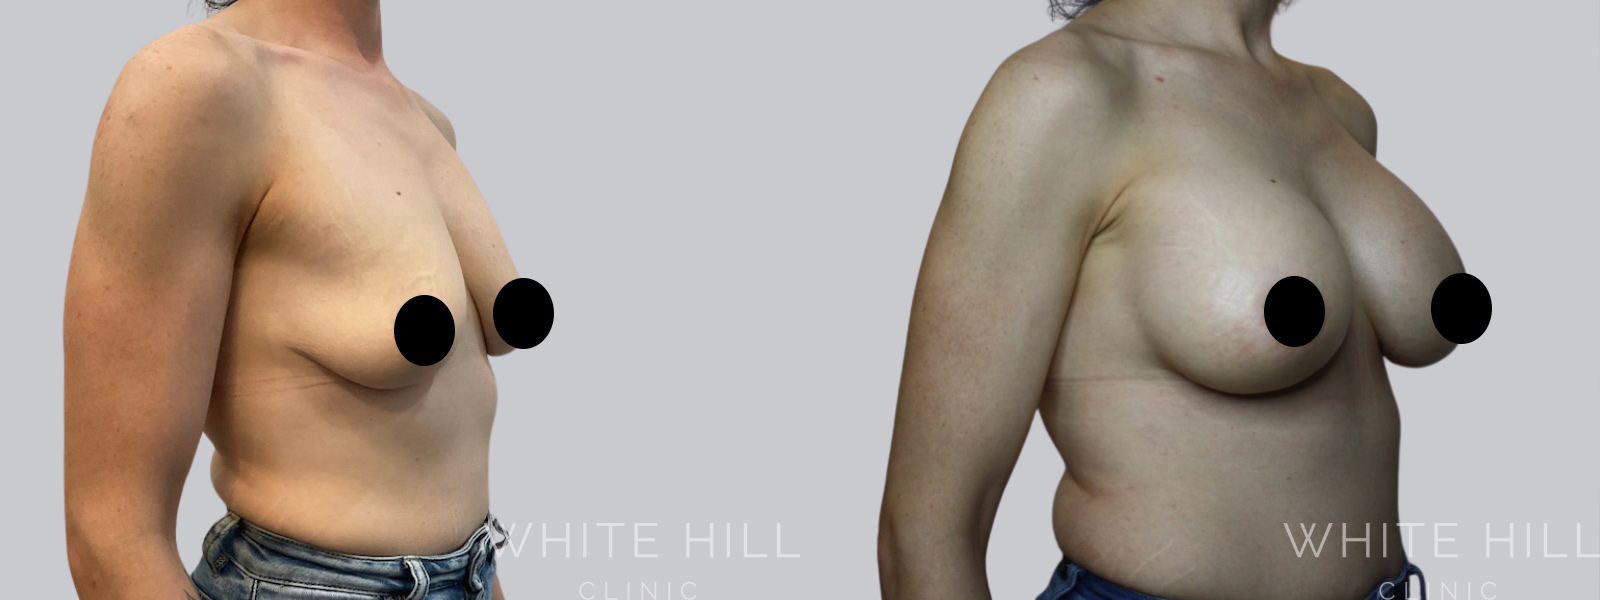
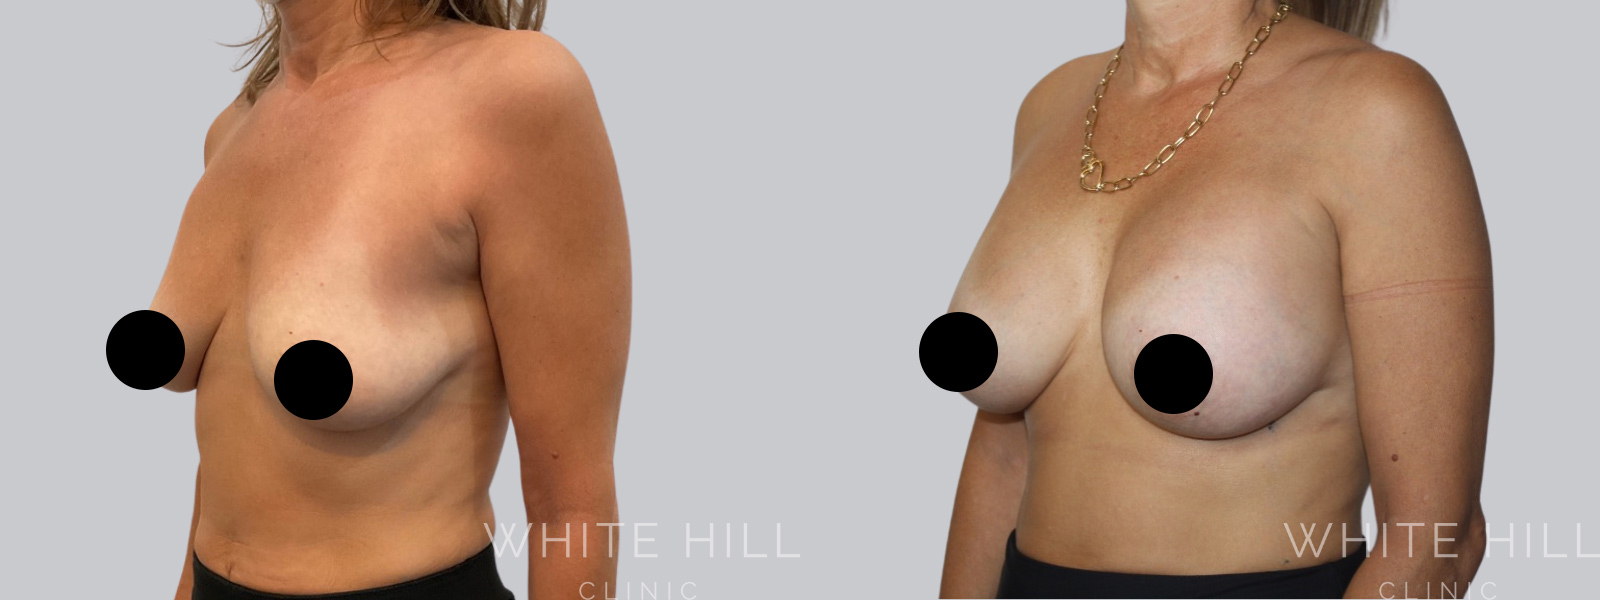
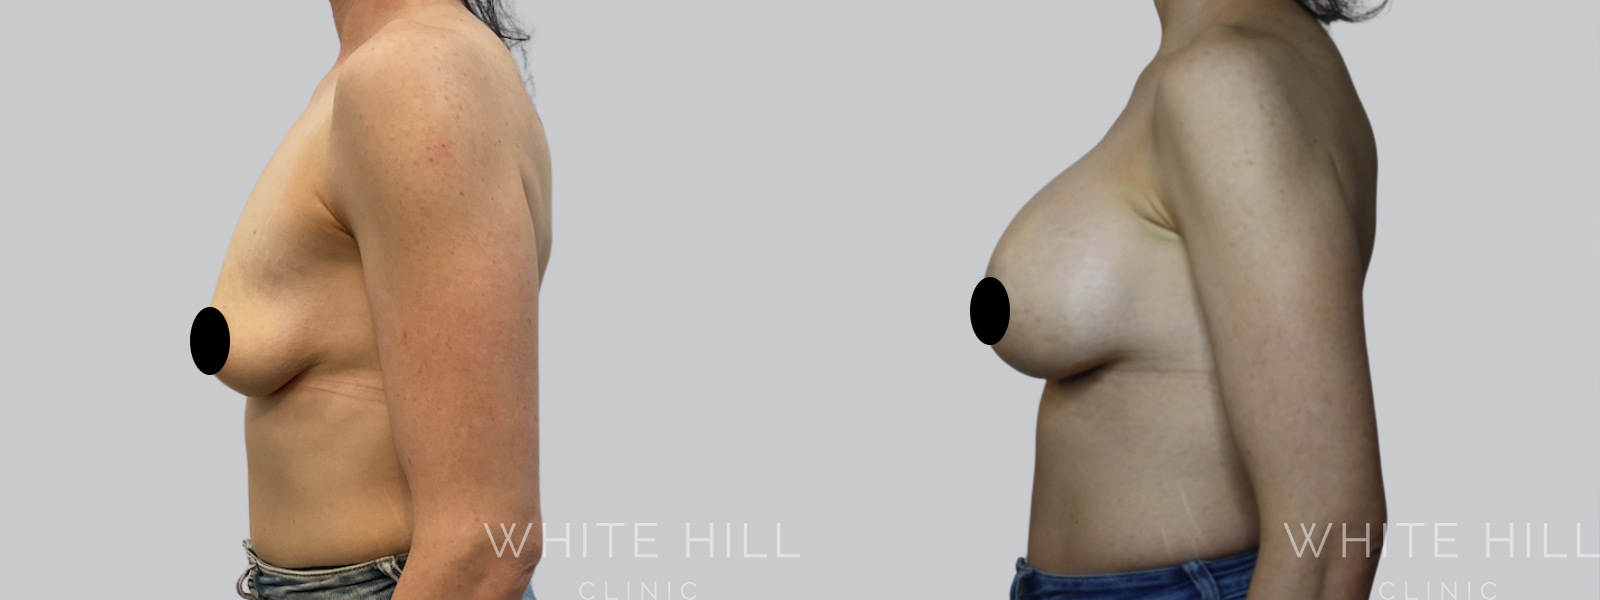
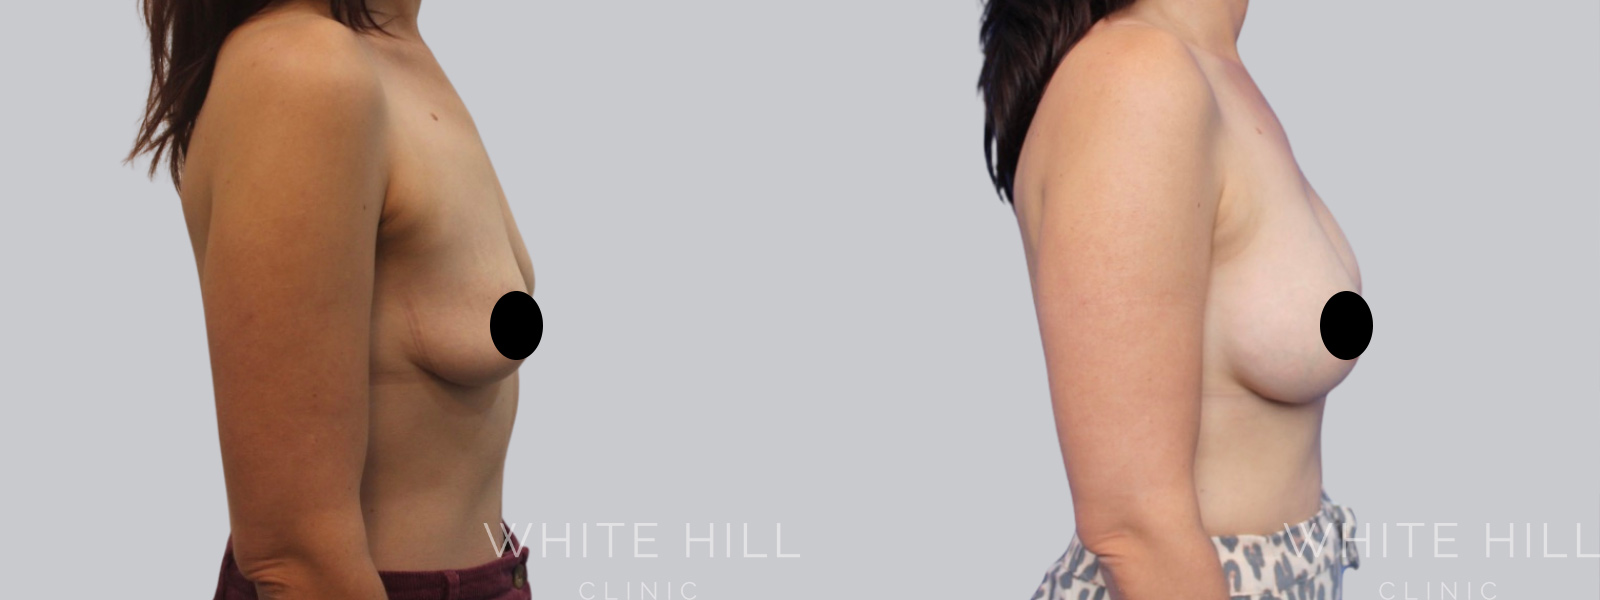
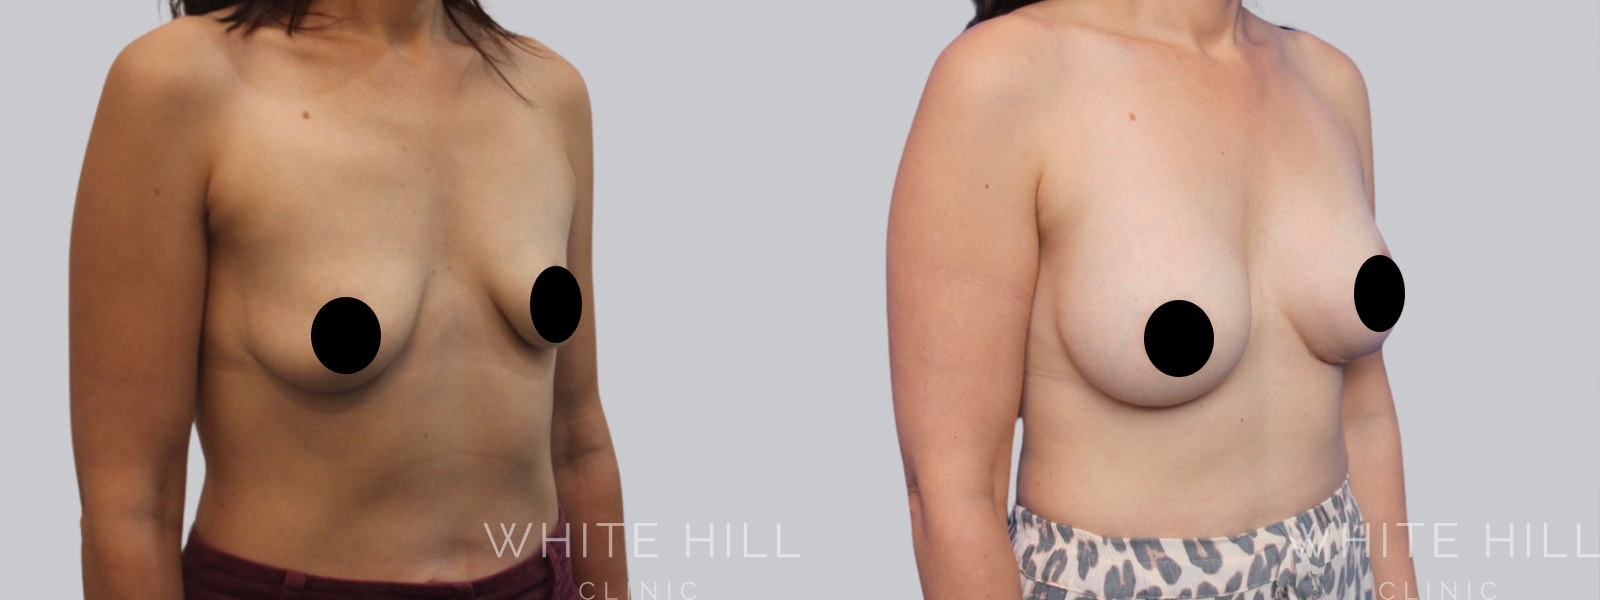
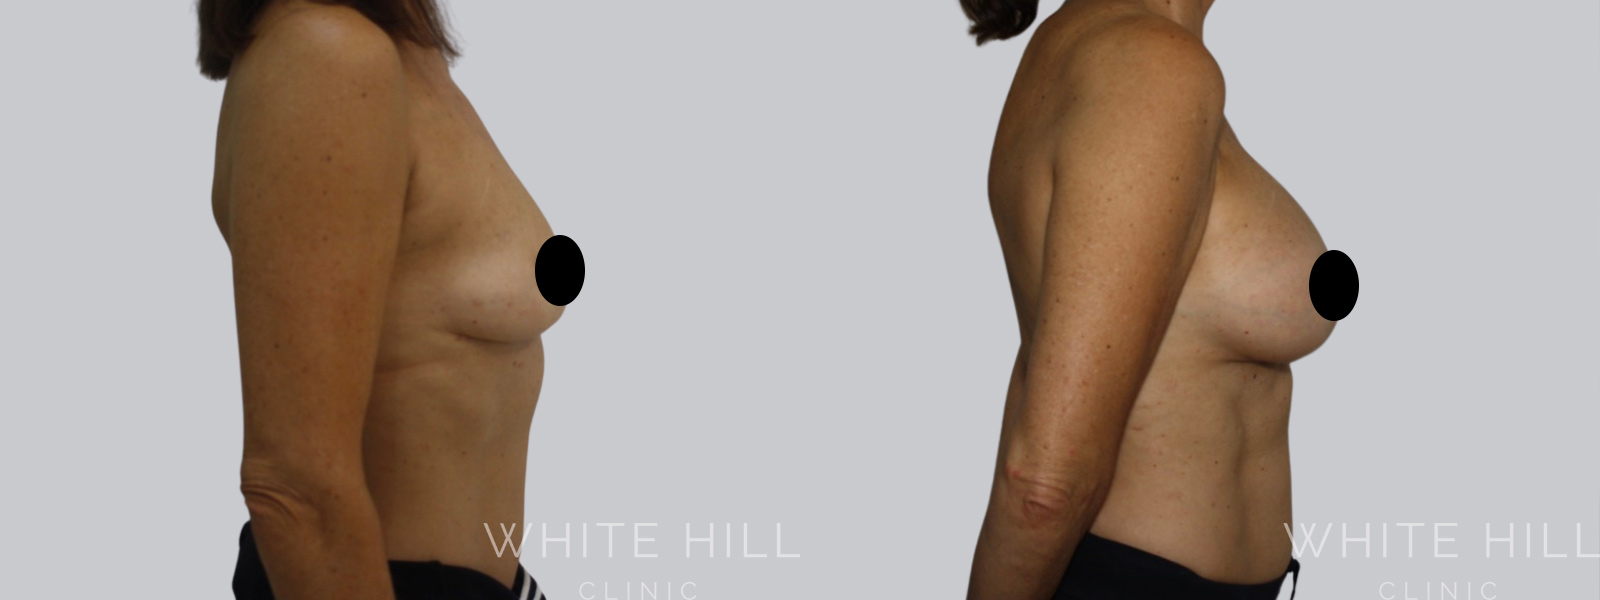
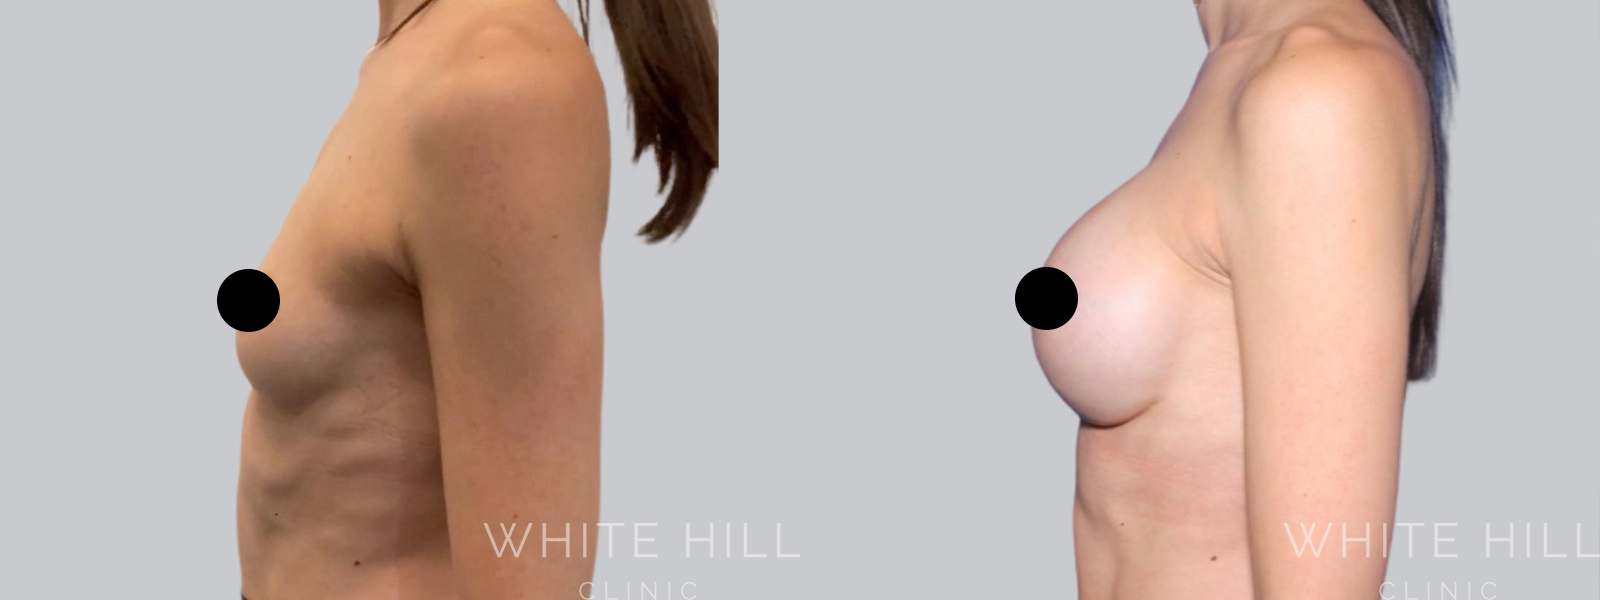
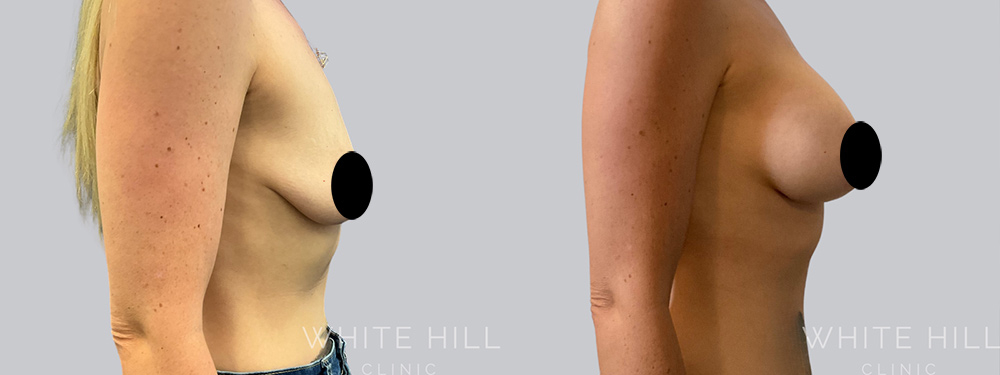
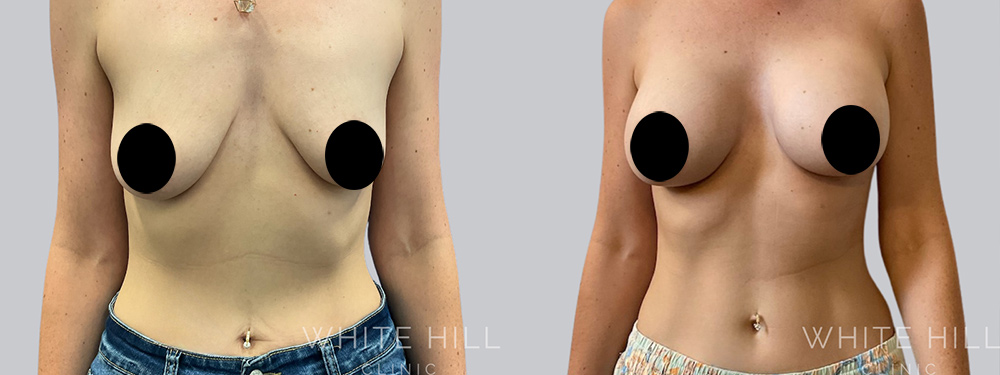
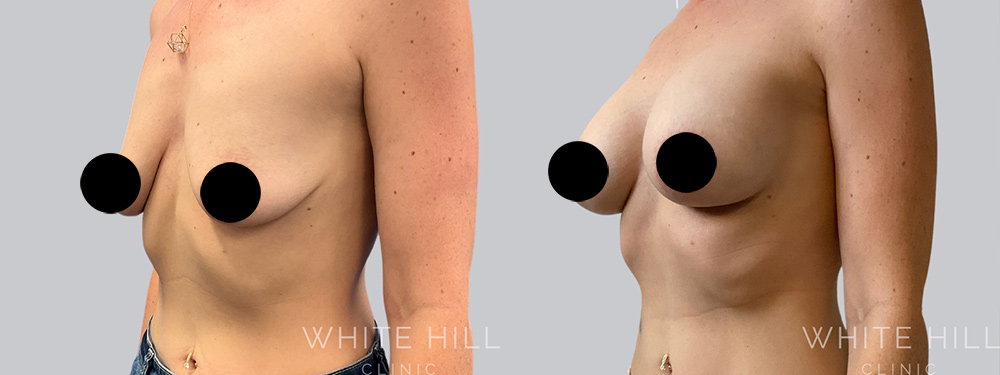
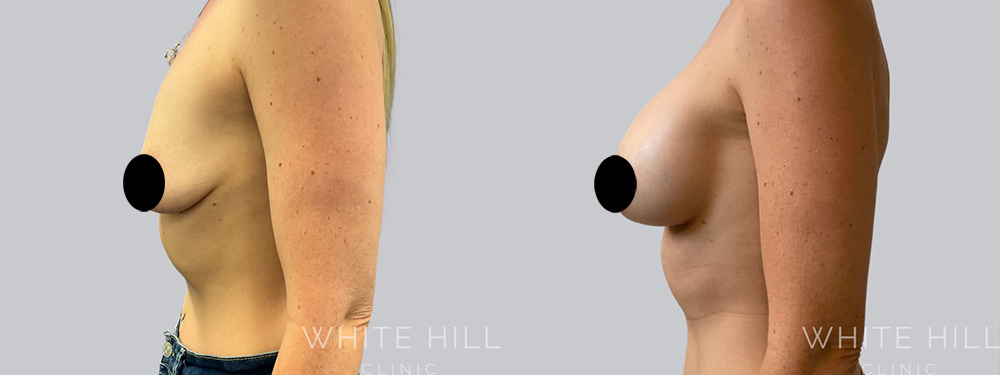
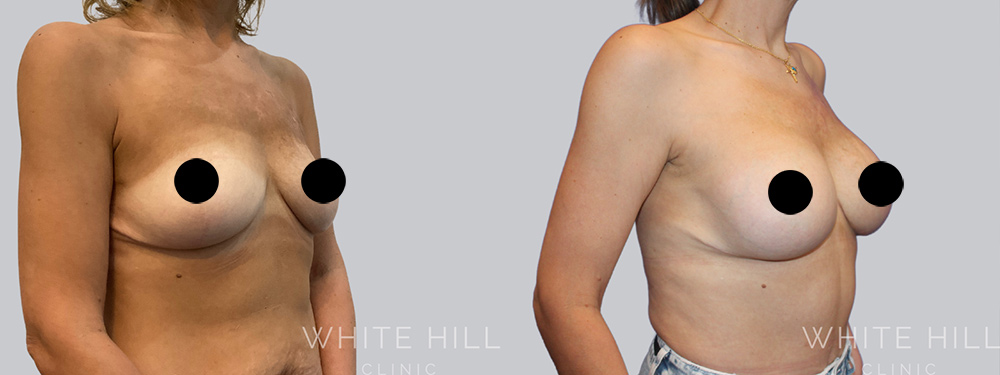
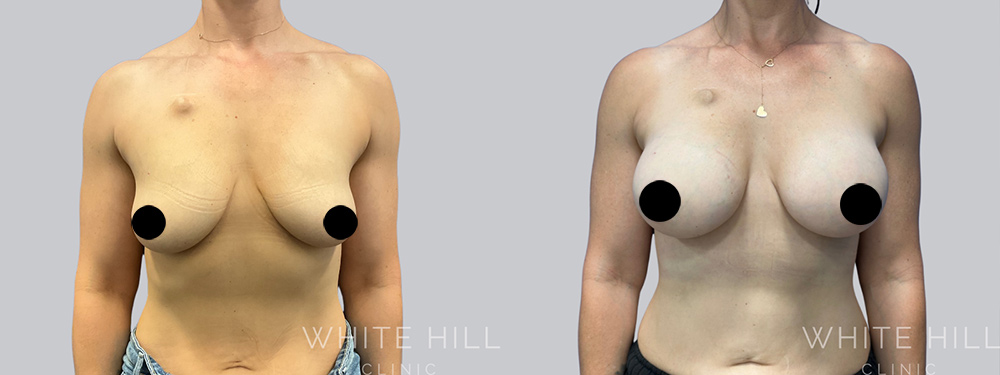
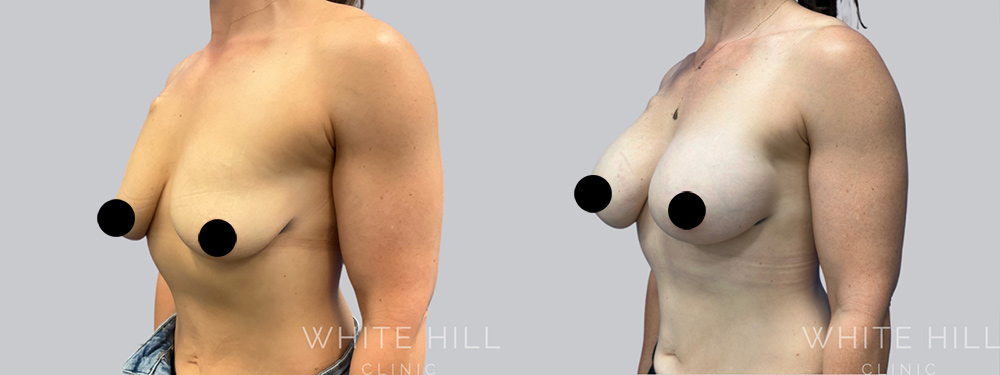
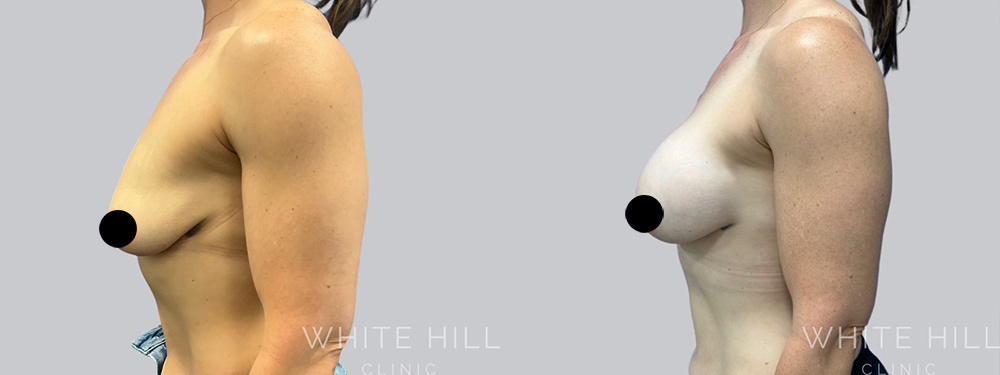
- Early 40s Female
- Mother
- 380cc Ergonomix Demi Implant
- Dual Plane
- 6 months post surgery

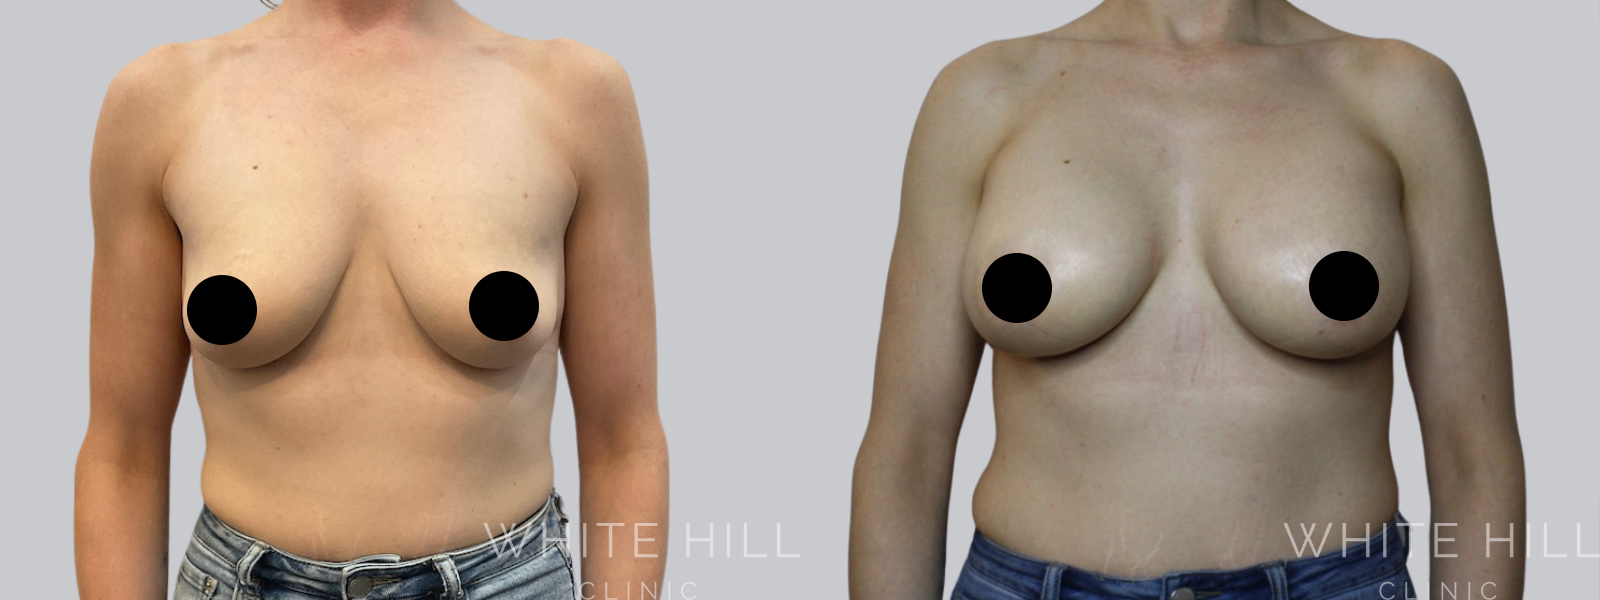
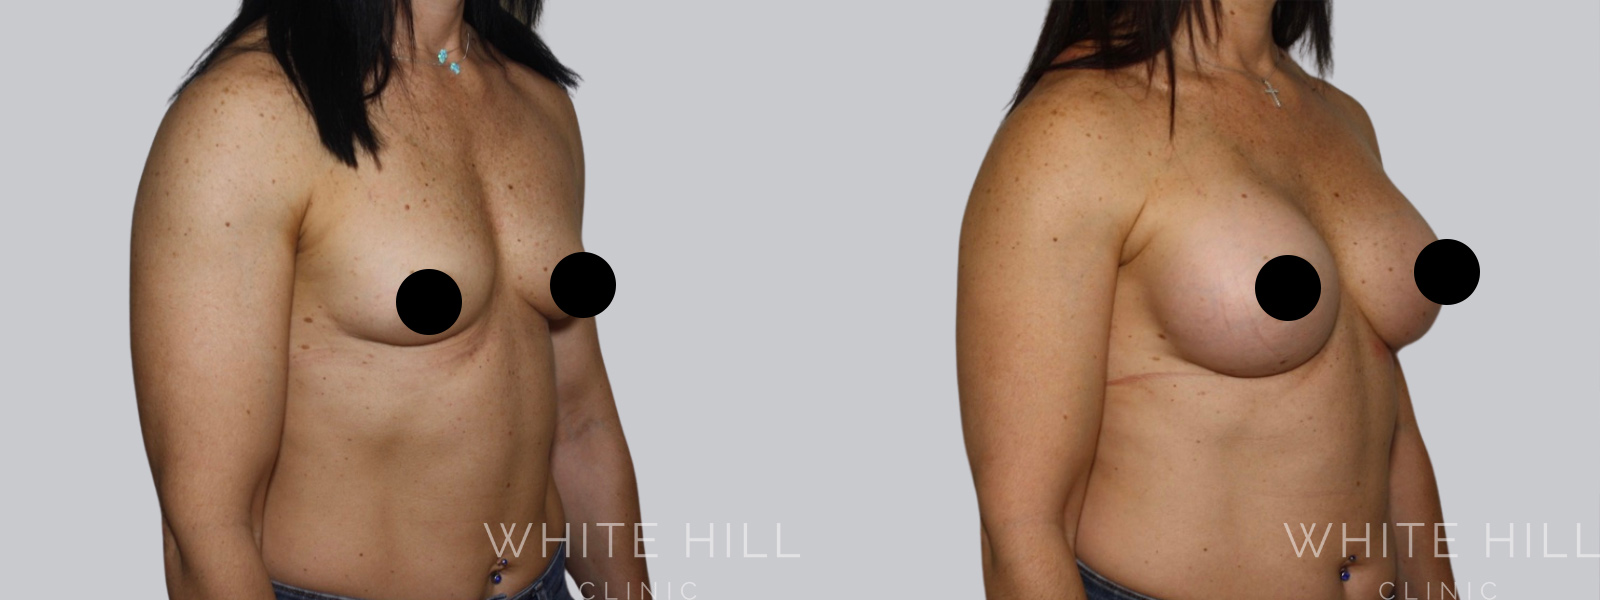
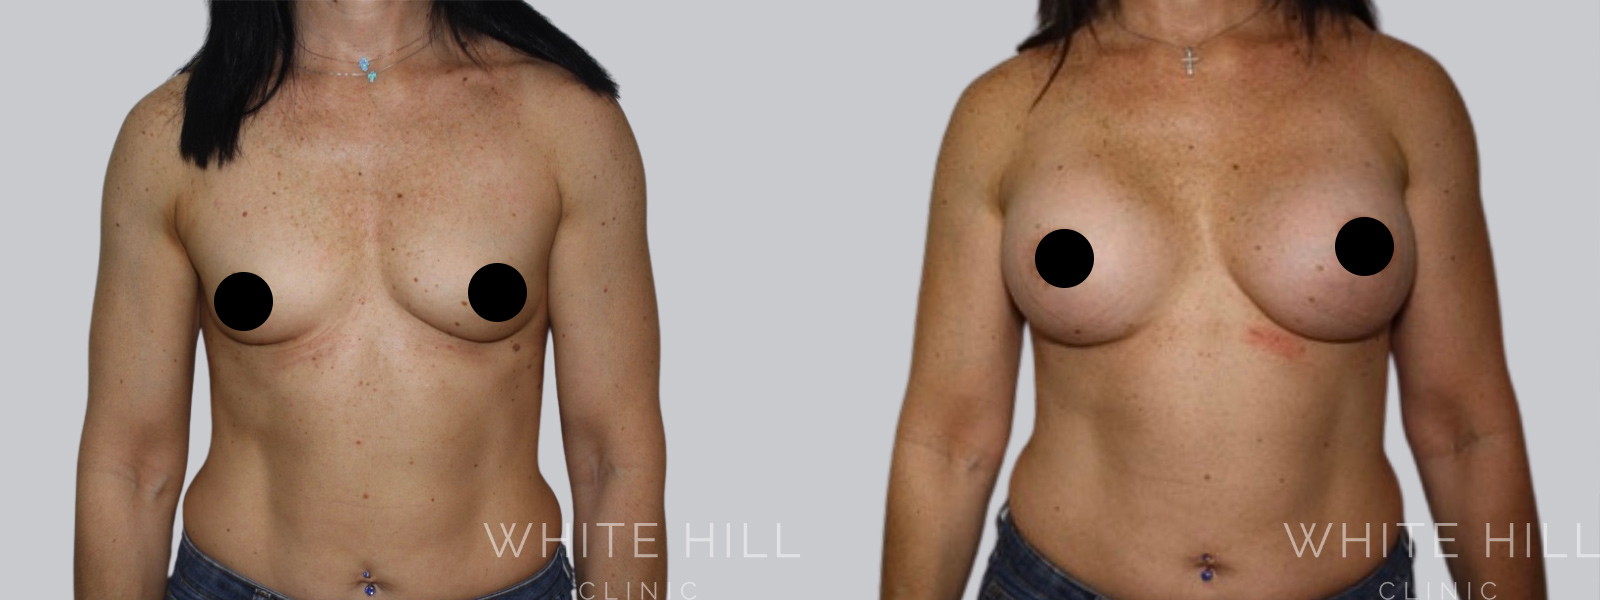
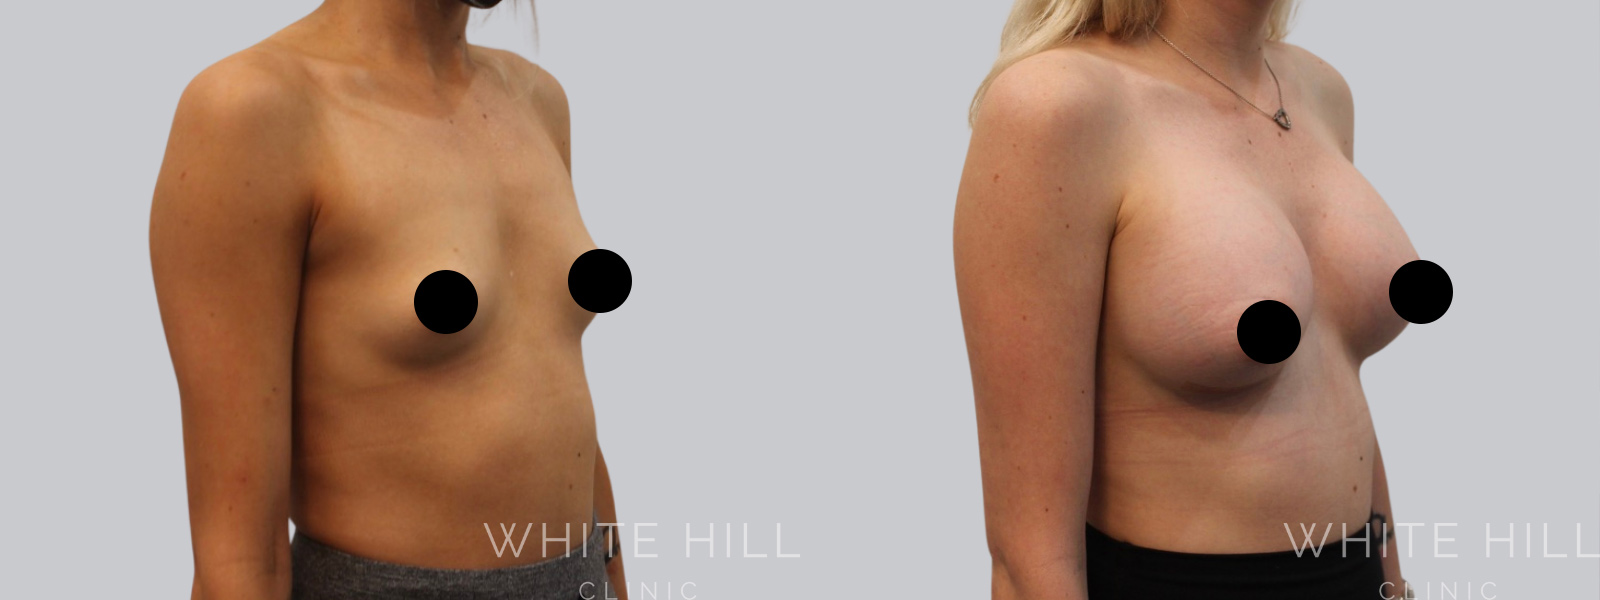
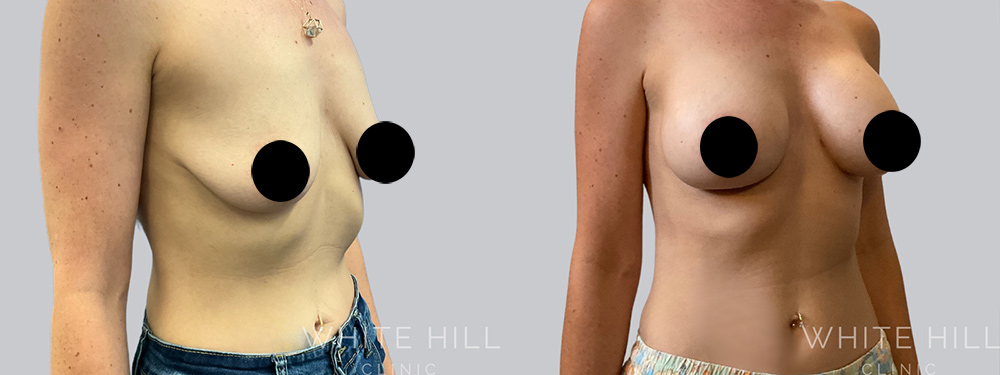
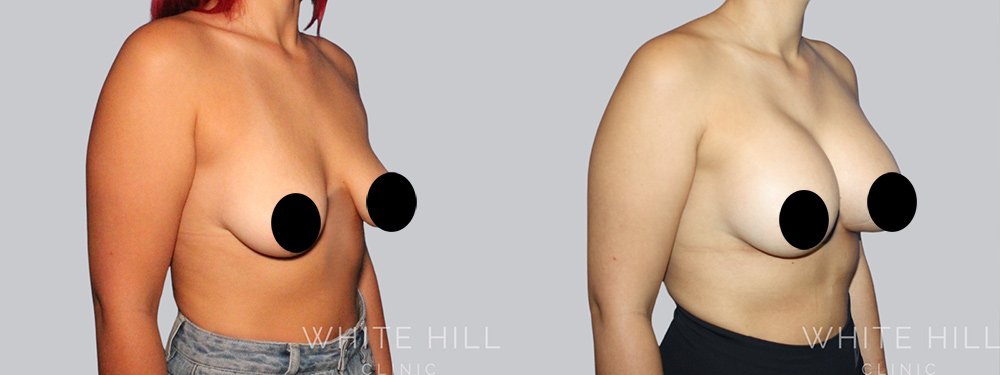
- Mid 30s Female
- Mother
- Right Areolar Larger before surgery
- 475cc Ergonomix Mini Implant
- Dual Plane
- 12 months post op
- Mid 30s Female
- Left breast smaller before surgery
- 425cc Ergonomix Demi Implant to Right Breast and 525cc Ergonomix Demi Implant to Left
- Dual Plane
- 4 months post surgery
- Mid 20s Female
- 300cc Ergnomix Demi Implants
- Dual Plane
- 9 months post op

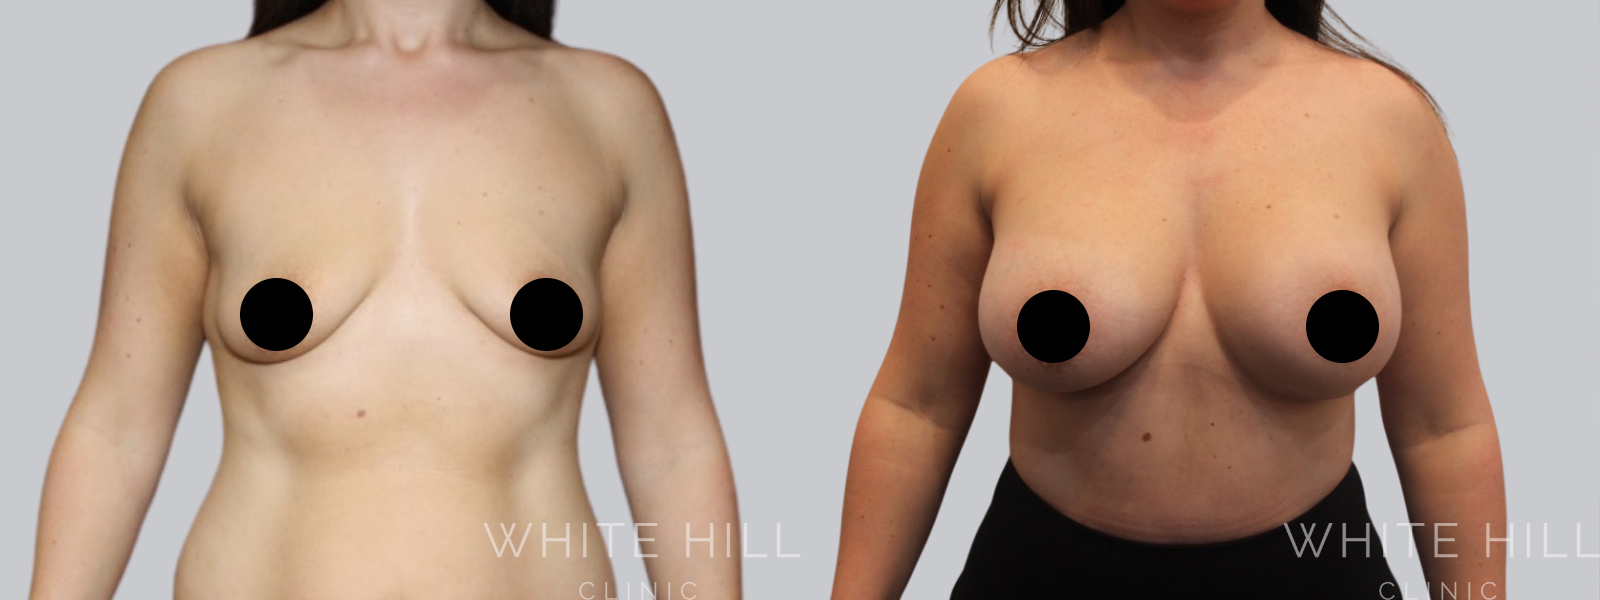
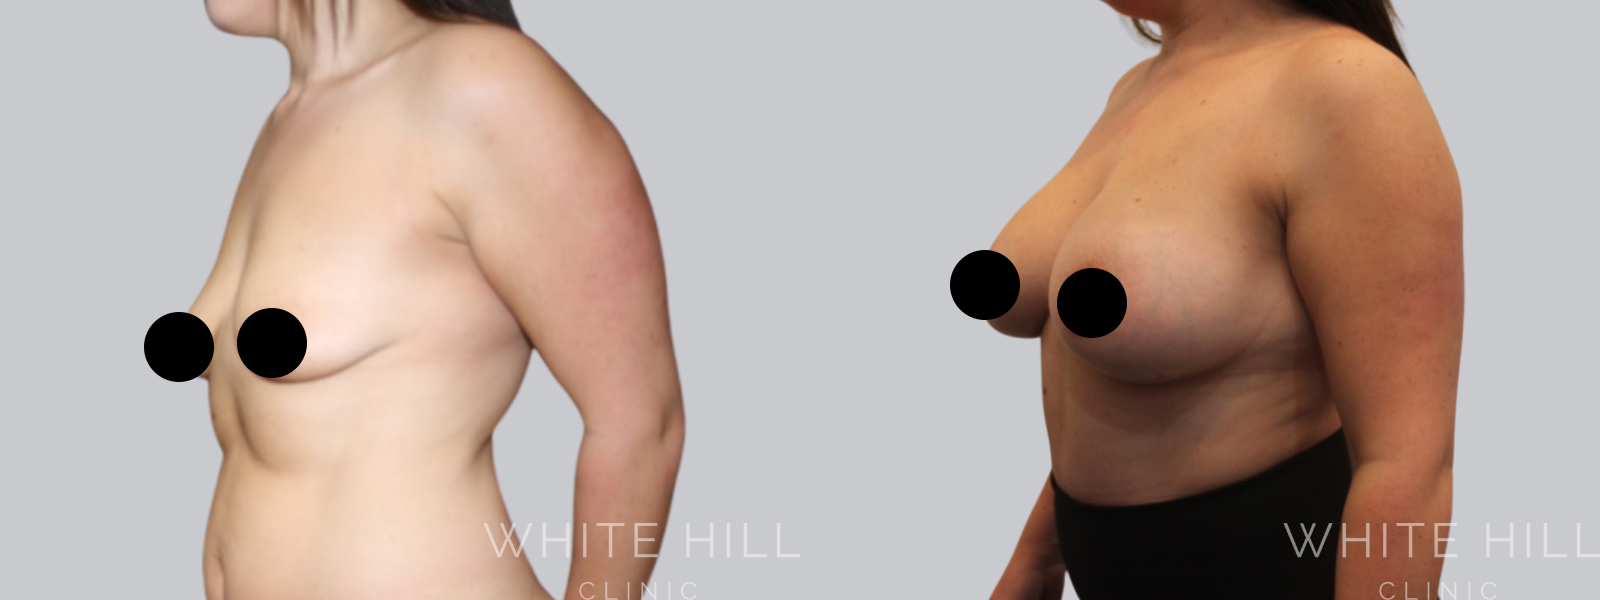
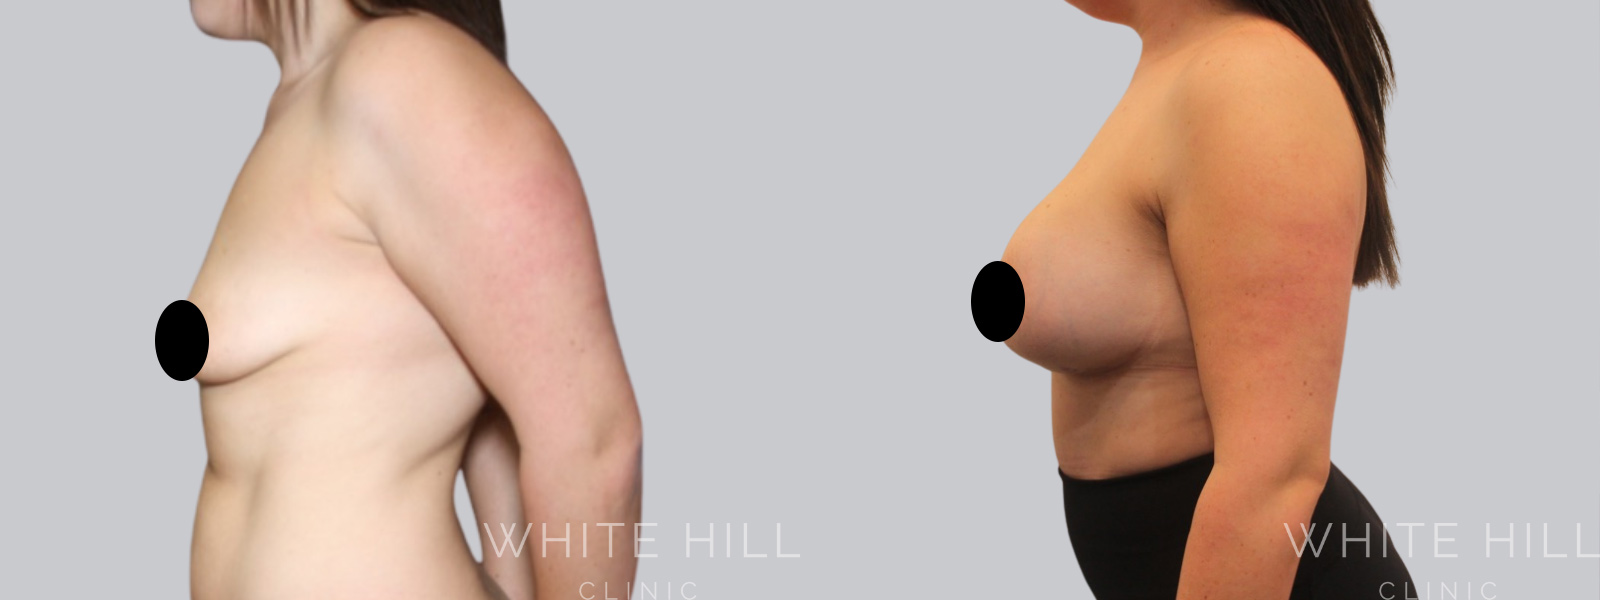
- Late 30s Female
- Weightloss 40kgs+
- 425cc Ergonomix Demi Implant
- Dual Plane
- 6 months Post Op
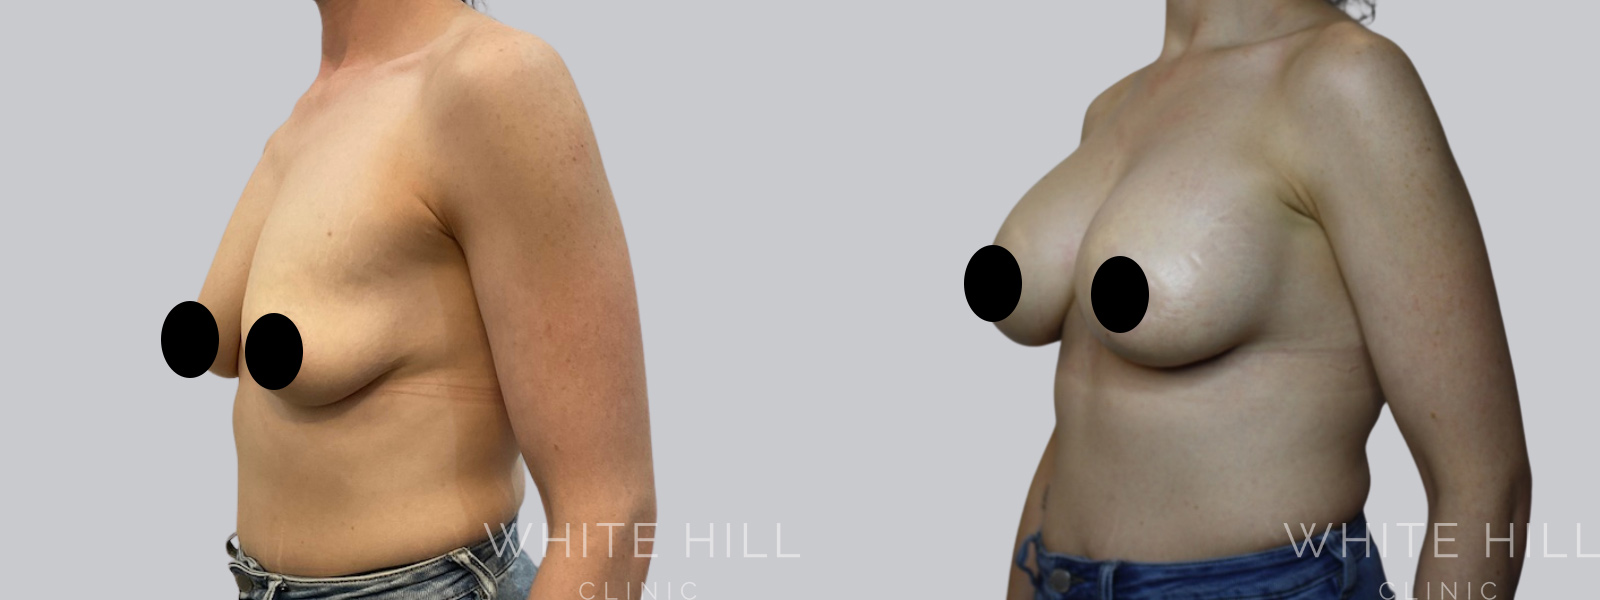
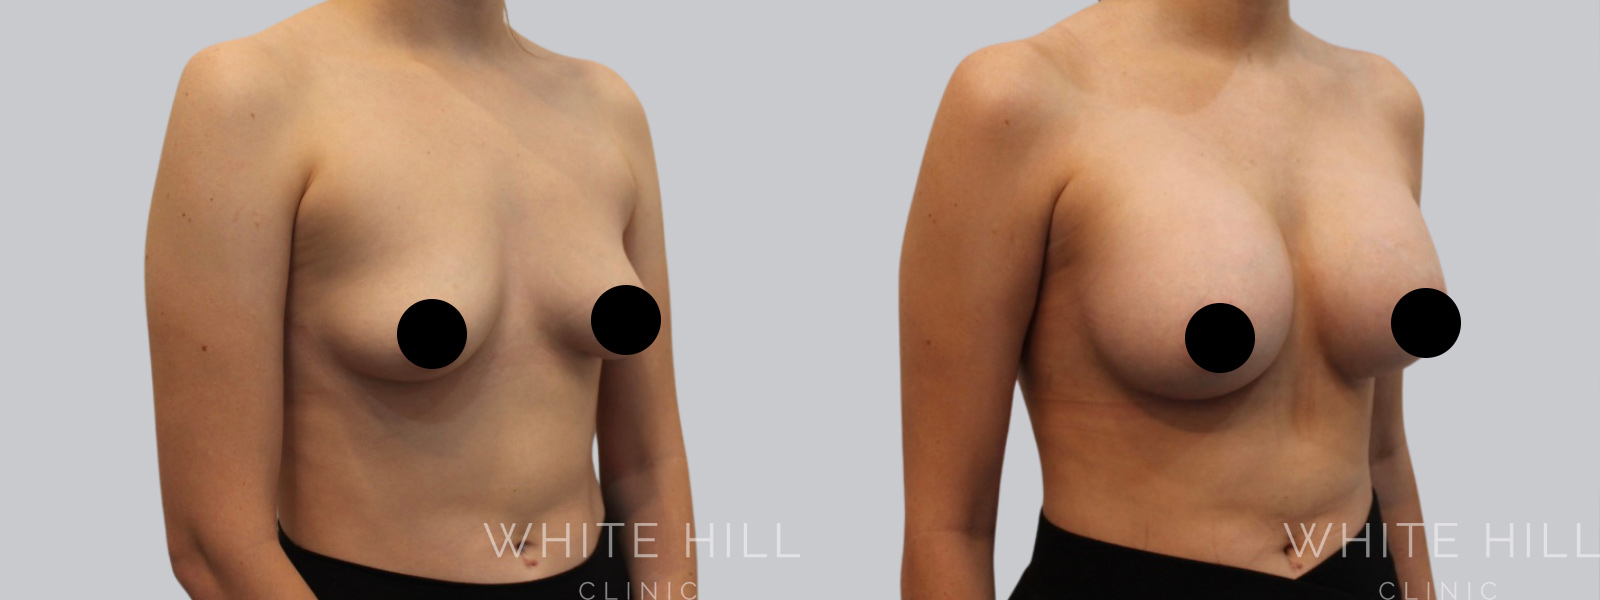
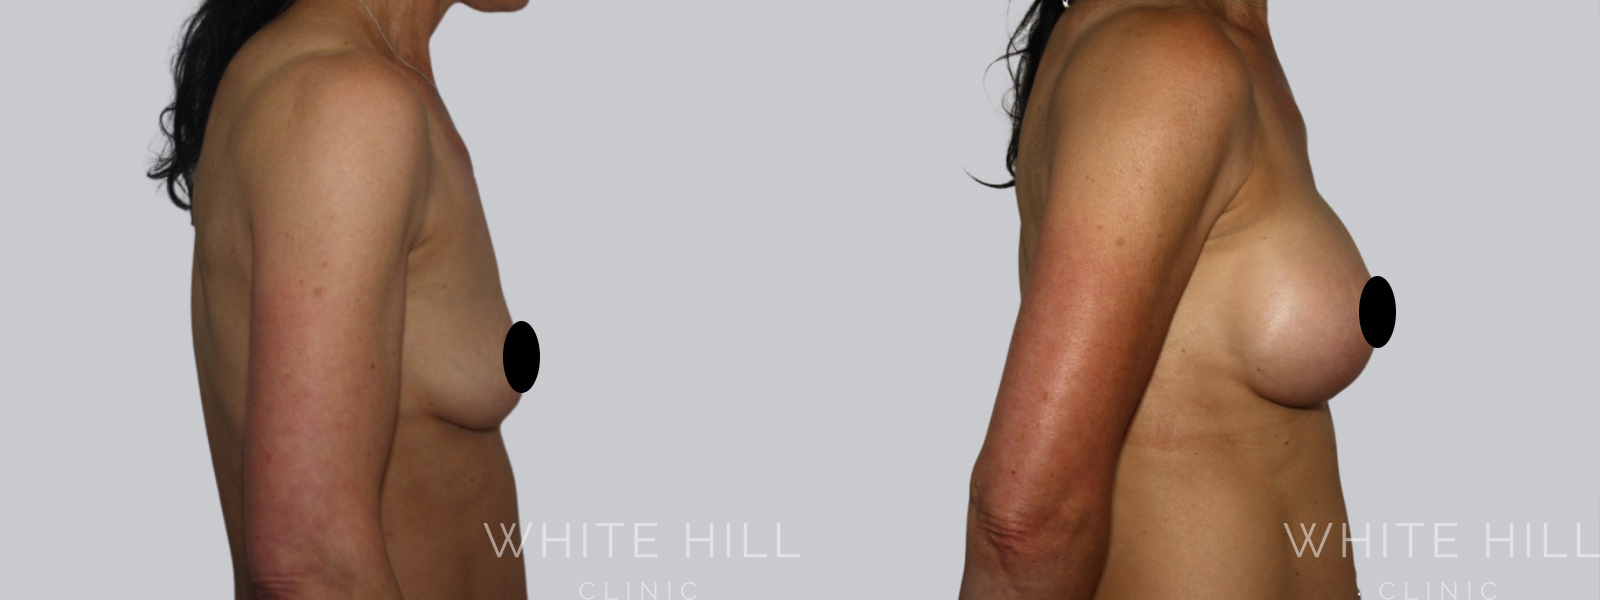
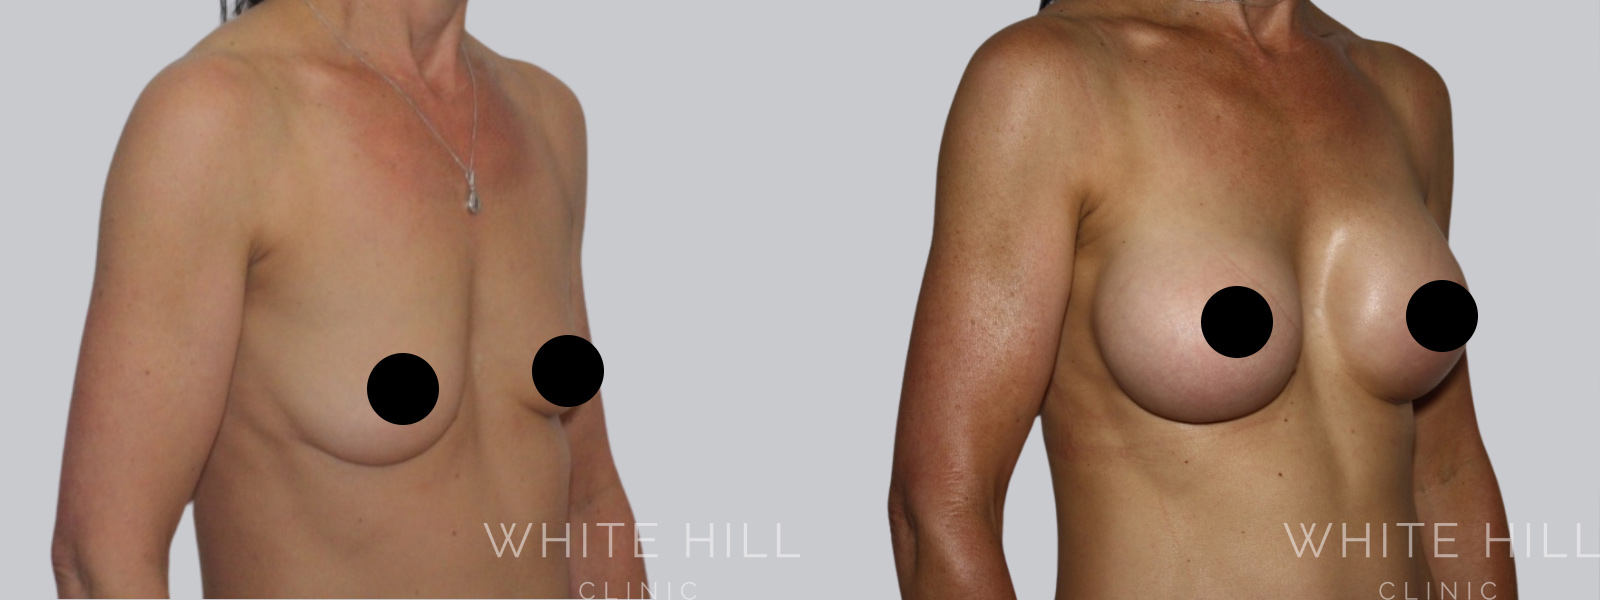
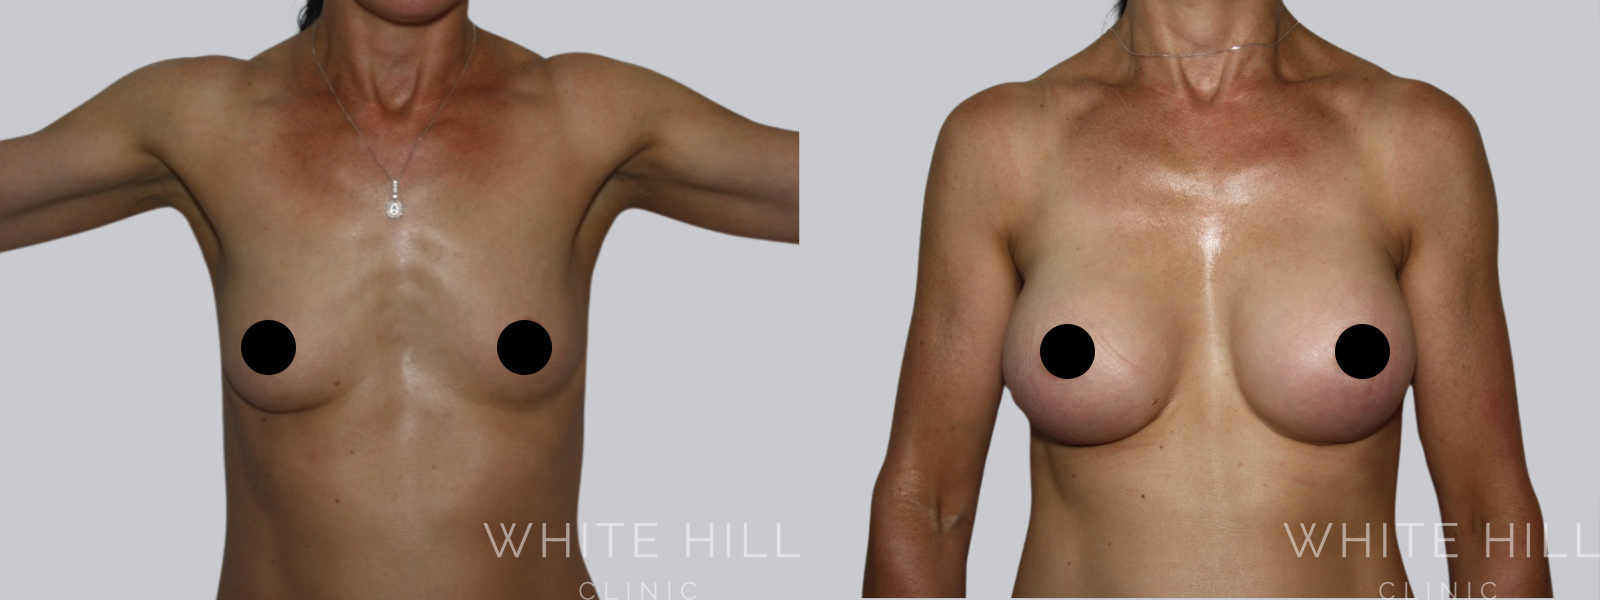
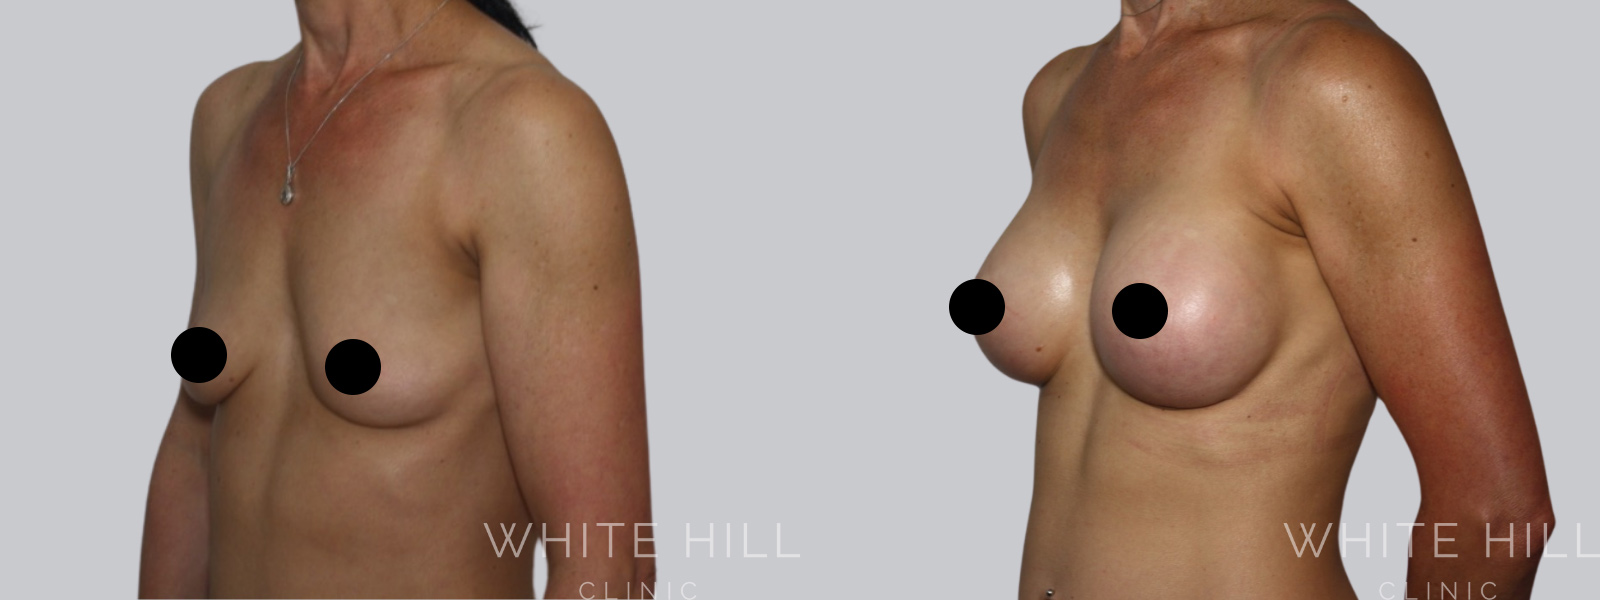
- Early 50s Female
- Breastfeeding mother
- 400cc Ergonomix Mini Implant
- Dual Plane
- 9 months post op

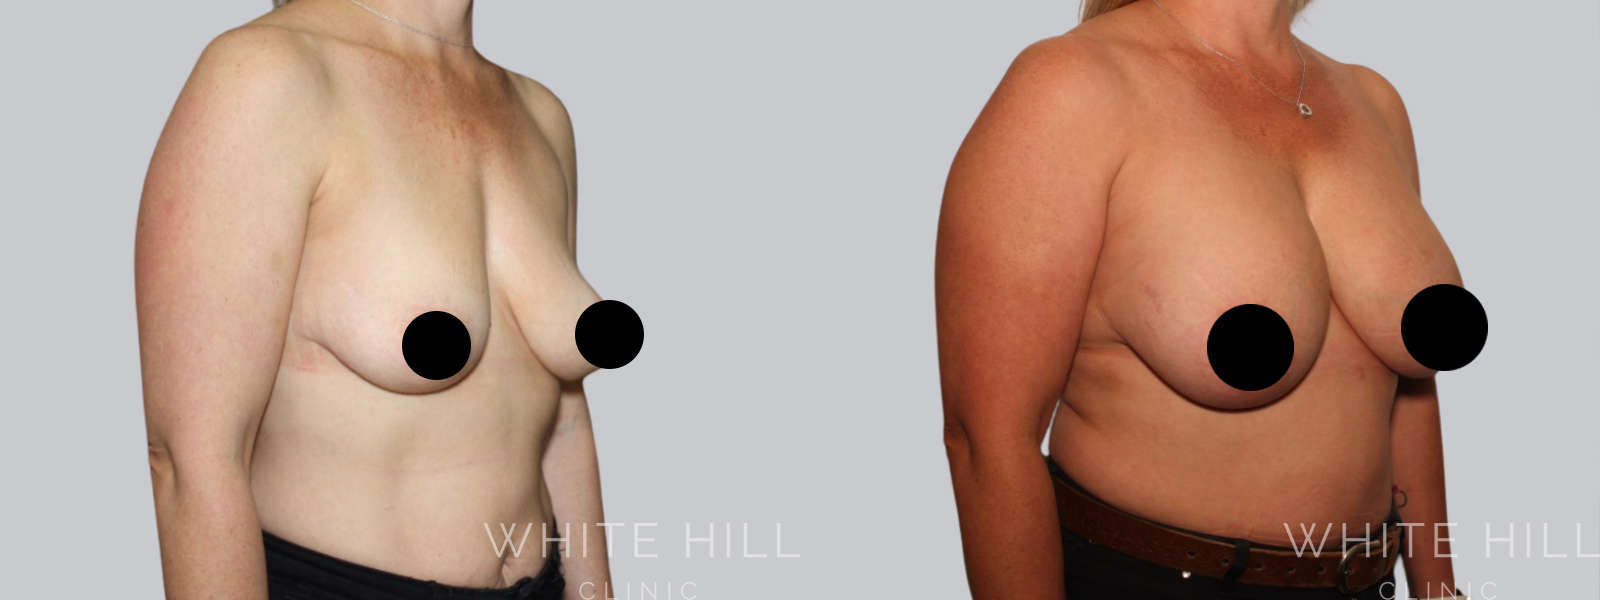
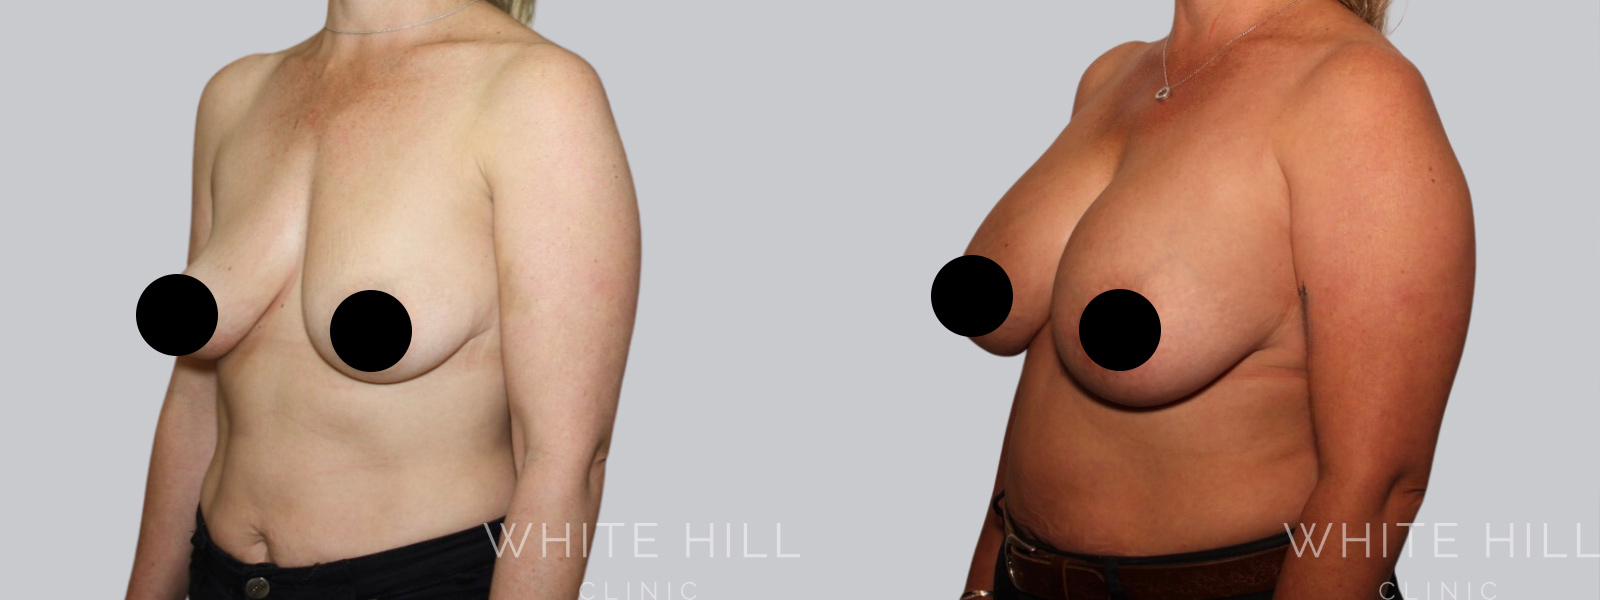
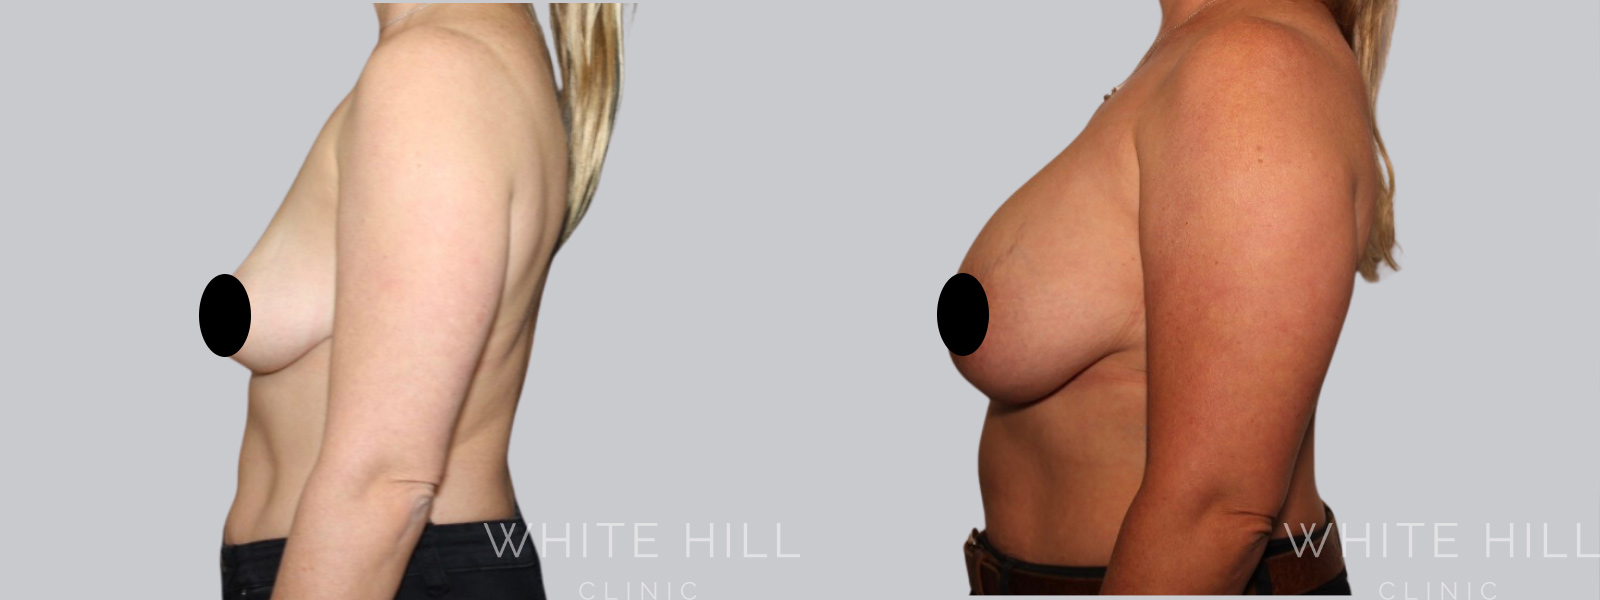
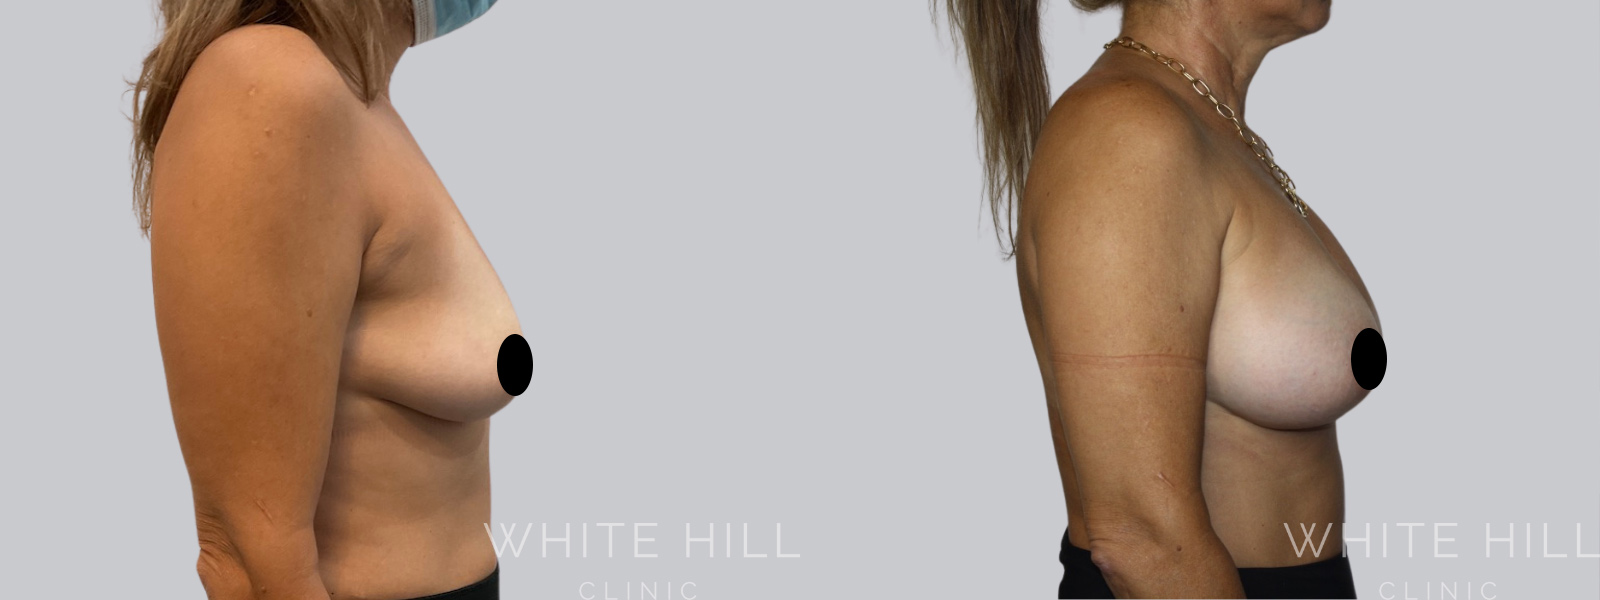
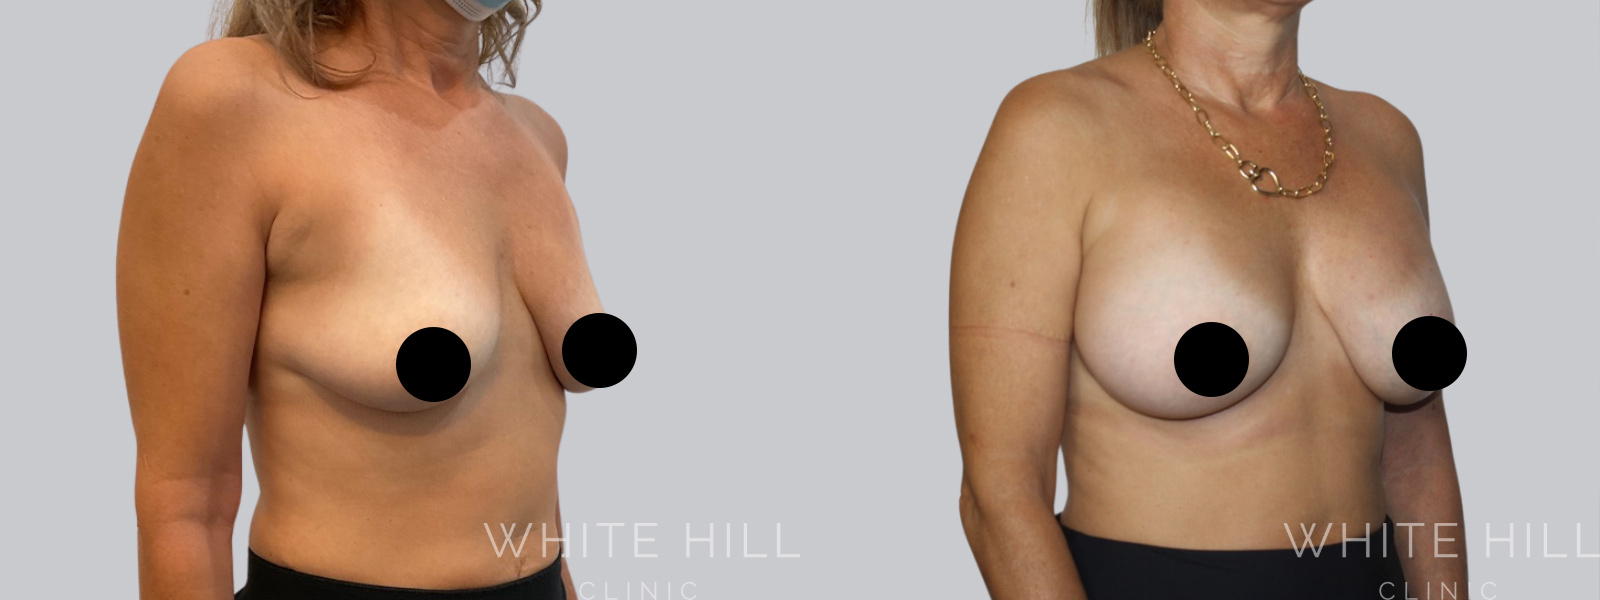
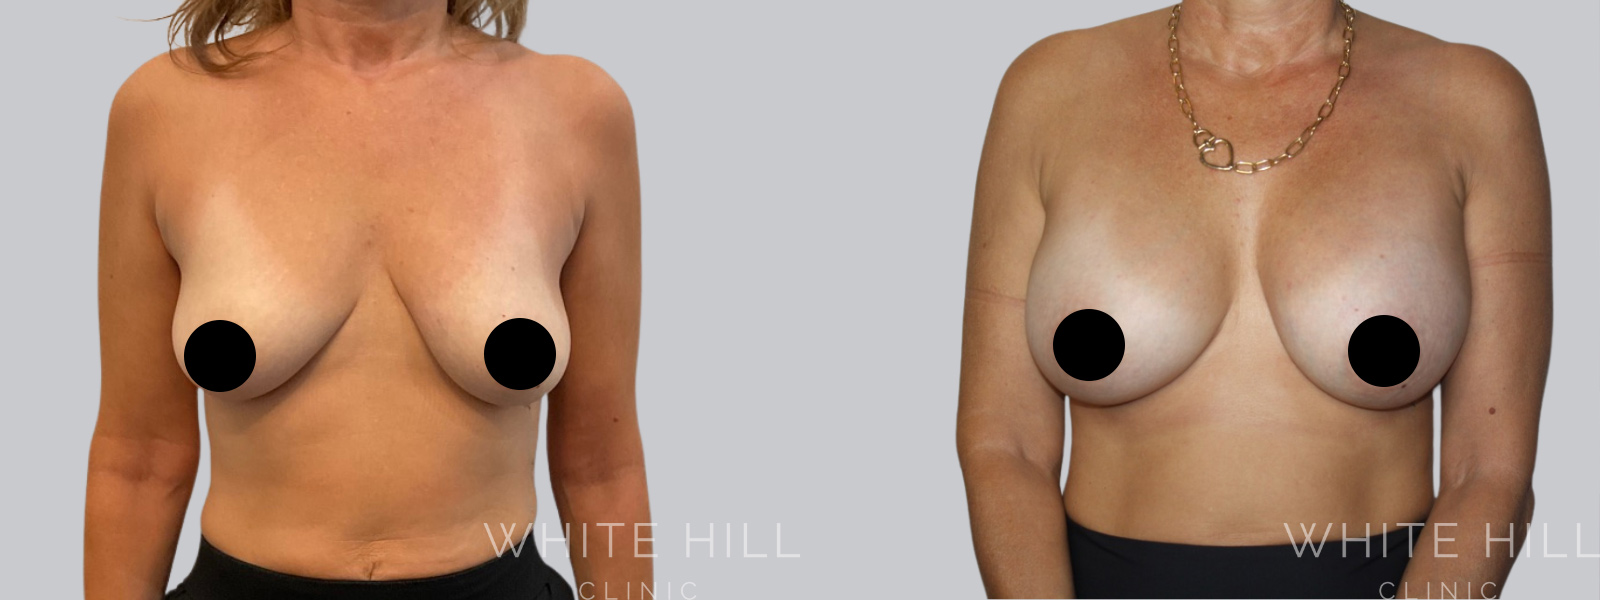
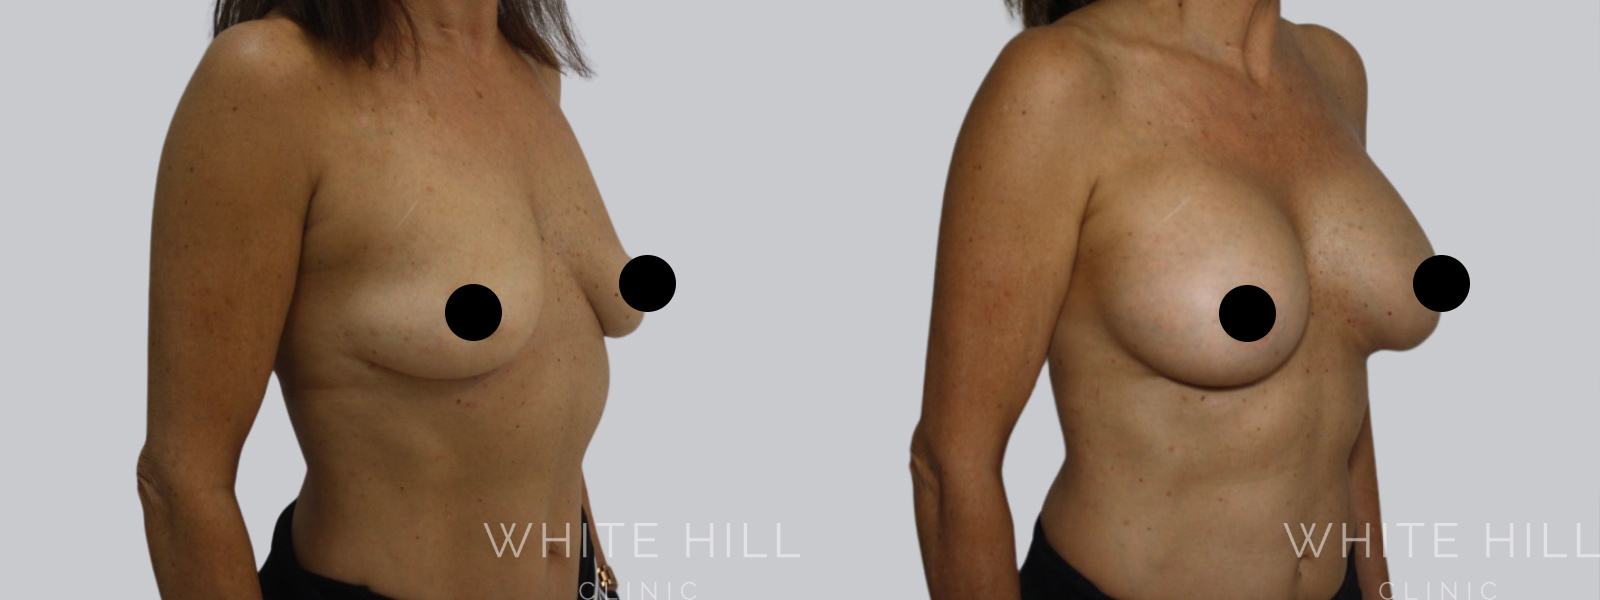
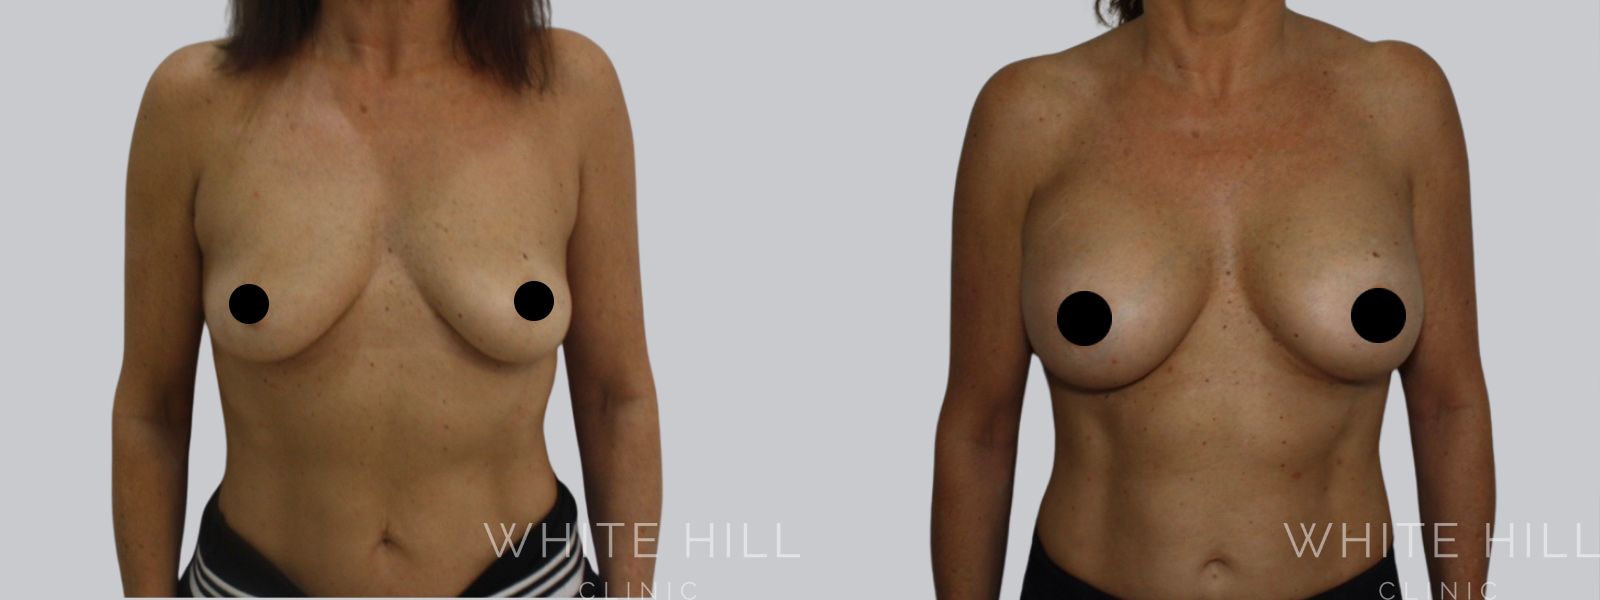
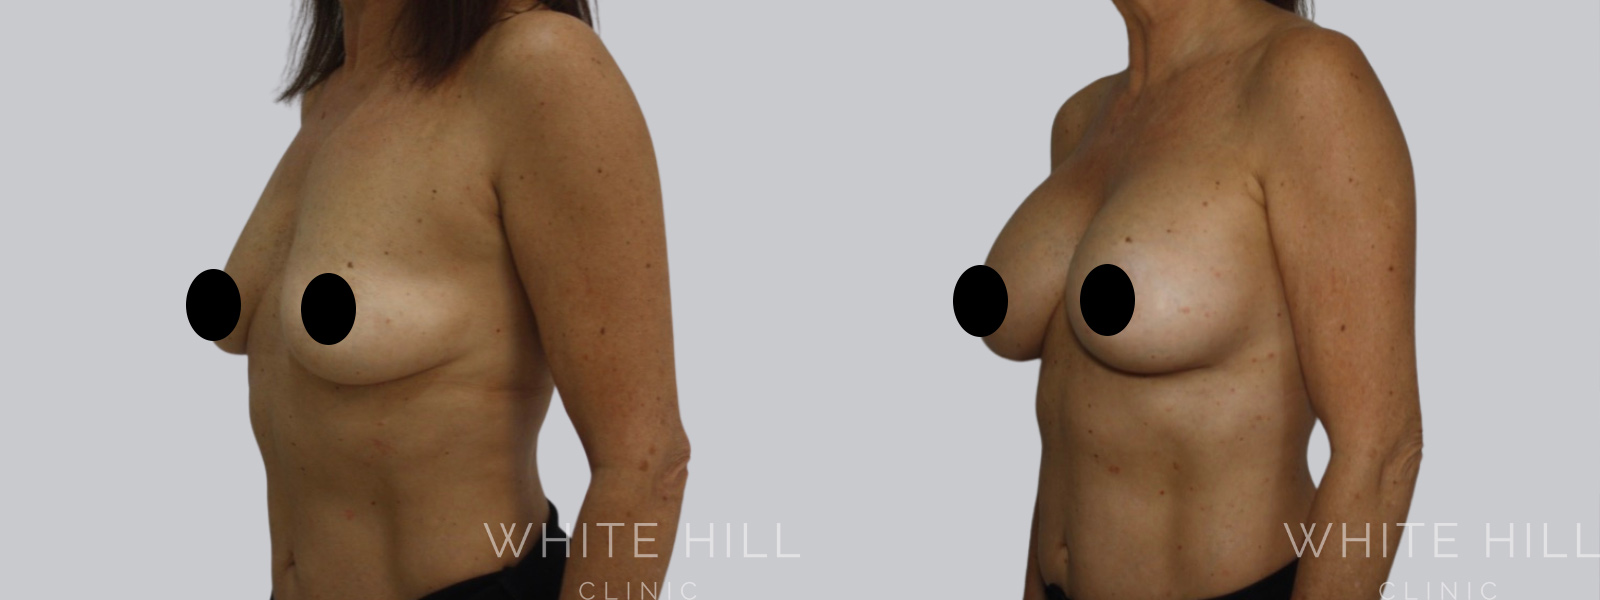
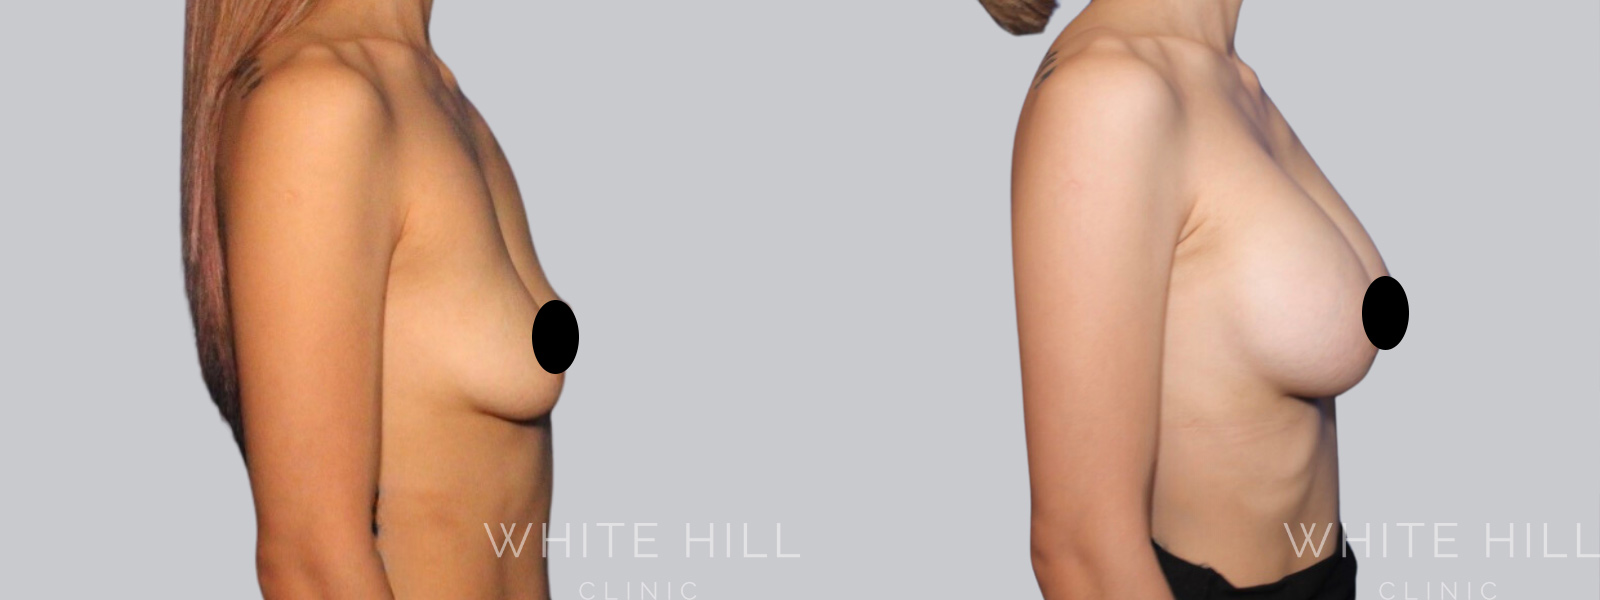
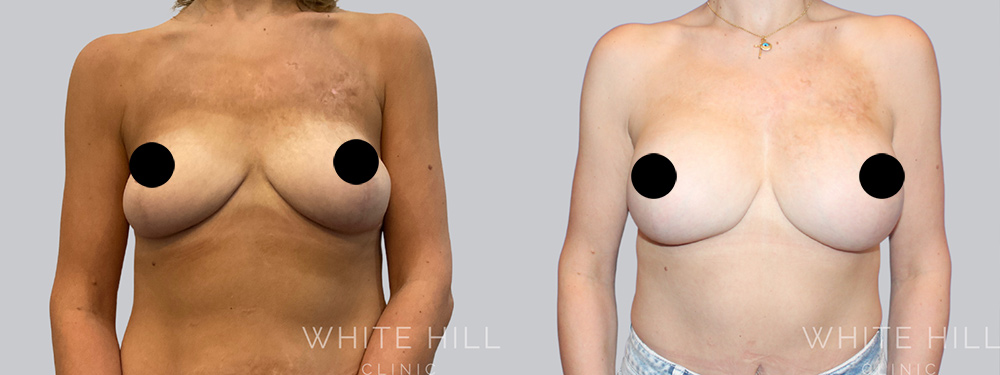
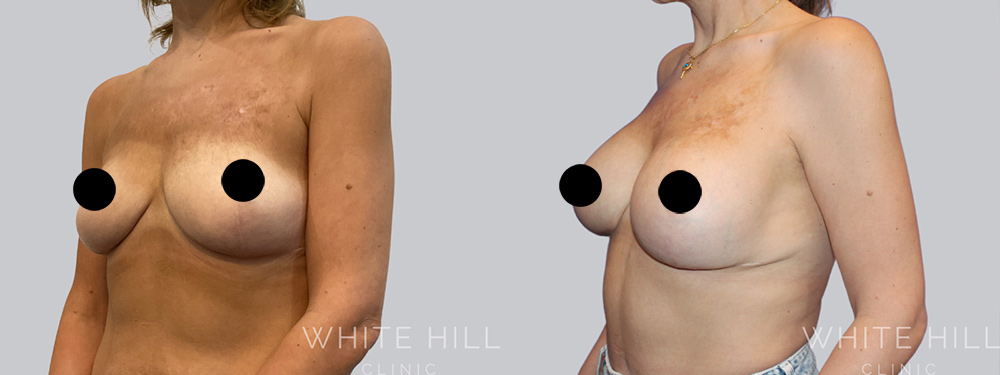
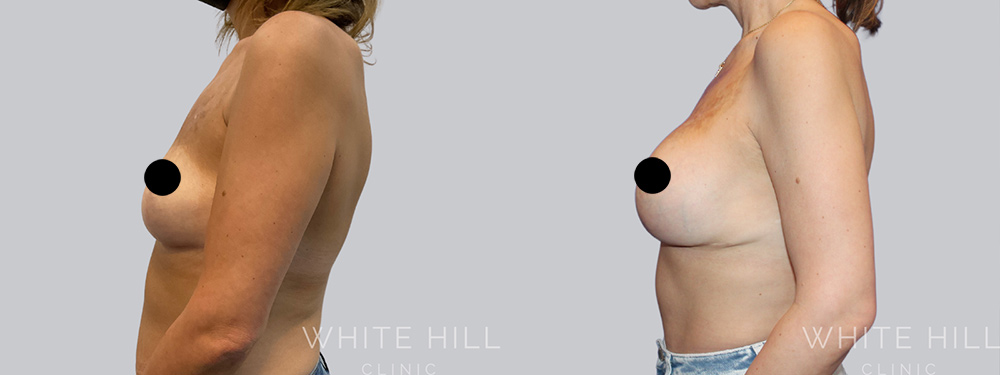
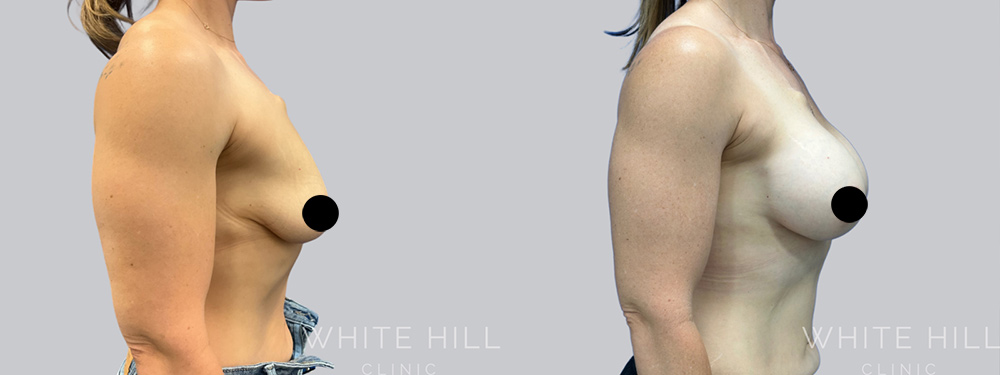
- Late 40s Female
- Mother
- Right breast slightly larger before surgery
- 375cc Ergonomix Full Implant Dual Plane
- 6 months post op

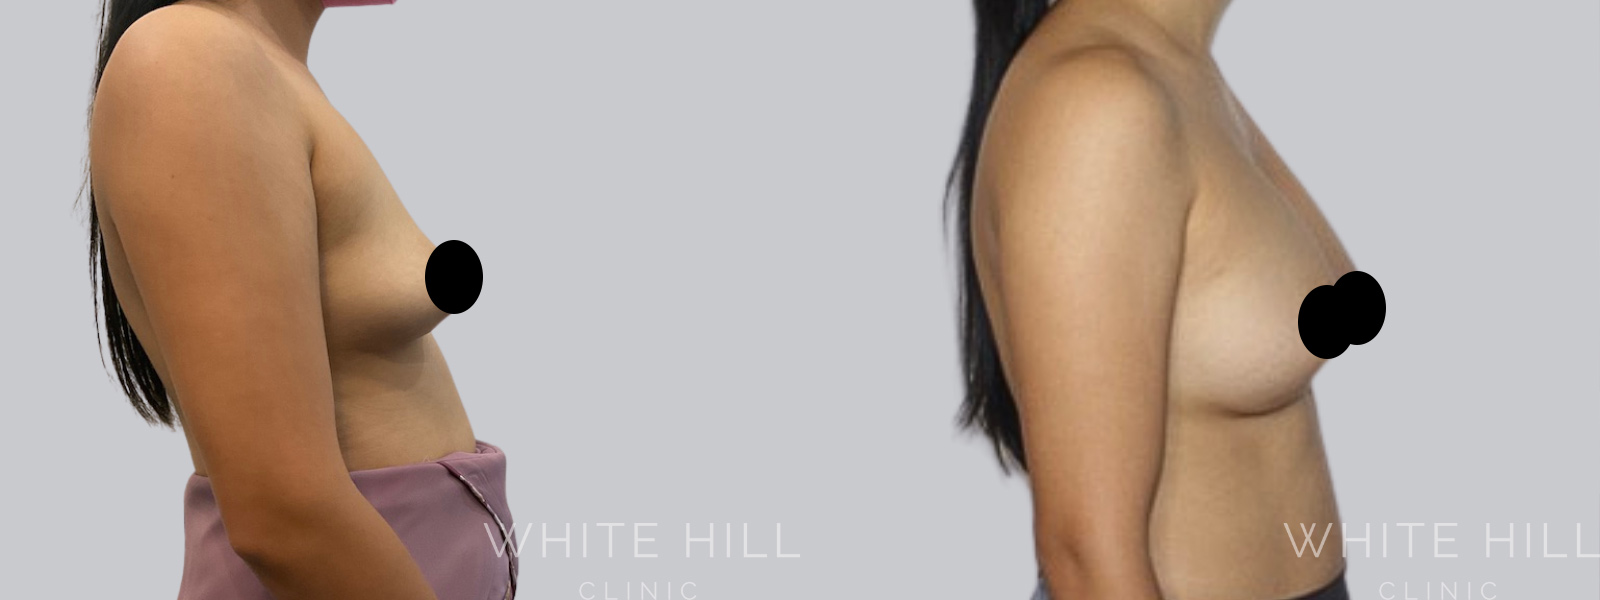
- Mid 40s Female
- Mother
- Right breast slightly larger before surgery
- 310cc Ergonomix Demi Implant
- Dual Plane
- 8 months post surgery

- Late 30s Female
- Mother
- 300cc Ergonomix Demi Implant
- Dual Plane
- 8 months post op


- Mid 30s Female
- Right breast slightly larger before surgery
- 380cc Ergonomix Demi Implant
- Dual Plane
- 3 months post surgery

- Mid 50s Female
- Left breast slightly larger before surgery
- 380cc Ergonomix Demi Implant
- Dual Plane
- 6 months post surgery

- Early 30s Female
- Breastfeeding Mother
- Left breast slightly smaller before surgery
- 380cc Ergonomix Demi Implant
- Sub Pectoral
- 6 months post surgery


- Mid 30s Female
- Breastfeeding Mother
- 500cc Ergonomix Full
- Dual Plane
- 3 months post op


- Mids 30s Female
- Breastfeeding Mother
- 360cc Ergonomix Demi Implants
- Sub pectoral Plane
- 6 months post op


- Early 20s Female
- Weight Loss 20kgs+
- Right breast larger before surgery
- 360cc Ergonomix Mini (Right) and 400cc Ergonomix Mini (left)
- Dual Plane
- 5 months post op


- Late 20s Female
- Left breast slightly larger pre operatively
- 340cc Round Demi Implant
- Sub Pectoral Plane
- 8 months post op

- Late 20s Female
- 360cc Round Demi Implant
- Dual Plane
- 12 months post op


- Mid 20s female
- 315cc Round Full implants
- Sub pectoral plane
- 6 months post surgery

- Early 20s Female
- Left breast slightly smaller before surgery
- 400cc Round Full Implant
- Submuscular Plane
- 6 months post surgery


- Early 20s Female
- Right breast slightly smaller before surgery
- 425cc Round Demi Implant
- Subglandular Plane
- 9 months post surgery


- Early 20s Female
- 340cc Round Demi Implants
- Dual Plane
- 3 months post surgery
- Early 30s Female
- Breastfeeding Mother
- 400cc Round Full Implant
- Subglandular Plane
- 8 months post surgery


- Late 20s Female
- 425cc Round Demi Implant
- Submuscular Plane
- 12 months post surgery

- Mid 20s Female
- 360cc Round Demi Implant
- Dual Plane
- 9 months post surgery


- Mid 30s Female
- Breastfeeding Mother
- Right breast slightly smaller before surgery
- 335cc Round Full Implants
- Dual Plane
- 6 months post op
- Late 30s Female
- Mother of 3
- Weight loss of 10kgs+
- 12 months post surgery
- 450cc Round Full Implants
- Surgery was also done in conjunction with an abdominoplasty

- Mid 20s Female
- 380cc Round Demi Implant
- Dual Plane
- 12 months post surgery


- Late 20s Female
- Police Officer
- 340cc Round Demi Implants
- Sub-Glandular Plane
- 6 months post op

- Early 20s Female
- 340cc Round Demi Implants
- Dual Plane
- 4 months post op

- Mid 20s Female
- 380cc Round Demi Implants
- Dual Plane
- 3 months post op

- Late 40s Female
- Right breast slightly larger before surgery
- 340cc Round Demi Implant to Left Breast and 300cc Round Demi Implant to Right Breast
- Dual Plane
- 4 months post surgery


- Early 20s Female
- Patient has scoliosis
- Right breast slightly smaller before surgery
- 450cc Round Full Implants
- Submuscular Plane
- 3 months post surgery
- Early 40s
- Mother
- Asymmetrical breasts
- 325cc Round Moderate Plus (Left), 300cc Round Moderate Plus (Right)
- Dual plane

- Late 40s
- Mother
- Significant weight loss of 30kgs+
- Breast Reduction with other surgeon 6-7 years prior
- 380cc Round Demi Implants
Dual Plane - 7 months post surgery
- Surgery was also done in conjunction with a abdominoplasty

- Late 30s
- Muscular build
- 310cc High Profile Xtra Gel
- 6 weeks post op


- Late 20s
- Weight loss 15kgs+
- Pseudoptosis
- 380cc Ergonomix Demi
- Dual Plane
- 6 weeks post-surgery
- *tattoos blurred for patient privacy